This is the absolute BEST all butter gluten free pie crust recipe. So flaky and light, you'd never know it was gluten free!! Make it today for any of your pie needs!
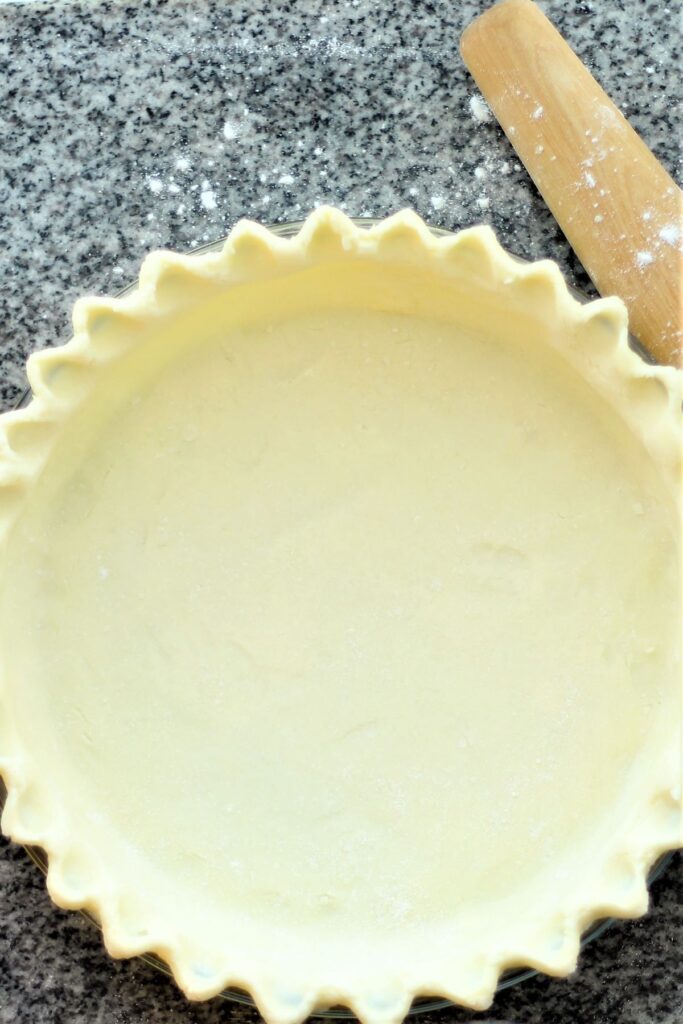
I have been baking pies for years. There's something about rolling out pastry that is so calming and therapeutic to me. When I became gluten free, I truly thought those days were over. Then I started getting a little more experienced with the whole gluten free baking thing and tried my hand at making a gluten free pie crust. It was a disaster! The crust was so hard we couldn't even cut it with a knife.
Fast forward a few years, I have finally created the BEST flaky all butter gluten free pie crust recipe ever!! It rolls out beautifully, maybe better than regular (gluten) pie crust. It doesn't break apart constantly and doesn't stick, and it bakes up so flaky, it's almost like a rough puff pastry! You seriously will have a hard time believing it's gluten free 🙂
What Creates Flaky Pie Crusts?
When cold butter hits a hot oven, it melts and creates steam. The steam then lifts the pastry, which is what makes the flakiness! So it's essential to keep your ingredients cold for the best flaky pie crust you could imagine. Every time I make my crust, my family and extended family always rave about the crust. They say it's better than a regular (gluten) pie crust!!
What You'll Need to Make Gluten Free Pie Crust
Homemade pie crust looks like it's daunting, but it's really so easy to make! And this gluten free pie crust will change your mind forever. I personally think it's even easier than any gluten version I've made. One of the reasons for this is we don't have to worry about overworking the dough to develop gluten, cuz there is none! Here are the ingredients:
- Kim's gluten free all purpose flour blend - a store bought blend may be substituted, but hasn't been tested.
- Kosher salt
- White vinegar -- helps keep the crust tender.
- Butter -- this is an all-butter pie crust, but if you feel the need to make it half and half, you can try to sub ½ the butter with an equal amount of shortening.
- Egg -- an egg is what revolutionizes this pie dough. It's an essential ingredient because it binds everything together. I haven't tried an egg replacer here so I honestly can't tell you if it would work or not. I have tried it without an egg, however, and it doesn't hold together quite as well.
- Ice water -- your water needs to be as cold as possible to keep the dough cold when mixing it.
Mixing the Dough
Cold dough is crucial to making flaky pie crust. I prefer to cut the butter into large chunks more than cubes because chunks are less likely to melt or over soften, which can lead to a tough pie crust. We want the butter in large pieces throughout the dough so that when it melts in the oven, the steam created will cause those wonderful layers of flakiness that make pie crust so addictive!
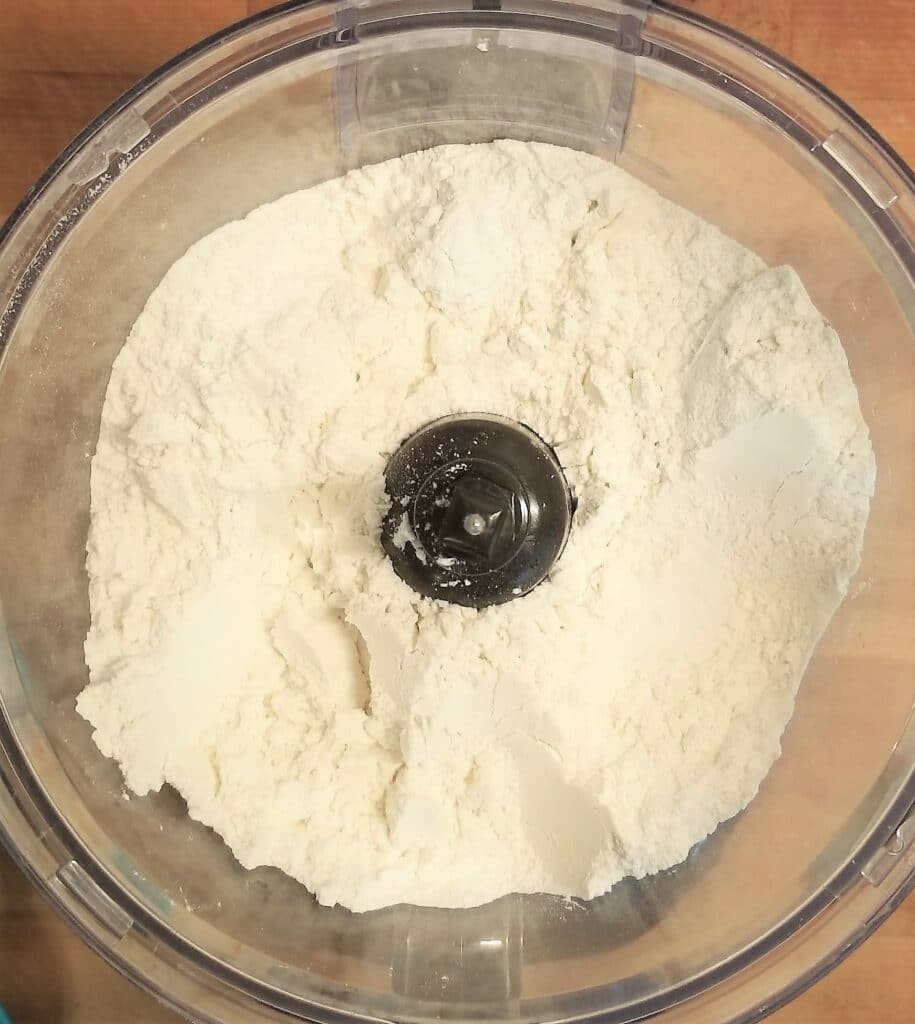
You can make this pie crust by hand and flatten the chunks of butter with your fingers. Or use a pastry blender. But if you have a food processor, it goes so quickly and I prefer this method. Place the gluten free flour blend and salt in the bowl of your food processor. Pulse to mix briefly.
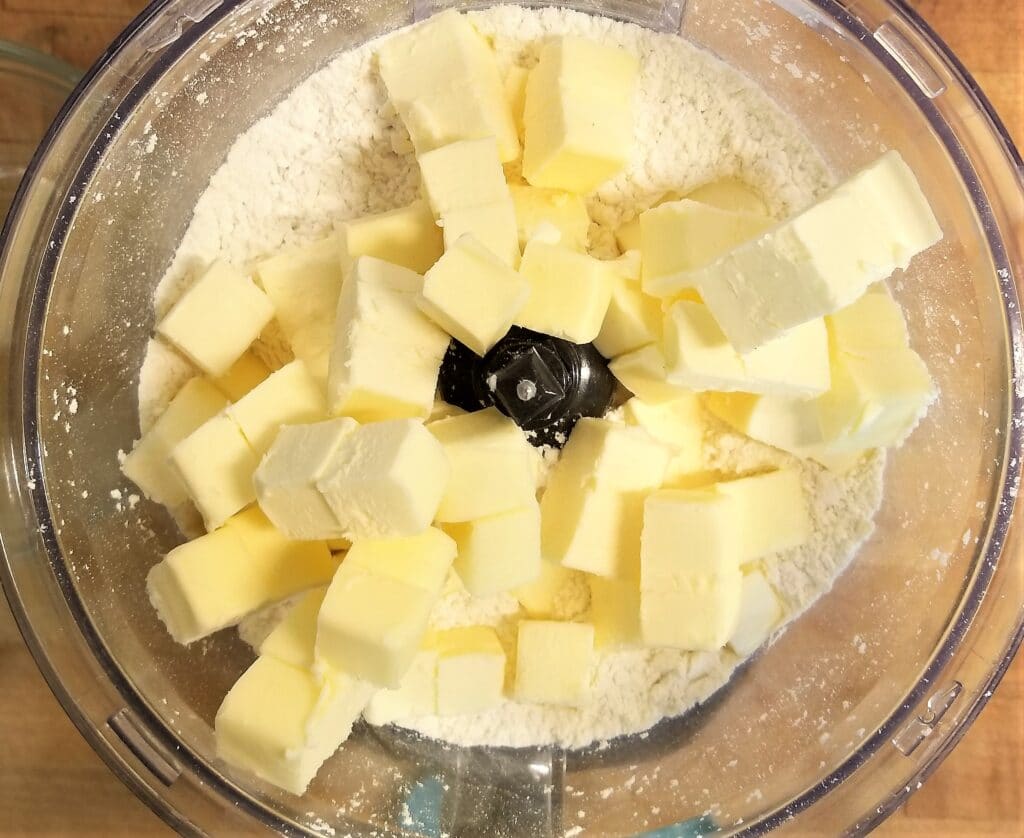
Add the butter chunks and pulse a few times to break up the chunks.
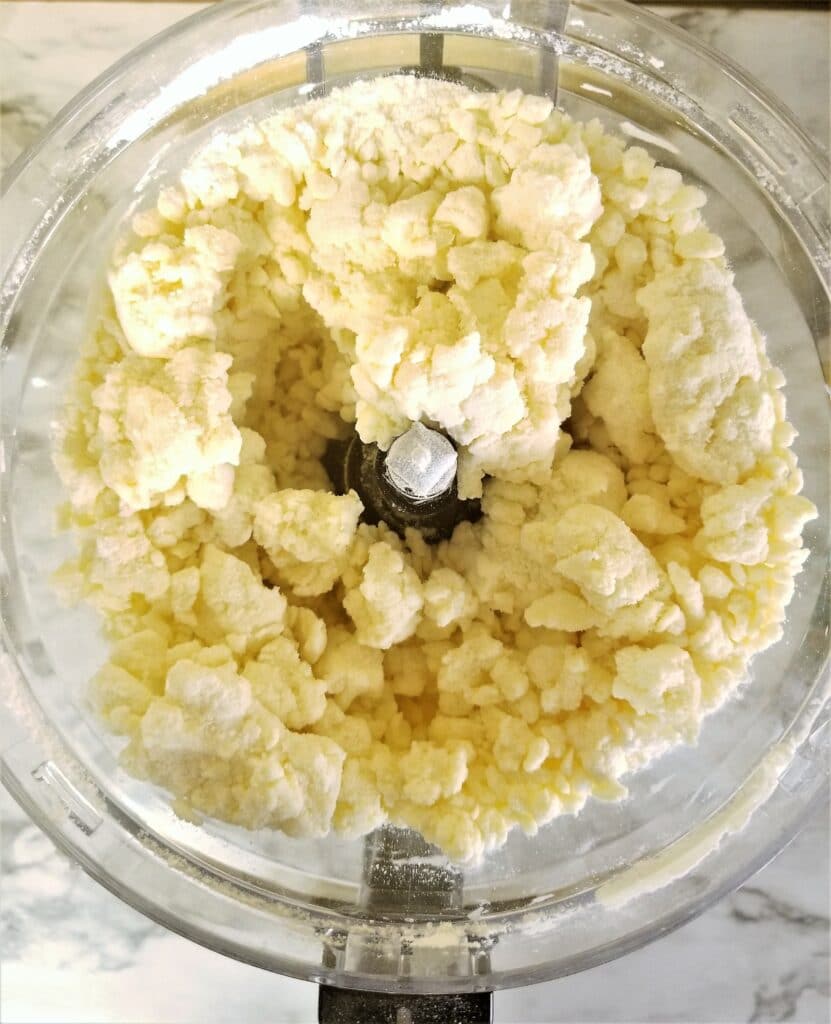
Add the vinegar, followed by the beaten egg, and pulse again. With the food processor on low speed, slowly add the ice cold water, a little at a time, until the dough begins to ball up. You may not need all of it, or you may need a little more. It all depends on your climate.
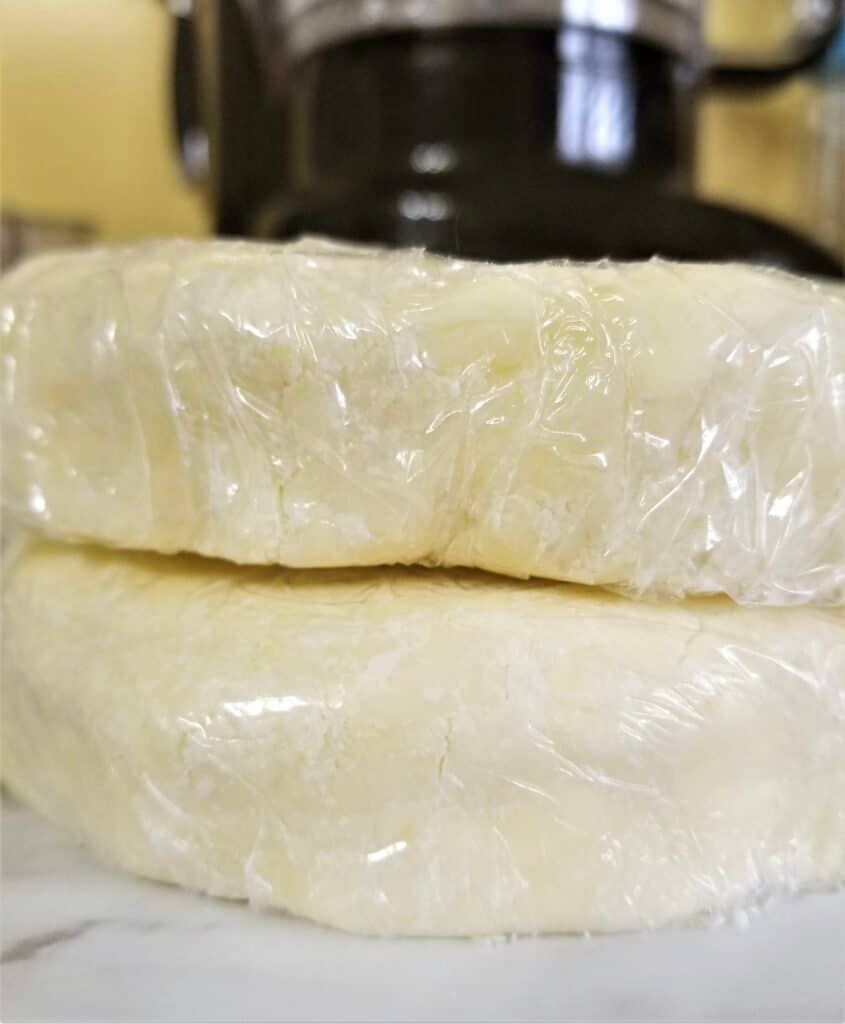
Remove the lid and the blade and divide the dough between two sheets of plastic wrap, pressing it together into rounds about two inches thick. Refrigerate for at least 30 minutes or up to 3 days.
Rolling out the Dough
You really won't get over how easy this dough is to work with! I was amazed myself when I first made it, and after making it for over years I'm just as amazed. If your dough has been in the refrigerator for more than 30 minutes, take it out of the refrigerator about 15-20 minutes before you plan on rolling it out. It's super hard when it comes out of the fridge (because of all that butter), so it needs to come to a cool room temp first.
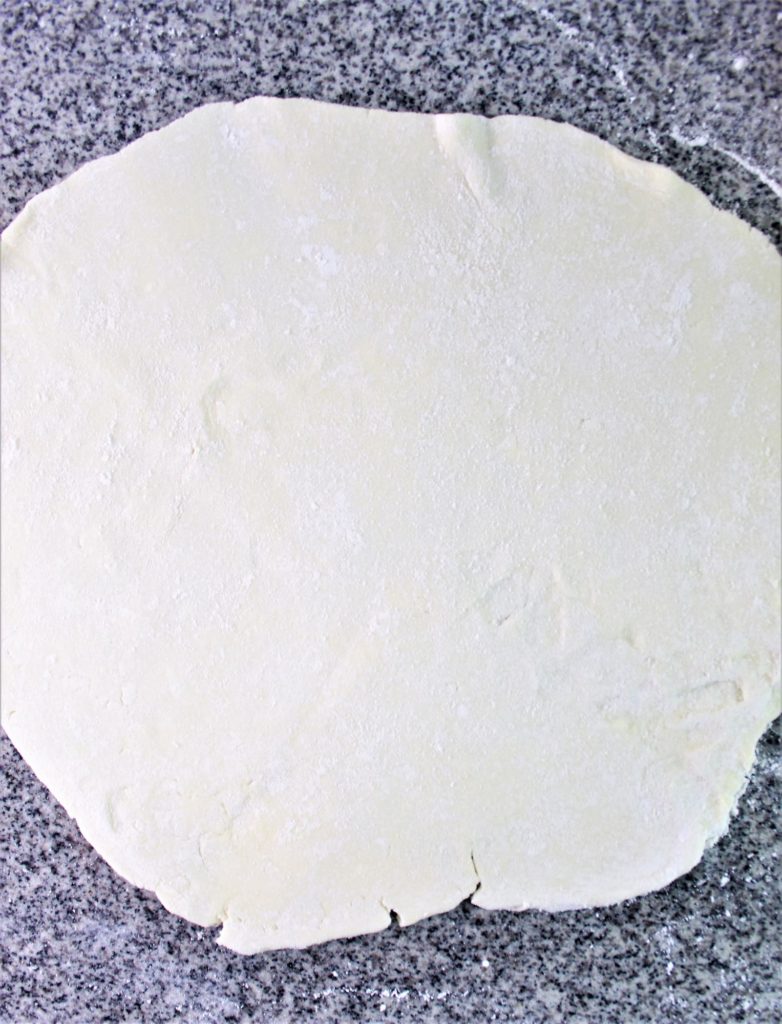
Place it on a lightly-floured surface and roll it one way forward, then roll it back towards you. Lift the dough and move it a quarter turn and do the same thing. Constantly lift and turn the dough, checking for sticking and sprinkling more flour as necessary. Don't overdo it with the flour, but if you did you can always take a pastry brush and brush off the excess.
Gluten Free Pie Crust FAQs
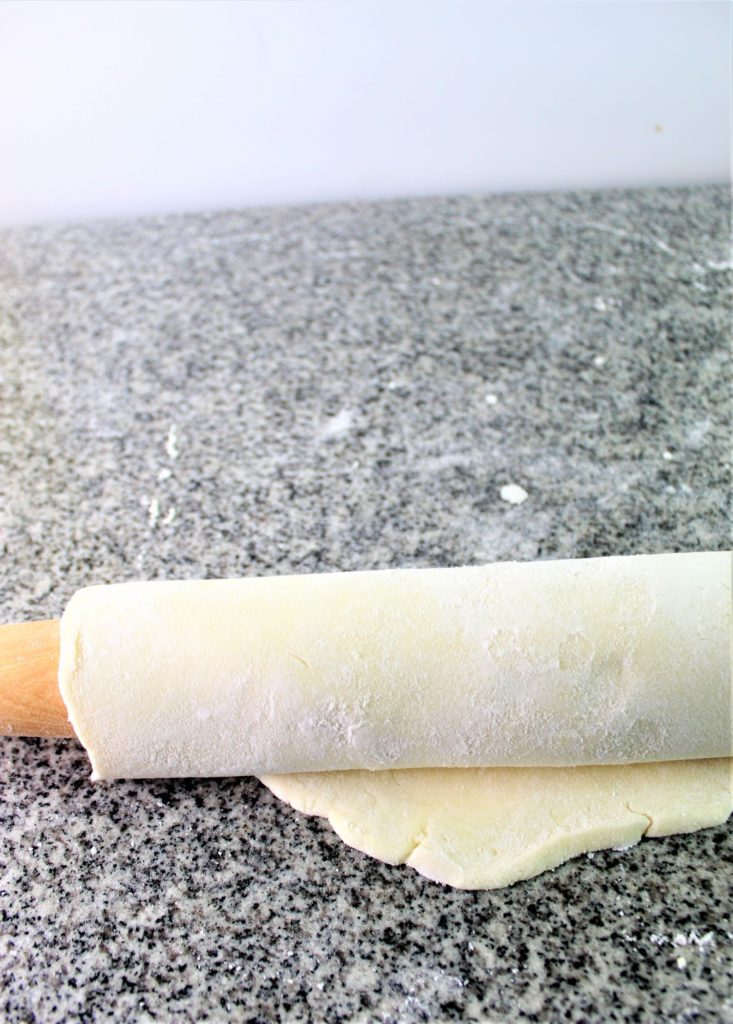
I like to roll it up onto my rolling pin, place it over the pie pan, and then unroll it. Another trick is to fold it in half and then again in half, place the point of the fold in the middle of the pan, and then unfold it.
You can get two normal-thickness pie crusts from one recipe, or you can roll them thin and get 3.
Don't throw away the scraps of dough! When you're trimming your crusts, there's bound to be some scraps. There are a lot of things you could do with those scraps, but my favorite is to put them on a baking sheet and sprinkle cinnamon sugar all over them. Place them in the oven with the pie and bake for a few minutes, just until puffed and golden. Soooo good, a little sweet flaky treat!!
Recipes That Use This Flaky Gluten-Free Pie Crust
- Incredible Gluten Free Pumpkin Pie
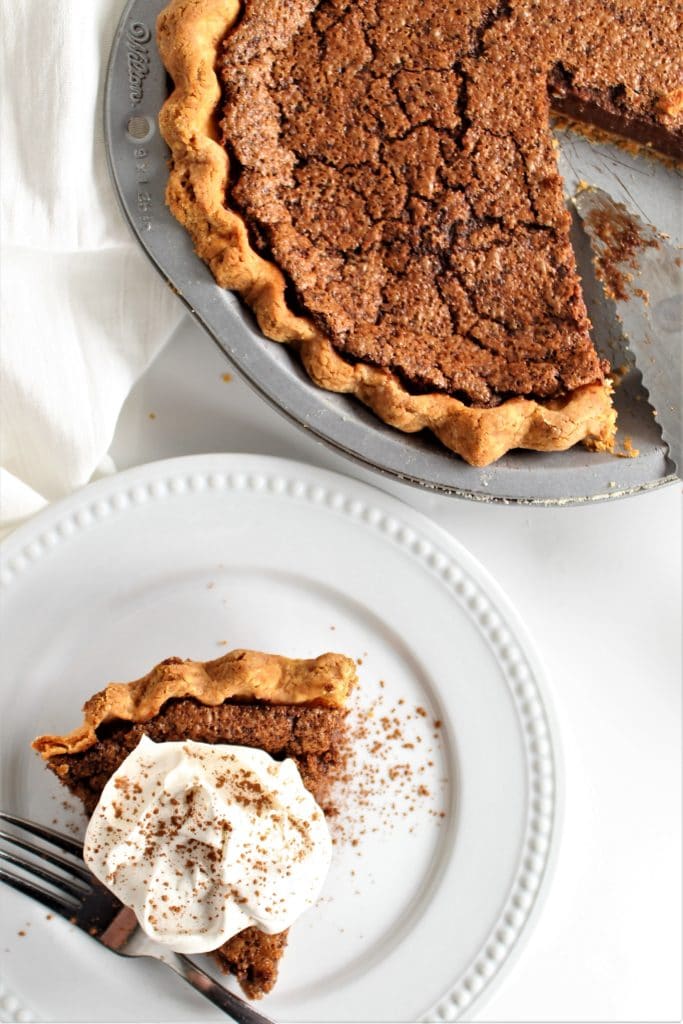
- Gluten Free Chocolate Chess Pie
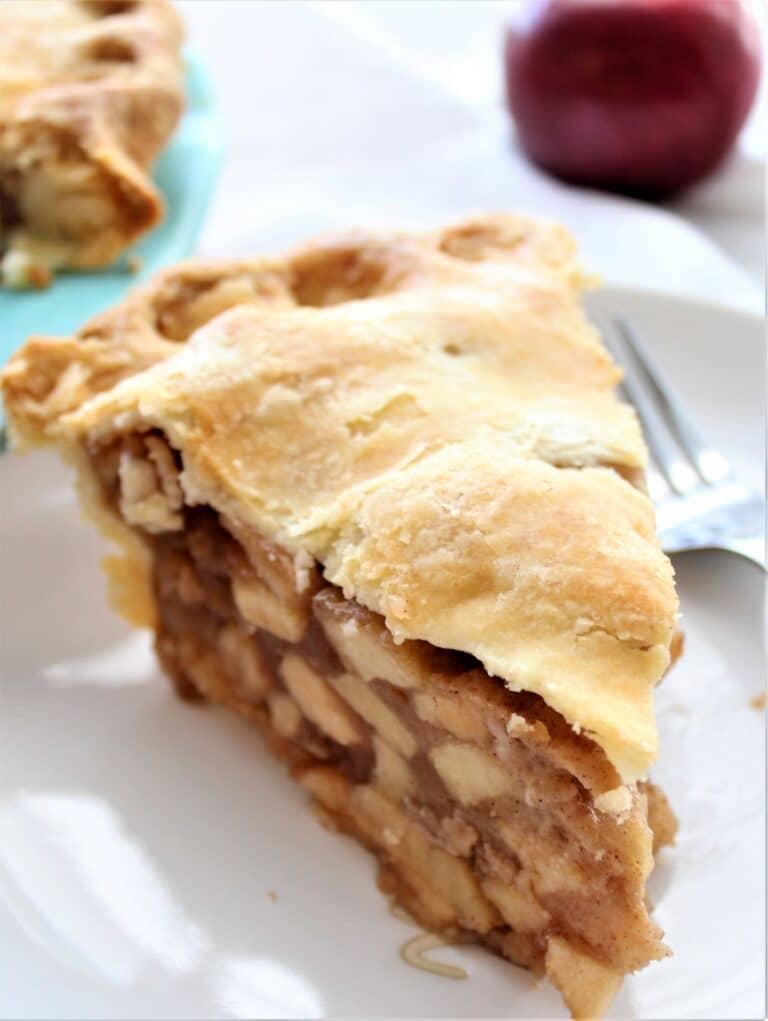
- Amazing Gluten Free Apple Pie
- The Best Gluten Free Sweet Potato Pie
- Perfect Gluten Free Peach Pie
- Gluten Free Peach Crumb Pie
- Triple Layer Gluten Free Coconut Cream Pie
- Gluten Free Blueberry Pie
- Gluten Free Apple Crumb Pie
- Best Ever Gluten Free Pecan Pie
- Easy Gluten Free Fresh Strawberry Pie
- Gluten Free Quiche Lorraine
- Gluten Free Apple Dumplings
Flaky All Butter Gluten Free Pie Crust Recipe
Equipment
- Rolling Pin
- food processor, if desired
Ingredients
- 3 cups (420 g) Kim's gluten free flour blend, plus extra for dusting (or your favorite blend that includes xanthan gum)
- 1 teaspoon kosher salt
- 1½ cups (339 g) butter, cut into ½ inch pieces and chilled
- 1 large egg, beaten and cold
- 1 tablespoon white vinegar
- ¼-⅓ cup (or more) ice water
Instructions
- In the bowl of a food processor, add flour and salt. Pulse to combine. Add butter and pulse several times until butter is the size of large chunks. Alternatively, place flour in a large bowl and add salt. Add butter and using your fingers or a pastry blender, blend into butter until the size of large peas.
- Pour the vinegar and beaten egg into the bowl and pulse to combine (or combine with a fork if not using a food processor).
- With the food processor running, slowly add water through the chute, a few tablespoon at a time. You may not need the full amount of water, depending on your climate. When the mixture comes together in the bowl, stop mixing. Of note, gluten free pie crusts do better when they are slightly wetter (because the flour will soak up some of the liquid).
- Divide the dough between two sheets of plastic wrap, flattening each into a round disk. Chill in the refrigerator for about 20-30 minutes.
- Roll out the dough onto a lightly floured surface into approximately a 12-inch round, moving constantly to avoid sticking. If it does stick, lightly sprinkle more flour. Roll dough onto rolling pin and carefully lift and unroll into the pie plate. Trim the edges of the dough and crimp the edges.
TO BLIND BAKE:
- Prick the bottom and sides of the dough all over with a fork. Place the crust in the refrigerator and chill for at least 30 minutes.
- Preheat the oven to 425° F. Remove the pie crust from the refrigerator and line it with heavy duty foil (my preferred method) or parchment paper. Fill it with pie weights, beans, rice, any combination of those, or granulated sugar (it will get slightly toasted and you can use it again for recipes).
- Bake for approximately 12-15 minutes, or until the edges look set, but are still "blonde". Carefully remove the foil and beans and continue to bake for about 5 more minutes, or until the bottom and sides are no longer shiny. Cool the crust completely before proceeding with your recipe.
FOR DOUBLE-CRUST PIES:
- Roll out the bottom crust and add your filling of choice into the crust. Roll top crust out and place on top of filling. Crimp as desired to seal. Vent and proceed as per your recipe instructions.
Notes
Adapted from Perfect Pie Crust by The Pioneer Woman.
This recipe was originally posted in November 2018. It has been updated with new photos, a video, and several tips.



SMJ
So, I had pretty much given up on being able to make a GF crust that was actually tender and flaky, and not impossible to work with. I stumbled across this recipe and was super skeptical, but gave it a shot. OMG. I don't think I'm exaggerating when I say it's a life changer. It really, truly is tender, flaky, and easy to work with! My crusts are no longer seasoned with swear words and disappointment. Thank you!!
Kim
Oh, hahaha!! I love your analogy (mine were also "seasoned with swear words" before developing this recipe! So glad you like it 🥰🥰🥰
Azlina Abu Hassan
Kim, if I were to follow the exact recipe as above and divide it into 2, what size pan would fit it? It looks like an 8 inch pan?
Kim
There's enough dough in this recipe that it will actually fit in a larger pan as well, but yes, 8 inch is the standard size.