Once you make homemade ricotta cheese, you will NEVER go back to store bought again. It's so smooth and creamy and you won't believe how easy it is to make!
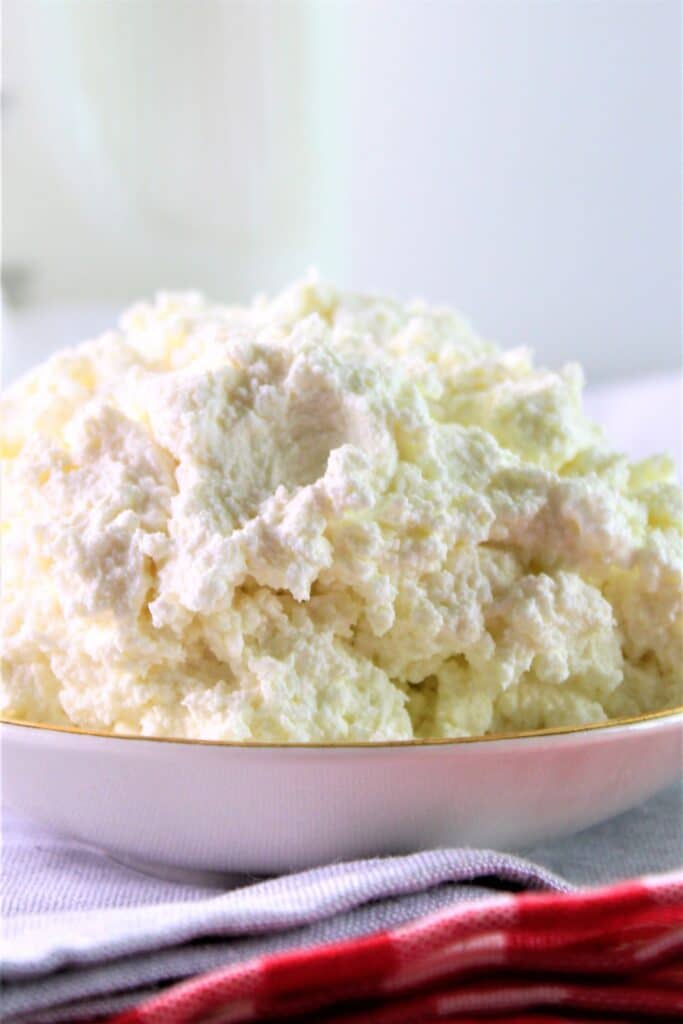
I know you may be thinking "why in the world would I make my own ricotta cheese when I can buy it in the store?" "And not to mention it's gluten free anyway." "In addition to having to make everything ourselves, now we have to make cheese, too? No way!!"
Hear me out. Store bought ricotta cheese is fine for when you use it as an ingredient in anything baked. On a white pizza perhaps? But if you want to use it where it's the shining star, homemade ricotta cheese takes your recipe to another level.
How to Make Homemade Ricotta Cheese
Ever since I made fresh homemade ricotta cheese years ago, I never looked back. If I wanted or needed ricotta for something, the first thing I'd do is check my fridge to see if I had enough milk and cream. If so, I'd make it in less time than it would take me to run to the store and buy it!
There are only 4 ingredients required to make this homemade ricotta. Milk, cream, salt, and an acid. If I have fresh lemons, I'll use lemon juice. But if all I have is white vinegar (which I always have on hand), that's what I'll use. Some recipes for ricotta cheese don't call for heavy cream, but I like the way it makes a more creamy cheese. The ratio of my recipe is 3:1, so three parts milk to one part heavy cream.
Heat the milk, cream, and salt over medium heat, stirring occasionally, until it begins to just start simmering. If you have a thermometer (affiliate link) it will register 190 degrees F. You can make it without a thermometer, however, by checking for the formation of tiny bubbles around the edges of the pan and a few in the middle.
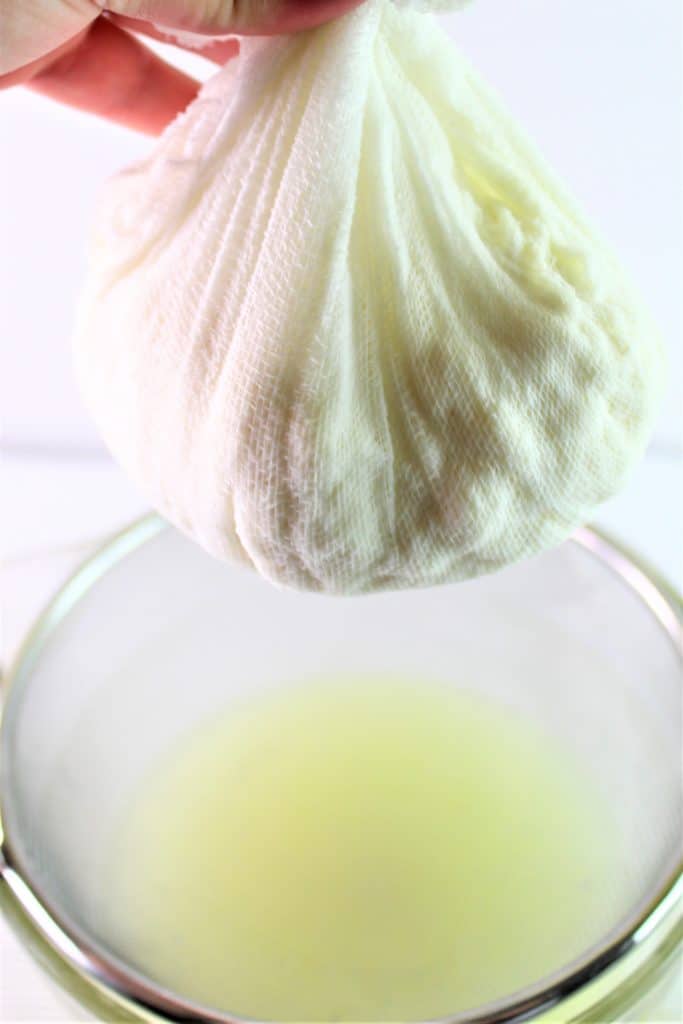
Turn off the heat, add the acid you're using (lemon juice or white vinegar), and stir. Let it sit undisturbed for 5-10 minutes. Use a spider (affiliate link) to scoop out the curds into a strainer lined with cheesecloth and placed over a large bowl. Guess what? You've just made cheese!!!
Changing the Consistency of Your Ricotta Cheese
If you like a thinner, wetter ricotta cheese that's great for topping pizzas or adding to baked pasta dishes, strain the cheese for a minimal amount of time (just a couple of hours).

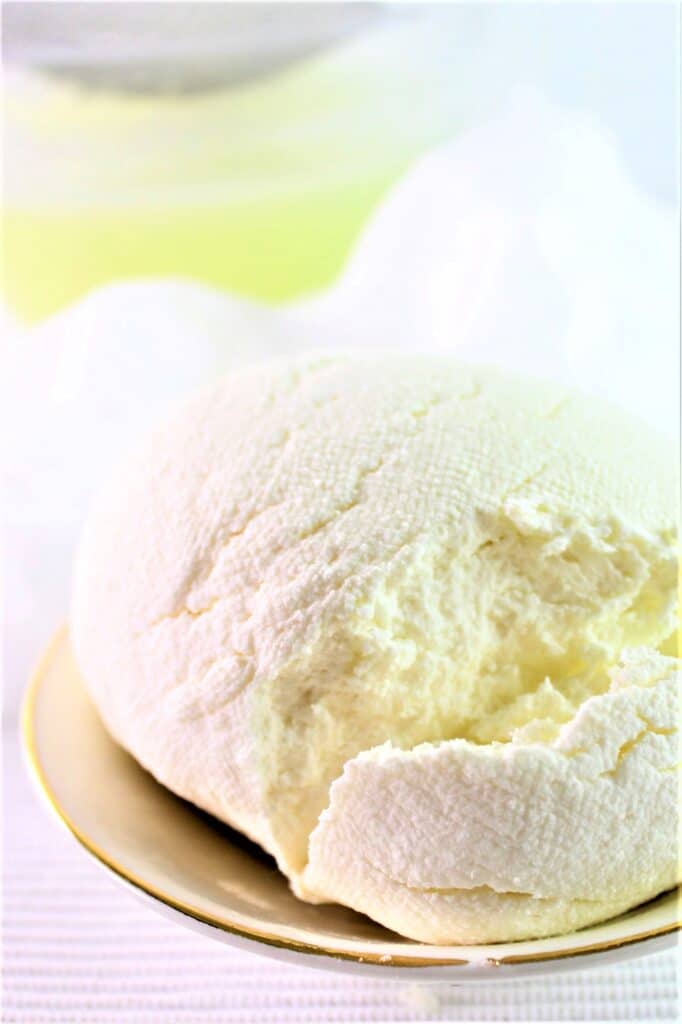
But if you're like me and really love a firm ricotta cheese (almost the consistency of mascarpone), fold the cheesecloth up and over the cheese and refrigerate it in the strainer and bowl overnight. The texture of this firmer ricotta cheese is so creamy and smooth!
Ways to Use Homemade Ricotta Cheese
There are so many ways to use homemade ricotta cheese, I can't even begin to list all of them. But here are a few to get you started:
- As the main ingredient in the filling for my gluten free cannoli
- Topping for a white pizza or white spinach pizza (use my gf pizza crust)
- In baked ziti
- Spread on crostini made from my gluten free artisan bread or gluten free Italian bread and topped with figs and drizzled with honey
- Layered in lasagna
- Served in a bowl with some fresh berries and/or honey for breakfast
Eat Your Curds AND Whey!
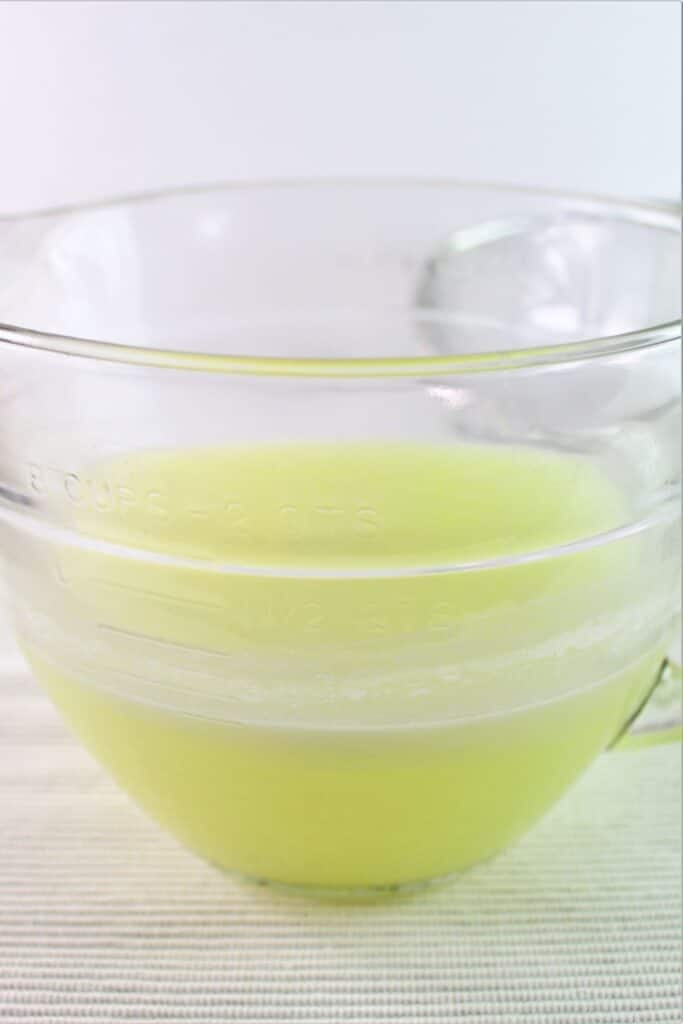
The whey, which is just the liquid byproduct of cheese making, can be used in so many instances as well, so don't pour it down the drain!
- Use in place of the liquid in a bread recipe (this would work in any of my bread recipes)
- Add it to smoothies and shakes
- Use as a cooking liquid for rice, potatoes, grains, or pasta
- Add it to soups and stews
Making your own ricotta cheese is one of the easiest things, and the finished cheese is SO much better than store bought. Try this recipe and you'll never go back to store bought again!!
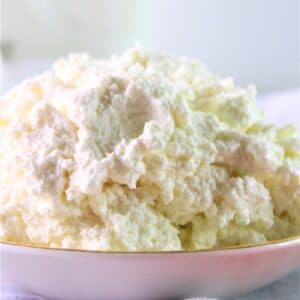
Homemade Ricotta Cheese
Equipment
- cheesecloth
- sieve
Ingredients
- 6 cups (1.44l) whole milk
- 2 cups (480ml) heavy cream
- 1 teaspoon kosher salt
- 4 tbsp (¼ cup or 60ml) fresh lemon juice OR white vinegar
Instructions
- Heat the whole milk, heavy cream, and salt over medium heat in a Dutch oven, clipping a thermometer on the edge of the pan if desired. Heat until just before it begins to boil, stirring occasionally. Tiny bubbles will form around the edge and, if using a thermometer, it will register 190° F.
- Turn off the heat and add the lemon juice or vinegar and stir to combine. Let the mixture sit for 5-10 minutes to allow the curds to form.
- Line a large sieve with two layers of cheesecloth and place it over a large bowl. Pour the curds and whey through the sieve, where the curds will stay in the cheesecloth and the whey will drain into the bowl.
- For a thinner, looser ricotta cheese, drain for only a few hours and then refrigerate. For a thick cream cheese (my preference) fold the flaps of the cheesecloth over the curds and place the whole thing in the refrigerator overnight. When you un-mold the cheese the next day, it will be very thick and cream cheese-like in texture.
- Store in the refrigerator in an airtight container for up to 4 days. Use in any recipes calling for ricotta cheese.




Jeanine
Can this be made with goat milk and cream?
Kim
I haven't tried it, but I feel like it would absolutely work!
Gillie
Oh my! Yesterday while waiting for my paneer to finish pressing, I fired up the computer to check on you naan recipe, and lo and behold a recipe that starts the same as paneer! The only difference is paneer has no salt and isn't pressed.
Kim
Oh wow! I didn't realize they're so similar. I'll have to check out how to make paneer 🙂
Pam V
Hi Kim, thanks for posting this. It’s very similar to making paneer cheese for Indian food, which I started making last year. I just never thought of making ricotta as well. I will definitely try this, thanks!
Kim
I just heard that from another reader! I had no idea and I love Indian food, so I'll have to check that out myself. Thanks, Pam 🙂