Once you make this AMAZING gluten free pizza crust, you'll never buy another prepackaged one again! If you're missing a great New York style pizza in your gluten free life (that folds!) look no further. You've found it!
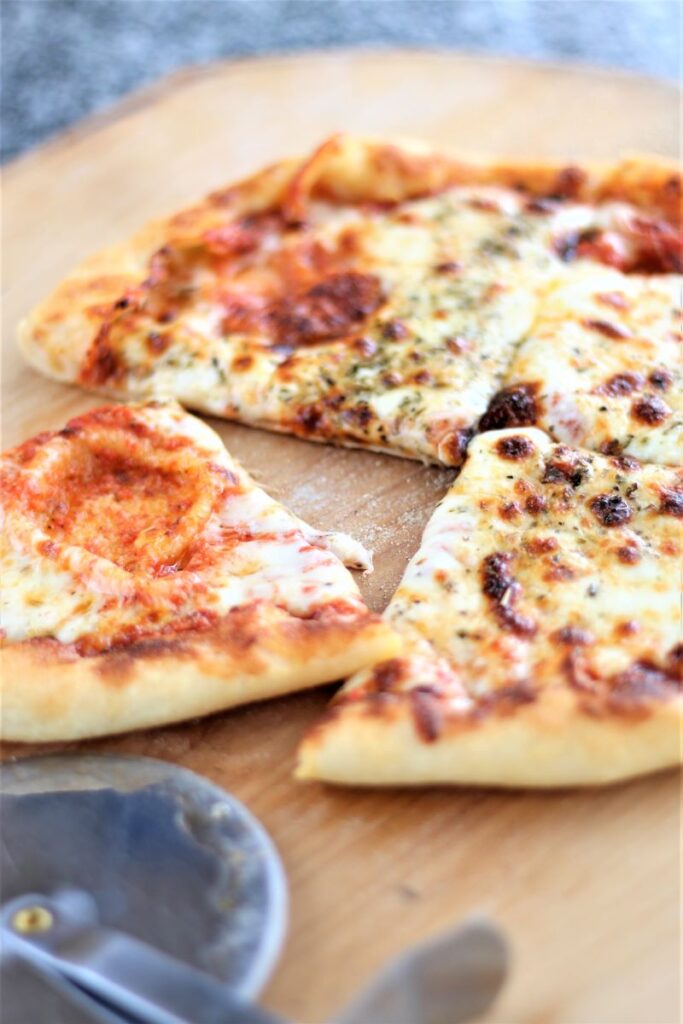
What Makes a Great Pizza?
There are all kinds of pizzas out there: thin crust, thick crust, Sicilian, etc, etc. I'm not a pizza snob. I will eat just about any pizza that's put in front of me. But I WILL NOT eat cardboard with sauce and cheese! And that, my friends, is sadly what is offered to us gluten free people.
Even if we felt like risking everything (with cross contamination) and ordering a gluten free pizza from a local pizza place, it's nothing more than cardboard with sauce and cheese.
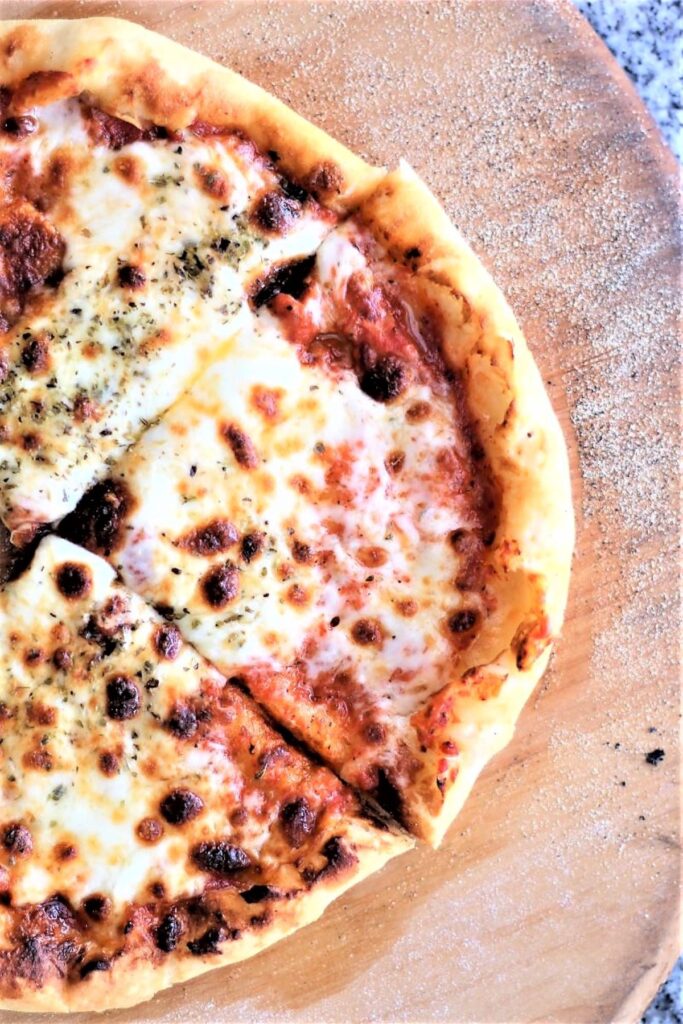
I LOVE my own gluten free pan pizza, but I also love New York style pizza. You know, the kind that you can fold over (if you choose to) that is slightly crispy and chewy at the same time, with bubbles of dough that have risen and created craters. This pizza has all of those wonderful traits and you can make it at home!! No more cardboard for us. Woohoo!!!!
Ingredients You'll Need to Make Gluten Free Pizza Crust
Creating a great gluten free pizza crust is no easy feat. One of the very things that makes pizza crust chewy is the very thing we're missing--gluten! But, with a few ingredients and my gf bread flour blend, we're able to create a gluten free pizza crust that is JUST LIKE its gluten-filled counterpart:
- Kim's gluten free bread flour blend -- there really is NO substitute for this flour blend. If you need to make things dairy free, there are suggestions right on my flour blends page.
- Additional xanthan gum -- this helps with the stretch of the dough.
- Instant yeast -- if all you have is active dry yeast, you'll need to "bloom" it in the water for the recipe. The water will need to be warm, not over 110 degrees F.
- Psyllium Husks--you can make this pizza crust without psyllium husks. However, adding them makes the dough a dream to work with and helps with the stretch.
- Kosher salt
- Honey--you can sub equal amounts of sugar (1 tbsp) if you can't have honey or want to make this vegan.
- Olive oil -- use extra virgin
- Water -- it doesn't need to be warm, unless you're not using instant yeast.
Add the dry ingredients to the bowl of a stand mixer and mix with a hand whisk until combined. On low speed and with the dough hook, slowly add the liquids (water, honey, and olive oil). Turn the speed up to medium high and knead for 5 minutes.
Scrape the dough with a bowl scraper like this one (one of my favorite kitchen tools) or a spatula. Cover the bowl and allow it to rise in a warm, draft-free area until doubled in volume, about 1-2 hours. If your rising area isn't warm enough, turn your oven on to the lowest setting. My oven has a "warm" function that heats to 160 degrees F. Allow it to heat up, turn it off, and place your dough in the turned off oven. Don't be afraid to make the proofing area nice and toasty to allow the dough to rise properly. This is one of the biggest mistakes people make when trying to bake my gluten free yeast recipes.
The Dough Gets Better with Age
You can double or even triple this recipe, and the longer it sits in the fridge the better it gets! You can make the dough one day and have pizzas the following day, or even up to 10 days afterward!! How great is that?
Letting the dough sit in the fridge actually increases fermentation. Fermentation is when yeast feeds off the sugars in dough and creates gas, which helps the dough rise. The gasses produced by the yeast during fermentation is what gives bread its flavor and aroma. Generally, more fermentation means tastier bread, or in this case, tastier pizza dough. It also helps with the stretch of the dough. It's similar to the effects of sourdough without fiddling with a starter!
Rolling out the Dough and Building a Pizza
Dump the dough onto a well-floured surface and knead it briefly, until it comes together into a fairly smooth ball. With a bench scraper, cut the dough into portions about 5-6 ounces each. Roll each of these into a somewhat smooth ball. Roll the pizza dough into about 10-inch rounds . You can make larger pizzas, but you're limited by the size of your steel/stone and your pizza peel.
Be liberal with the flour on your counter because this dough has a tendency to stick. Constantly roll and lift the pizza crust so it doesn't stick, adding more flour as necessary. You're looking for it to be a thickness of about ⅛th of an inch. Cover your pizza crusts while you prepare your oven for baking.
Making Your Home Oven Behave Like a Pizza Oven
I used to make pizzas quite often from scratch before I became gluten free. So I always tried to recreate the effects a pizza oven would give for the best possible outcome. I've found a pizza steel (affiliate link) to be the best option. I've had other pizza steels that were cheaper, but they were never as good as this one so look at it as "you get what you pay for." They're great for mimicking the effects of a pizza oven because they conduct heat 20 times better than a stone would. I'd also be lost without my pizza peel (paddle) (affiliate link) for launching the pizza into the oven.
Put your pizza steel on the middle rack of your oven and preheat it to 500 degrees F. Allow it to preheat for at least 30 minutes. When you slide the pizza onto the steel, the crust will bake first at 500 degrees, for about 6-7 minutes. Then you'll switch to broil to melt the toppings until bubbly, creating the best gluten free pizza you'll ever have!!
Gluten Free Pizza FAQs
I get this question a lot and the answer is YES!! You can bake the crusts without any toppings beforehand and load your freezer with them! To do this, bake for only 3-4 minutes without broiling, remove from the oven and allow to cool. Wrap well and freeze. Of note, the crusts without any toppings tend to puff up and get bubbly. I personally love those craters, but if you don't, feel free to prick them with a sharp knife or skewer to allow the air to escape. When ready to make a pizza, pull out a crust from the freezer, load it with toppings, and place it in the oven under the broiler for a few minutes. The crust is already mostly baked, so you don't need to bake it much further and you're just heating up the toppings and melting the cheese until crusty.
YES!!! I love this idea because you can have a hot pizza on the table in minutes with no prep work! Roll out the dough onto parchment, add the toppings, and place the pizza on a flat surface (or baking sheet that will fit in your freezer). Freeze the pizza until solid enough to wrap in plastic wrap and freeze. I like to put mine on a cardboard round, such as a cake round like this one. Preheat your oven to 450 degrees F with your pizza steel (or stone) on the middle rack. Slide the pizza onto the steel (or stone) and bake for about 10 minutes, or until the crust is puffed and the cheese is melted.
Although I highly recommend purchasing a pizza steel, especially if you're going to be making pizzas often (and you will once you taste this pizza crust), you can use a pizza stone. If you don't have a pizza stone, an overturned baking sheet can be used in a pinch, although you may need to bake the pizza for 5 minutes longer (or more).
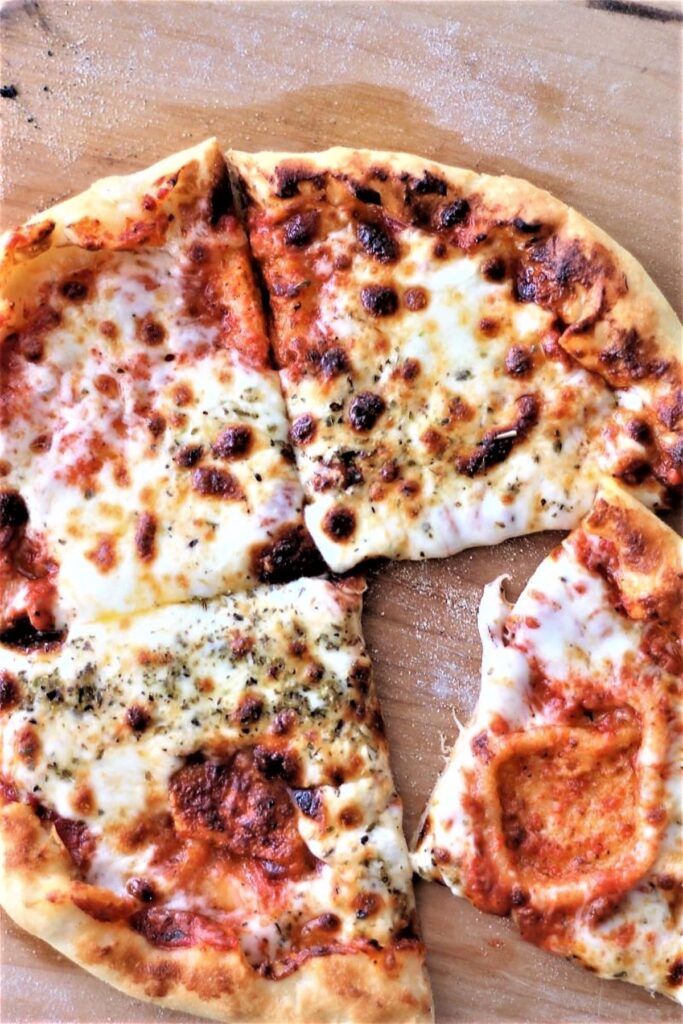
Get ready for the best gluten free pizza of your life!!! You will be blown away by how much this pizza crust is just like a New York style pizza!
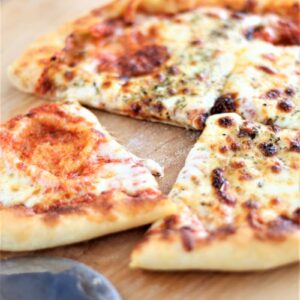
Amazing Gluten Free Pizza Crust
Ingredients
- 3 cups (420 g) Kim's gluten free bread flour blend
- 1½ teaspoon xanthan gum, in addition to what's already in the blend
- 1 tablespoon whole psyllium husks, or 1½ teaspoon psyllium husk powder *THIS IS OPTIONAL, BUT IF YOU DON'T USE PSYLLIUM HUSKS, YOU'LL NEED TO DECREASE THE WATER DOWN TO 1½ CUPS
- 1 tablespoon instant, or fast-acting, yeast
- 1 teaspoon kosher salt
- 1¾ cups (420 ml) water
- 2 tablespoon extra virgin olive oil
- 1 tablespoon honey
- 1 tablespoon corn flour, for sprinkling on pizza peel
Instructions
Mixing the Dough
- In the bowl of a stand mixer fitted with the dough hook, add all the dry ingredients and whisk to combine. Add the water, honey, and olive oil. Turn the mixer on low, using the dough hook, and mix just until combined. When fully incorporated, turn the mixer up to medium high and mix for 5 minutes. It will be sticky and stretchy and seem like a thick batter.
- Scrape the sides of the bowl to mound the dough into one large heap of dough. Cover the bowl with plastic wrap. Place in a warm, draft-free area to proof for 1-2 hours, or until doubled in size.
- Put the dough in the refrigerator overnight or up to 10 days.
Shaping the Dough
- Remove the bowl from the refrigerator and flip it over onto a heavily floured surface. Knead for a few minutes, adding more flour as necessary, until the dough is fairly smooth. It will still be a slightly sticky dough.
- Using a knife or bench scraper, cut the dough into approximately 3-4 pieces that are roughly 6 ounces each.
- Roll out each piece into about a 10-inch pizza (using extra flour as necessary and constantly moving the dough to avoid sticking). Cover the dough with a tea towel or plastic wrap and set aside to rest while you prepare your oven.
- Position your pizza steel (or stone) on the middle rack of your oven and preheat it to 500° F for at least 30 minutes.
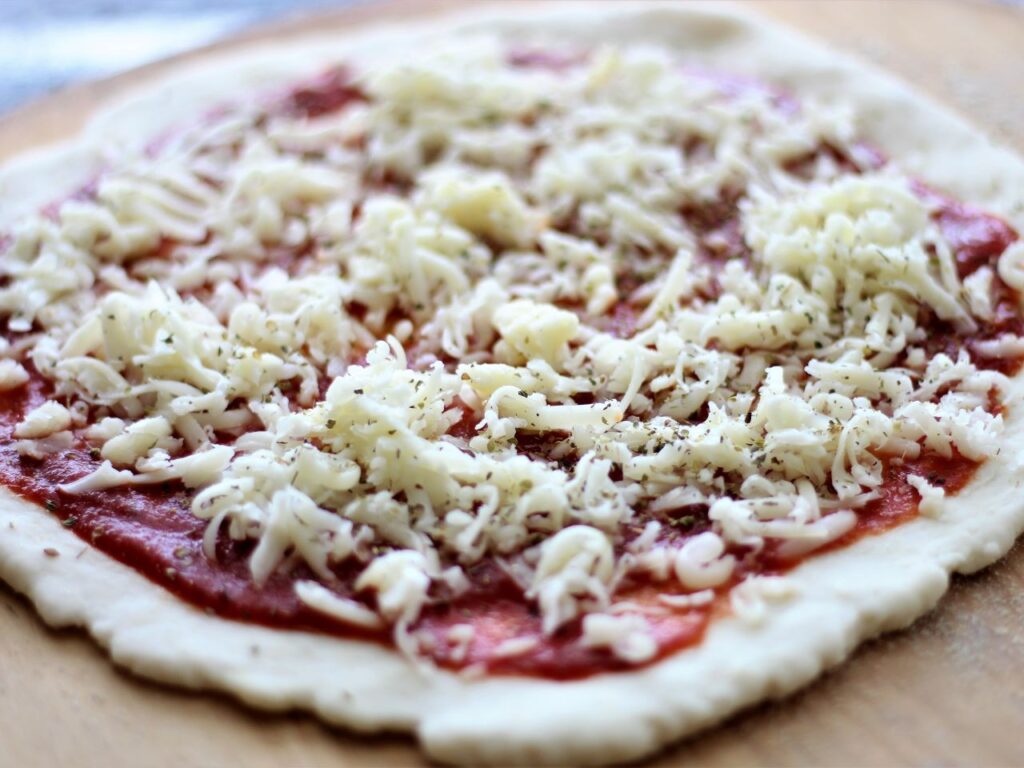
- Remove the plastic wrap from the top of the pizza crusts and sprinkle your pizza paddle (peel) with corn flour or cornmeal to keep it from sticking to the peel. Place dough onto peel and spread with sauce. Sprinkle with cheese and any other toppings of choice. Don't go overboard as you'll weigh the pizza down and it could possibly stick to the peel.
- Slide pizza onto steel (or stone) and bake for about 6-7 minutes, or until the crust appears set. Switch oven to broil (on high) and broil for about 1-2 minutes, checking after one minute, to melt the toppings. Remove carefully with tongs onto pizza peel. Enjoy!!
Notes
- These pizza crusts can be parbaked if you want to stock your freezer with them to make pizzas later. Bake them at 500 degrees F for only a few minutes and cool. Fill a gallon freezer bag with a couple of them, and place in freezer. To bake from frozen, turn broiler on to high and broil until toppings are hot and cheese is melted.
- Whole pizzas can also be made ahead of time. Roll out the dough, add sauce and toppings, and place on baking sheet or any flat surface. Freeze until firm enough to wrap in plastic wrap on a cardboard round (such as a cake round). Freeze for up to two months. When ready to bake, preheat oven to 450 degrees and bake (removing cardboard) on pizza steel or stone set on middle rack until crust has puffed and cheese is melted, about 10-12 minutes.
- For a different flavor and texture experience, instead of mozzarella cheese try shredded white American. It sounds crazy, but it is unbelievably creamy and so yummy!
This recipe was originally posted on September 17, 2018 and has been updated with new information, new photos, and a video.



Daksh
Hi Kim, thank you for sharing this. This is my go-to pizza dough recipe now. I'm running into one issue. It rises up really well outside (doubles in size in fact), but when I refrigerate it overnight, it deflates and now is only ~140% its original size. I only let it rise outside for about an hour, should I let it rise more outside? Why is it deflating? Thanks in advance.
Kim
That is completely normal. It does deflate when it goes into the fridge overnight (mine does too). It will still work as it should.
Daksh
Thank you for that clarification. That's really good to know.
allHungry
Delighted to discover this incredible gluten-free pizza crust recipe on your blog—truly a game-changer for those seeking a delicious alternative. Can't wait to give it a try! 🍕👏
Kim
I hope you like it as much as we do!!
Angel
Kim! I’ve tried a minimum of 6 different gf pizza crust recipes. Some were pretty good but had a pan or focaccia type crust. I’ve been searching for a crust that tasted close to restaurant style that wasn’t cauliflower based. You nailed it!!! My daughter and I love it. I wasn’t super happy to have another flour blend to make and keep on hand, but boy was it worth it. I love that it makes 4 pizzas and that the dough keeps in the fridge for longer than a day! I was worried when I was kneading the dough that it would come out too dry or stiff because I had to use quite a bit of flour to keep it from being sticky, but it came out perfect. Thank you, thank you!!!
Kim
Oh, so glad you like the pizza!! It is our absolute favorite and my gluten eating husband and son love it, too!!
Antonia
Just wanted to leave a comment for my fellow Europeans (since I can't seem to find instant yeast in my country):
Yes, this does work wonderfully with dry yeast as well as fresh yeast! I usually add the yeast into the warm water with the honey and let it sit for a bit to "wake up" before adding it to the dough, and that seems to work for me.
Also thought I'd just throw in the info here that this recipe does indeed also work with Schaer Mix B for breads. I've made this recipe many times with Kim's mix, but had only the Schaer Mix on hand this time, and it turned out just fine! I felt like it puffed up a little less when baking, but it definitely still worked and produced a delicious pizza!
Mary
The texture of this pizza crust is unreal!! Just like gluten pizza, if not better! I just have one issue with it, and I noticed the same thing happened when I tried your white bread recipe, it causes very bad bloating and gas.... I don't know if it's the starch content, or because I don't have a stand mixer? I tried mixing the dough with a hand mixer but the dough was so sticky, it went up in the machine...had to use wooden spoon. Have you noticed this issue? Do you think using a stand mixer would solve it? I really want a solution because I freakin love the texture of this dough!!!
Thank you! 😀
Lawanda
I tell you, I must have had an off night when I made this dough because I used the wrong flour and the wrong yeast, and it still turned out being the best GF pizza I ever had. I also pushed out the dough on the pan because the recipe does not tell you how to get the pizza to size. I used my huge cast iron pizza pan and it produces perfection as I expect cast iron to do. Also, I would have caught that I was using the wrong yeast if the recipe mentioned what the website mentioned in reference to needing to bloom the yeast first if it's active dry yeast.
Steve
Hi, thank you for this lovely recipe. I have been diagnosed with coeliac disease for a long time and to be able to have a pizza that tastes like a pizza is beautiful thank you. I recently have also been diagnosed as lactose free and I just need to know can I substitute Whey soy protein power instead of the whey isolate powder. Would I have to do any adjustments to the water level as it looks like the soy powder is denser than the whey isolate powder?
Kim
I'm so glad you liked the pizza, Steve! You should be able to substitute soy protein powder 1:1 for the whey. However, just a side note. Whey protein isolate is actually lactose free!
Pablo
Hi Kim! Love this recipe, it has been my recipe for pizzas for the last months. I have trouble in finding whey protein for the flour blend. However, I have discovered that replacing it with equal weight of chickpea flour and reducing water amount to 380 ml, works really well! The crust si delicious. Maybe this information will be useful for someone else. Greetings!
Kim
Thanks, Pablo!!!