There's nothing quite like fresh pasta, and this homemade gluten free pasta is no exception! With just a few simple ingredients, I'll show you how easy it is to make.
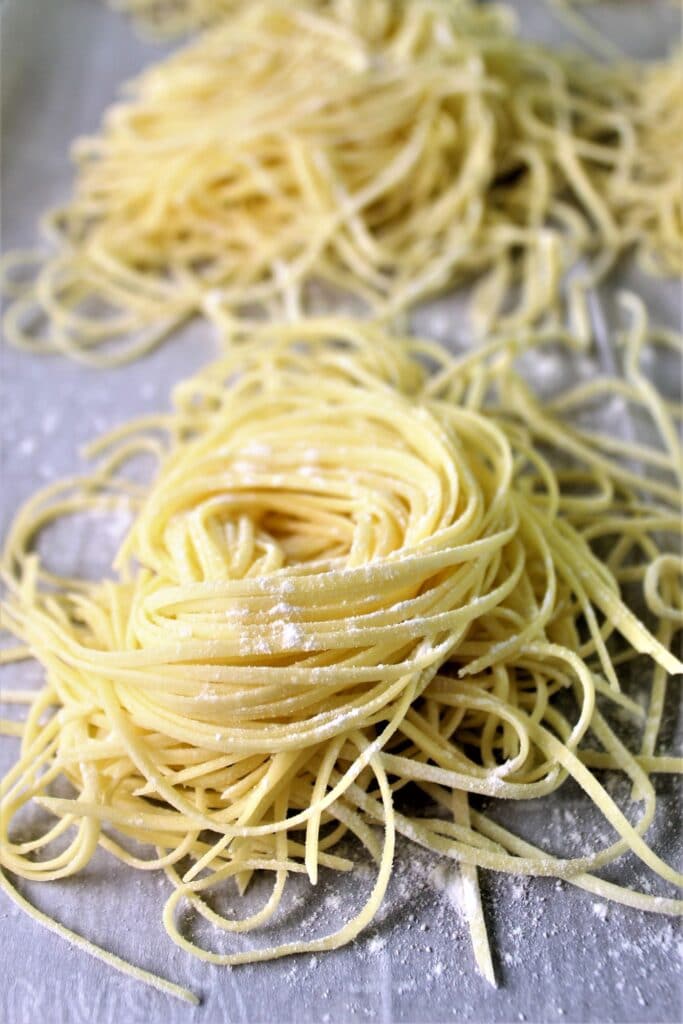
There are several great gluten free pasta varieties on the market these days, and I'm not knocking 'em. I'm SO, SO glad that we actually have options in the grocery stores for staples such as pasta.
Even as there are several great non-gluten free pastas out there, people often make homemade pasta because it's 1) fresh, 2) fun to make, and 3) delicious!
What I love about homemade gluten free pasta is that it doesn't fall apart like store bought gf pasta often can. Especially if you want to make a pasta dish that's cold, such as a pasta salad, or even one that often gets reheated in my house (my favorite pasta ever--simple broccoli pasta).
The Ingredients for Homemade Gluten Free Pasta
There are just a few ingredients needed to make homemade gluten free pasta:
- Kim's gluten free bread flour blend--the protein in my blend helps with the stretchiness of the pasta dough
- Tapioca starch--additional tapioca also helps with stretchiness
- Whole eggs
- Egg yolks--extra egg yolks add richness, silkiness, and color to the dough
- Salt
- Olive oil
- Water
Versatile Mixing Method
The good news about this pasta dough is that if all you have is a bowl and a spoon, you can make it! Actually, you could even make it right on your counter, but it does get pretty messy initially.
I've often used a very large shallow bowl to mix this together and quite often I only use my hands to mix it! But my favorite method for mixing is in a food processor. It does all the heavy kneading for me so I don't have to put a lot of muscle into it. This pasta dough can also be mixed together in a stand mixer or with a handheld mixer. If your handheld mixer has dough hook attachments, even better.
Dump all the ingredients except the water into the bowl, food processor, or on the counter and stir well. Slowly add the water, a little at a time, until the dough comes together and is just a little bit tacky. With gluten free pasta, you'll want your dough wetter than gluten-filled pasta dough, just because the flours tend to sop up more of the liquid and it all evens out.
Rolling in the Dough
There are two ways to roll out the dough (actually three if you're really counting all of 'em). If you have a rolling pin and that's it, get all your aggression out and really roll that dough out to as thin as you possibly can.
You can cut it as thick or thin as you want using a good 'ole chef's knife, into spaghetti, linguine, fettucine, etc. Or you can leave it in long lasagna sheets or stuff it to make ravioli.
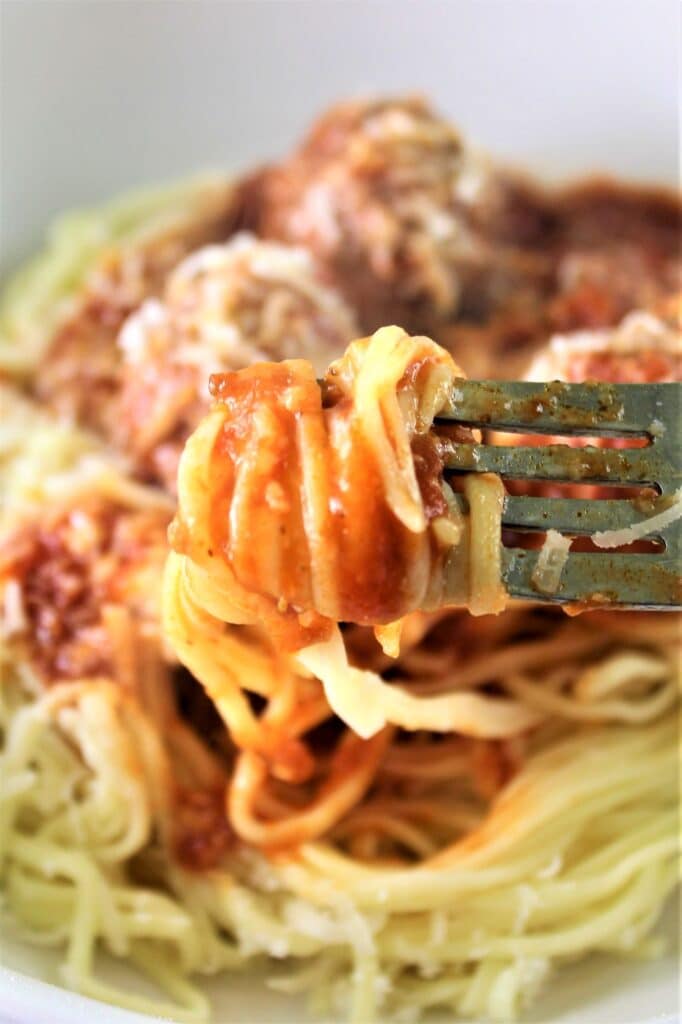
But if you happen to have a pasta machine, you can easily roll it through the sheeter and then into the cutter to cut those long noodles. For a while, I had this one (affiliate link) that you screw to the side of your counter and hand crank. I found it to be tedious and eventually bought this one (affiliate link) that attaches to a KitchenAid mixer (the one in my video--affiliate link) and never looked back.
Making Different Shapes
There are so many shapes of pasta out there, I wouldn't even begin to try to name them all! And I'm also no expert on how to make those shapes. But there is someone who is, and his name is Luca D'Onofrio. He is a pastaio, which is just a fancy name for an expert pasta maker.
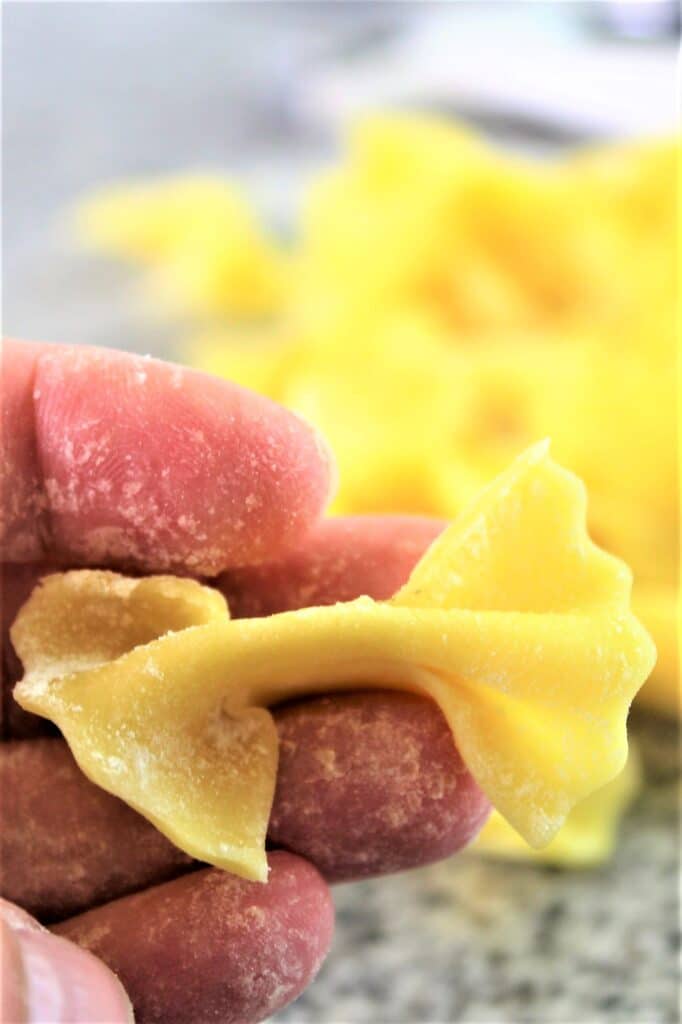
I've watched this video of him making pasta on YouTube at least 20 times and every time it's just so mesmerizing. He makes it look so easy, and I've actually made bowties (farfalle) and a few other shapes through watching his video. I'll defer to him for teaching you how to do those, but most of them are pretty easy.
Storing Fresh Pasta
If you're serving your fresh pasta within a few hours of making it, simply sprinkle it with a little extra gluten free flour so it doesn't clump up or stick to itself. Cover it with plastic wrap and place it in the refrigerator until you're ready to boil and serve.
It can be held in the fridge for just a day or so if you're making it one day and serving it the next. But if you don't plan on eating it after a day, the best way to store it is in the freezer.
I like to put mine in a gallon ziptop plastic baggie in individual "nests" and press out as much air as possible before zipping. That way, if you only want a single serving of pasta you can easily remove one "nest" at a time (or a couple for two servings, etc).
Cooking Homemade Gluten Free Pasta
Homemade pasta cooks really fast, within about 3 minutes or so. I wouldn't go beyond that for al dente, but test a noodle for doneness before removing from the water.
I like to fill a measuring cup with some of the pasta cooking water before draining the pasta, just in case I need it to thicken the sauce I'm making. The water for gluten free pasta is always full of lots of starch, which makes it perfect for thickening sauces.
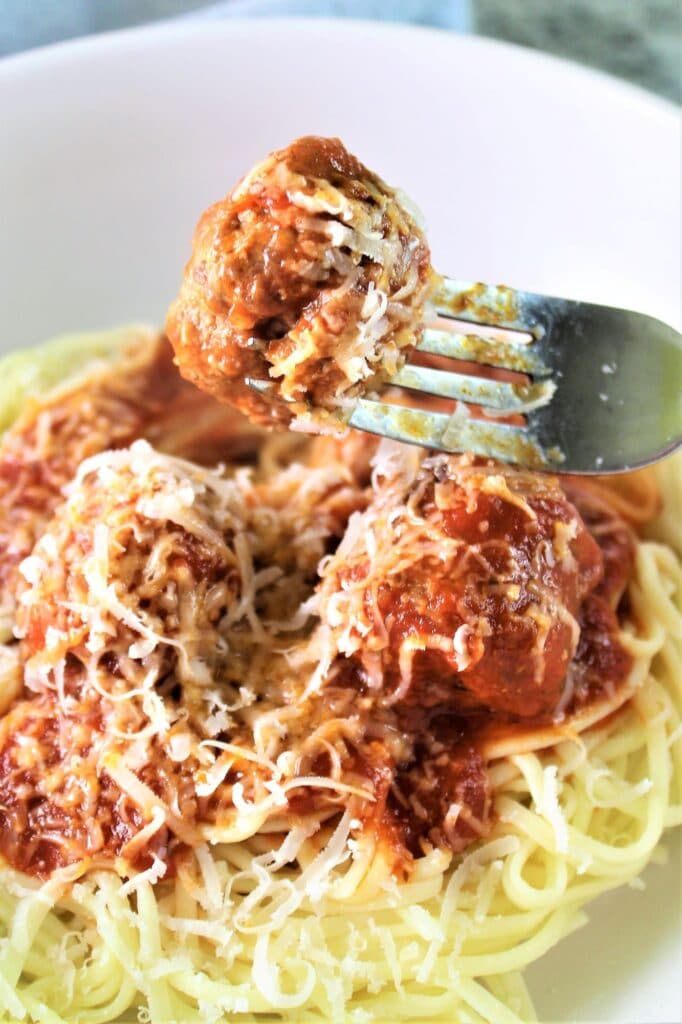
Sauces to Serve with My Homemade Pasta
I know it seems like extra work, but sometimes you just want the shapes of pasta you want, right? And fresh pasta BLOWS dried pasta out of the water. It's so easy, you may never go back to boxed pasta again! Think of the pastabilities (hello, cheese ravioli!)😜
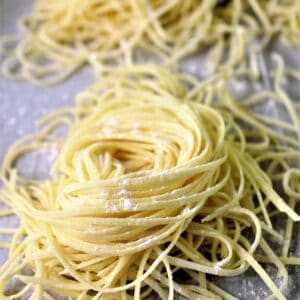
Homemade Gluten Free Pasta
Ingredients
- 2 cups (280 g) Kim's gluten free bread flour blend
- ¼ cup (30 g) tapioca starch
- 1 teaspoon kosher salt
- 2 large eggs
- 4 large egg yolks
- 1 tablespoon olive oil
- 2-4 tablespoon water
Instructions
- In the bowl of a food processor or in a large bowl, add flour, tapioca starch, and salt. Pulse to combine.
- Add eggs, egg yolks, and olive oil and pulse to combine. Slowly drizzle in water just until dough starts to come together on top of the blade. If mixing in bowl, add water until dough feels slightly tacky, not dry at all, but not really wet.
- Knead until smooth on flour surface and wrap in plastic wrap. Allow to sit for 30 minutes.
- Working with half the dough at a time, rewrap the other half in plastic wrap and set aside. Flatten the dough into about ¼-inch thick. Run it through a pasta sheeter 2-3 times on the 1st setting to smooth it out, folding it over itself before putting it back through. Turn the knob to the 2nd setting and run it through once, then the 3rd, 4th, and 5th, or to as thin as you'd like (I stop after one time on setting 5). Alternatively, roll the dough on a well-floured surface with a rolling pin to desired thin.
- Use the spaghetti cutter or fettuccine cutter to cut the dough. Alternatively, roll the dough into a log and cut with a knife to desired thickness.
- Cook the pasta in a large pot of salted water until al dente, about 3 minutes, depending on the size and thickness of your pasta.




Susan
Can I freeze the dough and then make which kind of pasta I want once I pull it out of the freezer? I am making your lasagna and it only needs a half batch of noodle dough. I am not sure what I want to make with the other half and don’t plan on using it soon.
Kim
Absolutely! I do it all the time.