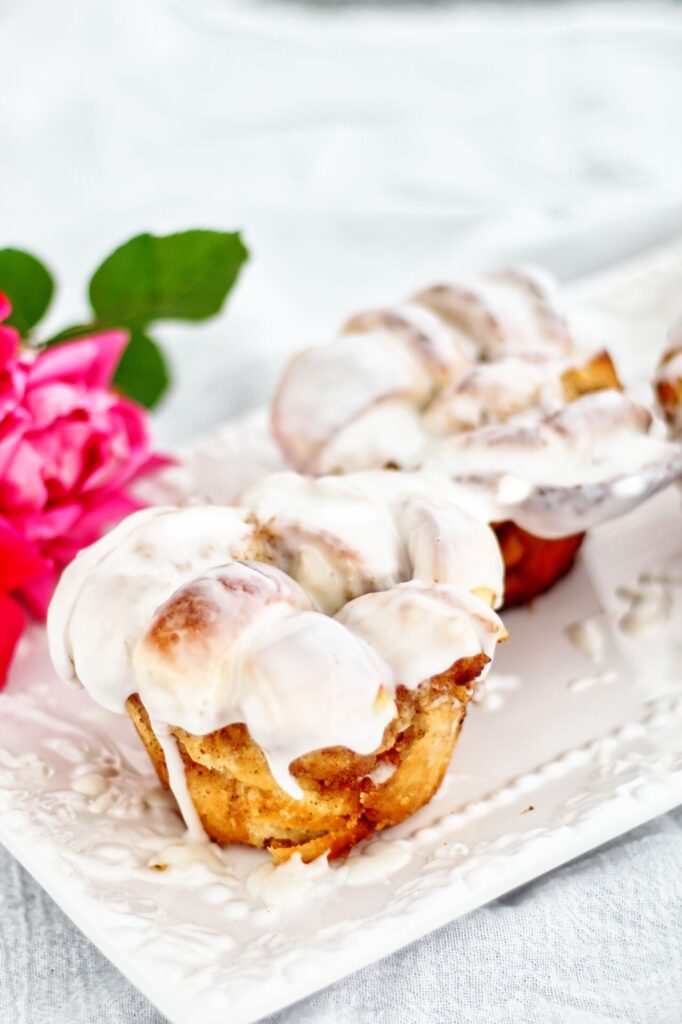
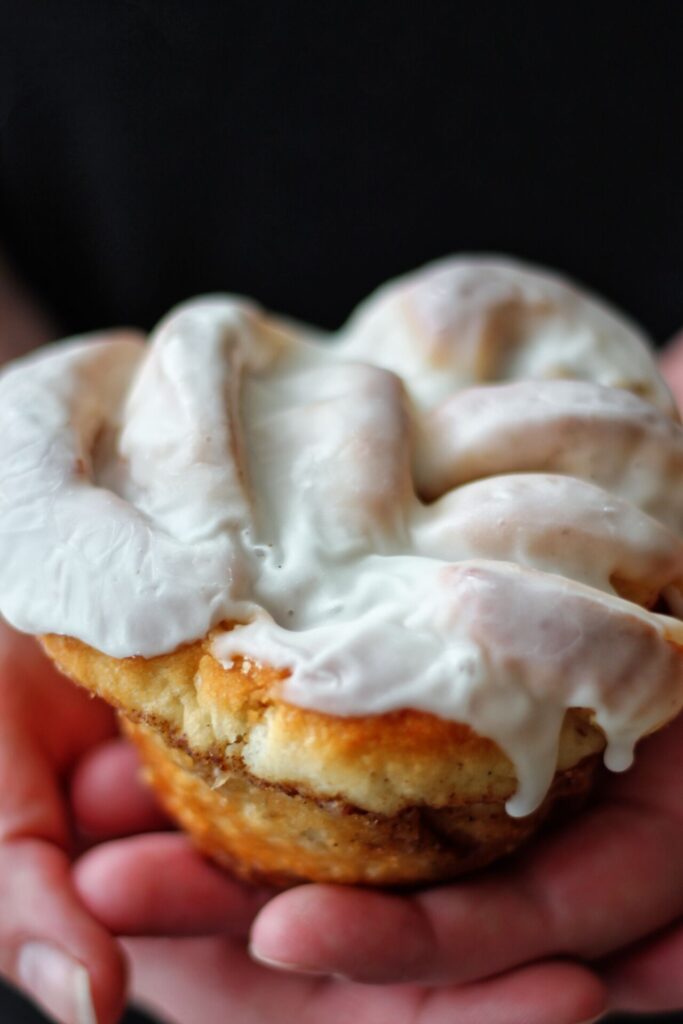
These Gluten Free Cinnamon Knots are made with sweet dough that's been braided with a cinnamon sugar filling and dunked in a sinful glaze.
Some of the items linked in this post are affiliate links, meaning, at no additional cost to you, if you click through and make a purchase, I will earn a small commission.
Oh, baby! For all of you cinnamon roll lovers out there, you may have found yourself a new lover in these Gluten Free Cinnamon Knots. Holy moly, these are absolutely wonderful!!! They're like a regular cinnamon roll on STEROIDS!
what you'll need to make these beautiful pastries
the dough
If you've made any of my sweet dough recipes, you're already almost there! These knots use the very same sweet dough, which consists of:
- Kim's gluten free bread flour blend -- I know, you guys. I know it's a pain to get all of the ingredients to make the bread flour blend, but you have to trust me on this. You will not get the same results without this blend. I'm working on getting it in retail stores and online, but until then I'm giving you the recipe for you to make it yourself.
- Sugar -- don't balk at the amount of sugar in these sweet rolls. Not only does sugar add sweetness, but it also plays a HUGE roll in the texture of the dough. Softness is what we're after and without all that sugar, we won't get it.
- Butter
- Eggs
- Milk
- Yeast
- Psyllium husks
- Baking powder
- Salt
the filling
- Butter
- Brown sugar
- Ground cinnamon
the glaze
- powdered sugar
- milk
- vanilla
so how do we make cinnamon knots?
- Make the dough -- I won't go into how to make the dough in this post because it's in so many of my other posts, but you'll find the detailed recipe and video for it here.
- Roll the dough out to 14 by 12 inches. Spread the filling on the dough to all edges. If your butter isn't soft enough, it won't be easy to spread so make sure the butter is very soft.
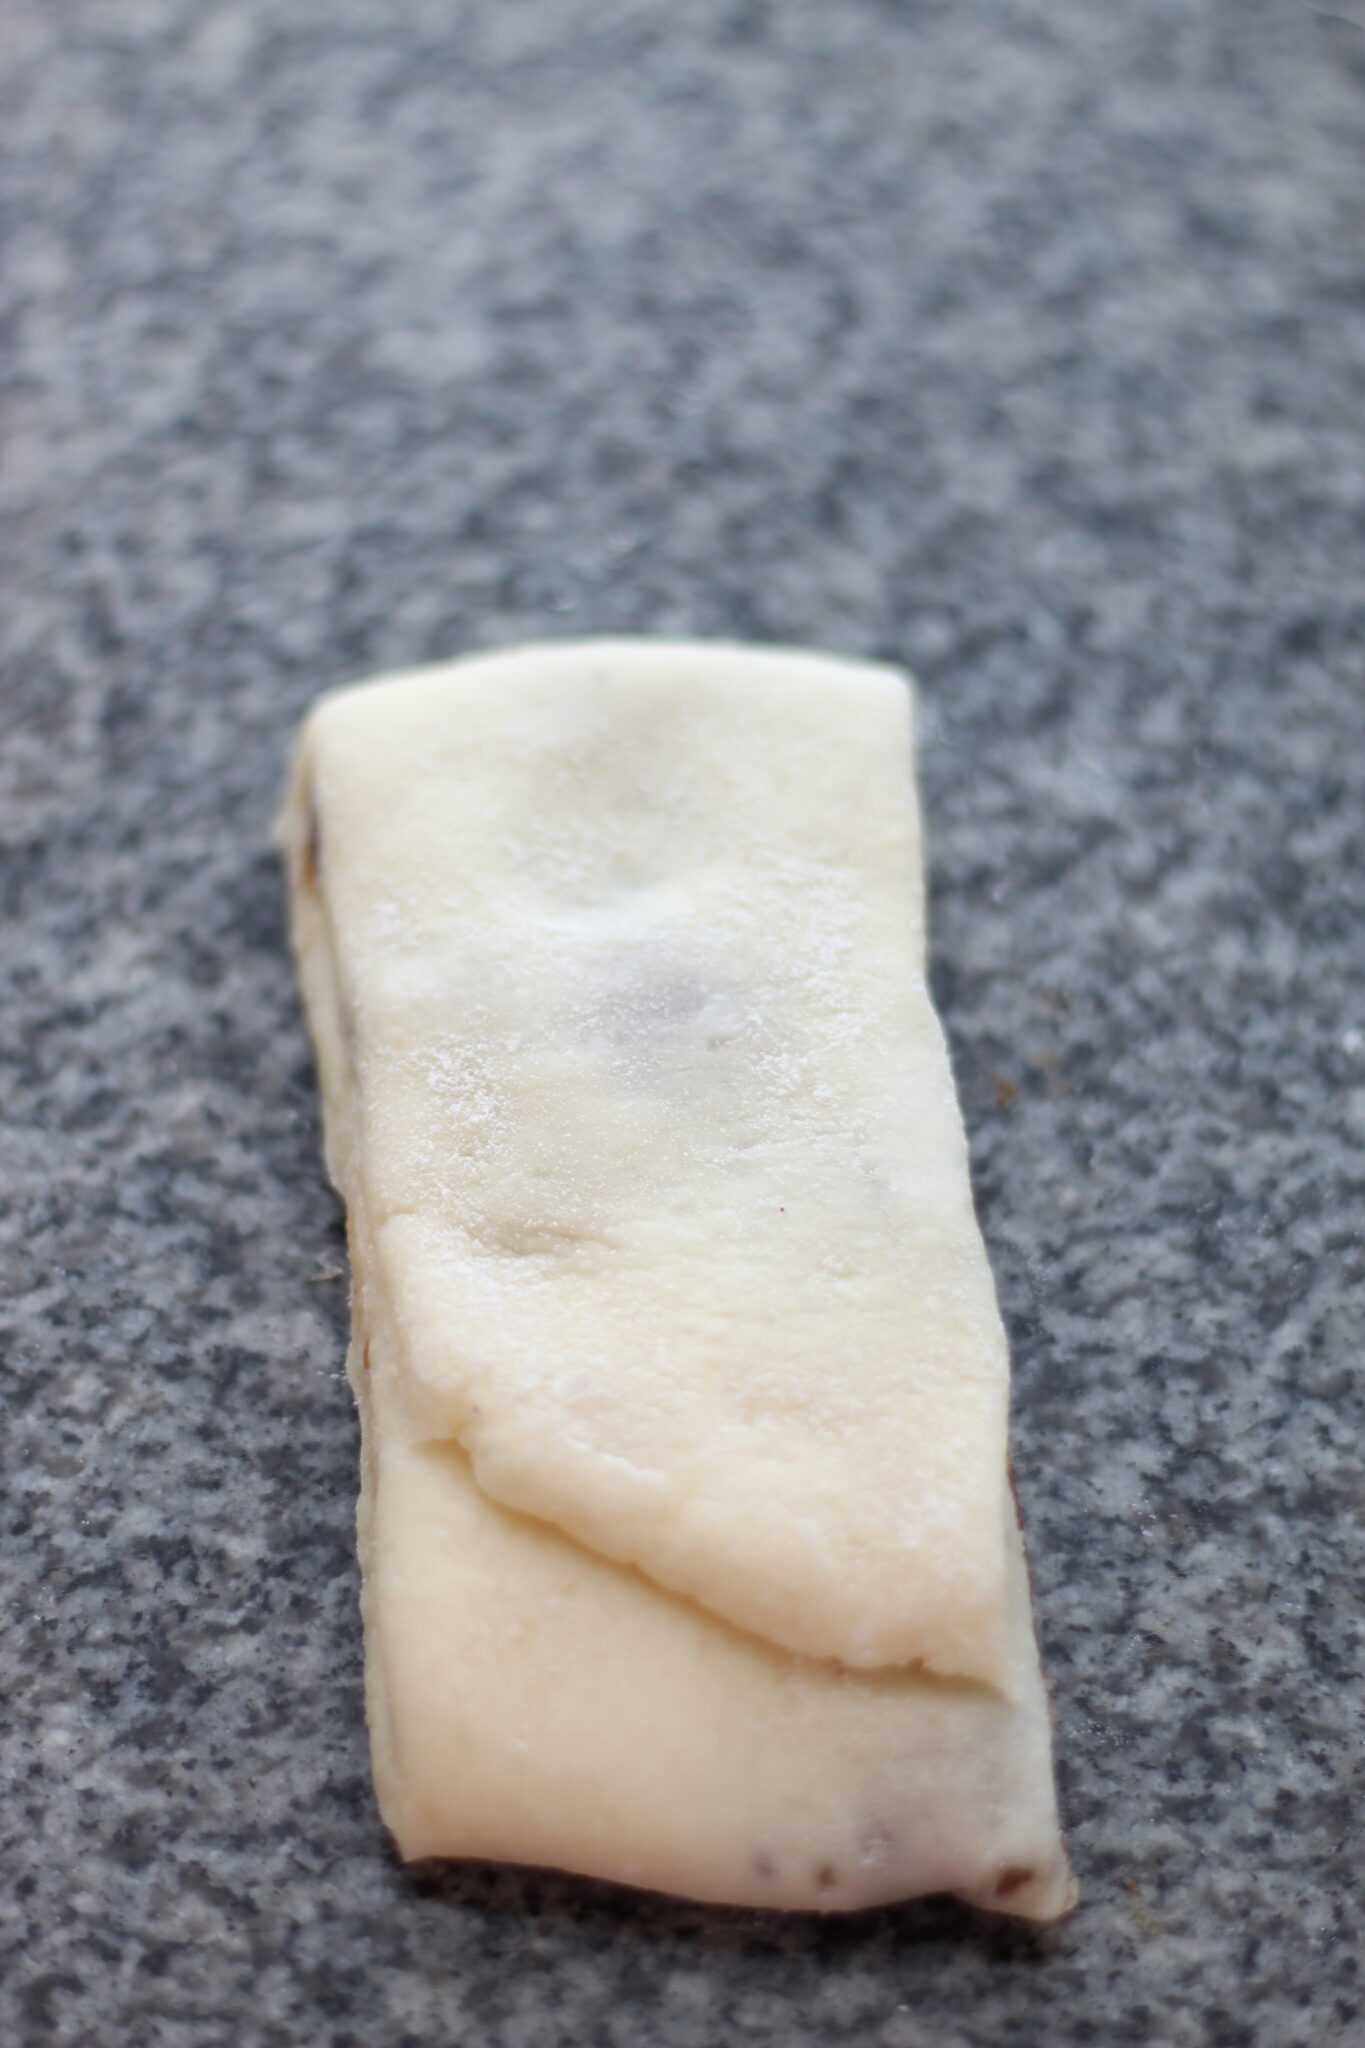
- Fold the bottom third of the dough over the filling and the top third of the dough over the bottom third, as if you're folding a letter.
- Cut the strip of dough in half and then each half into 3.
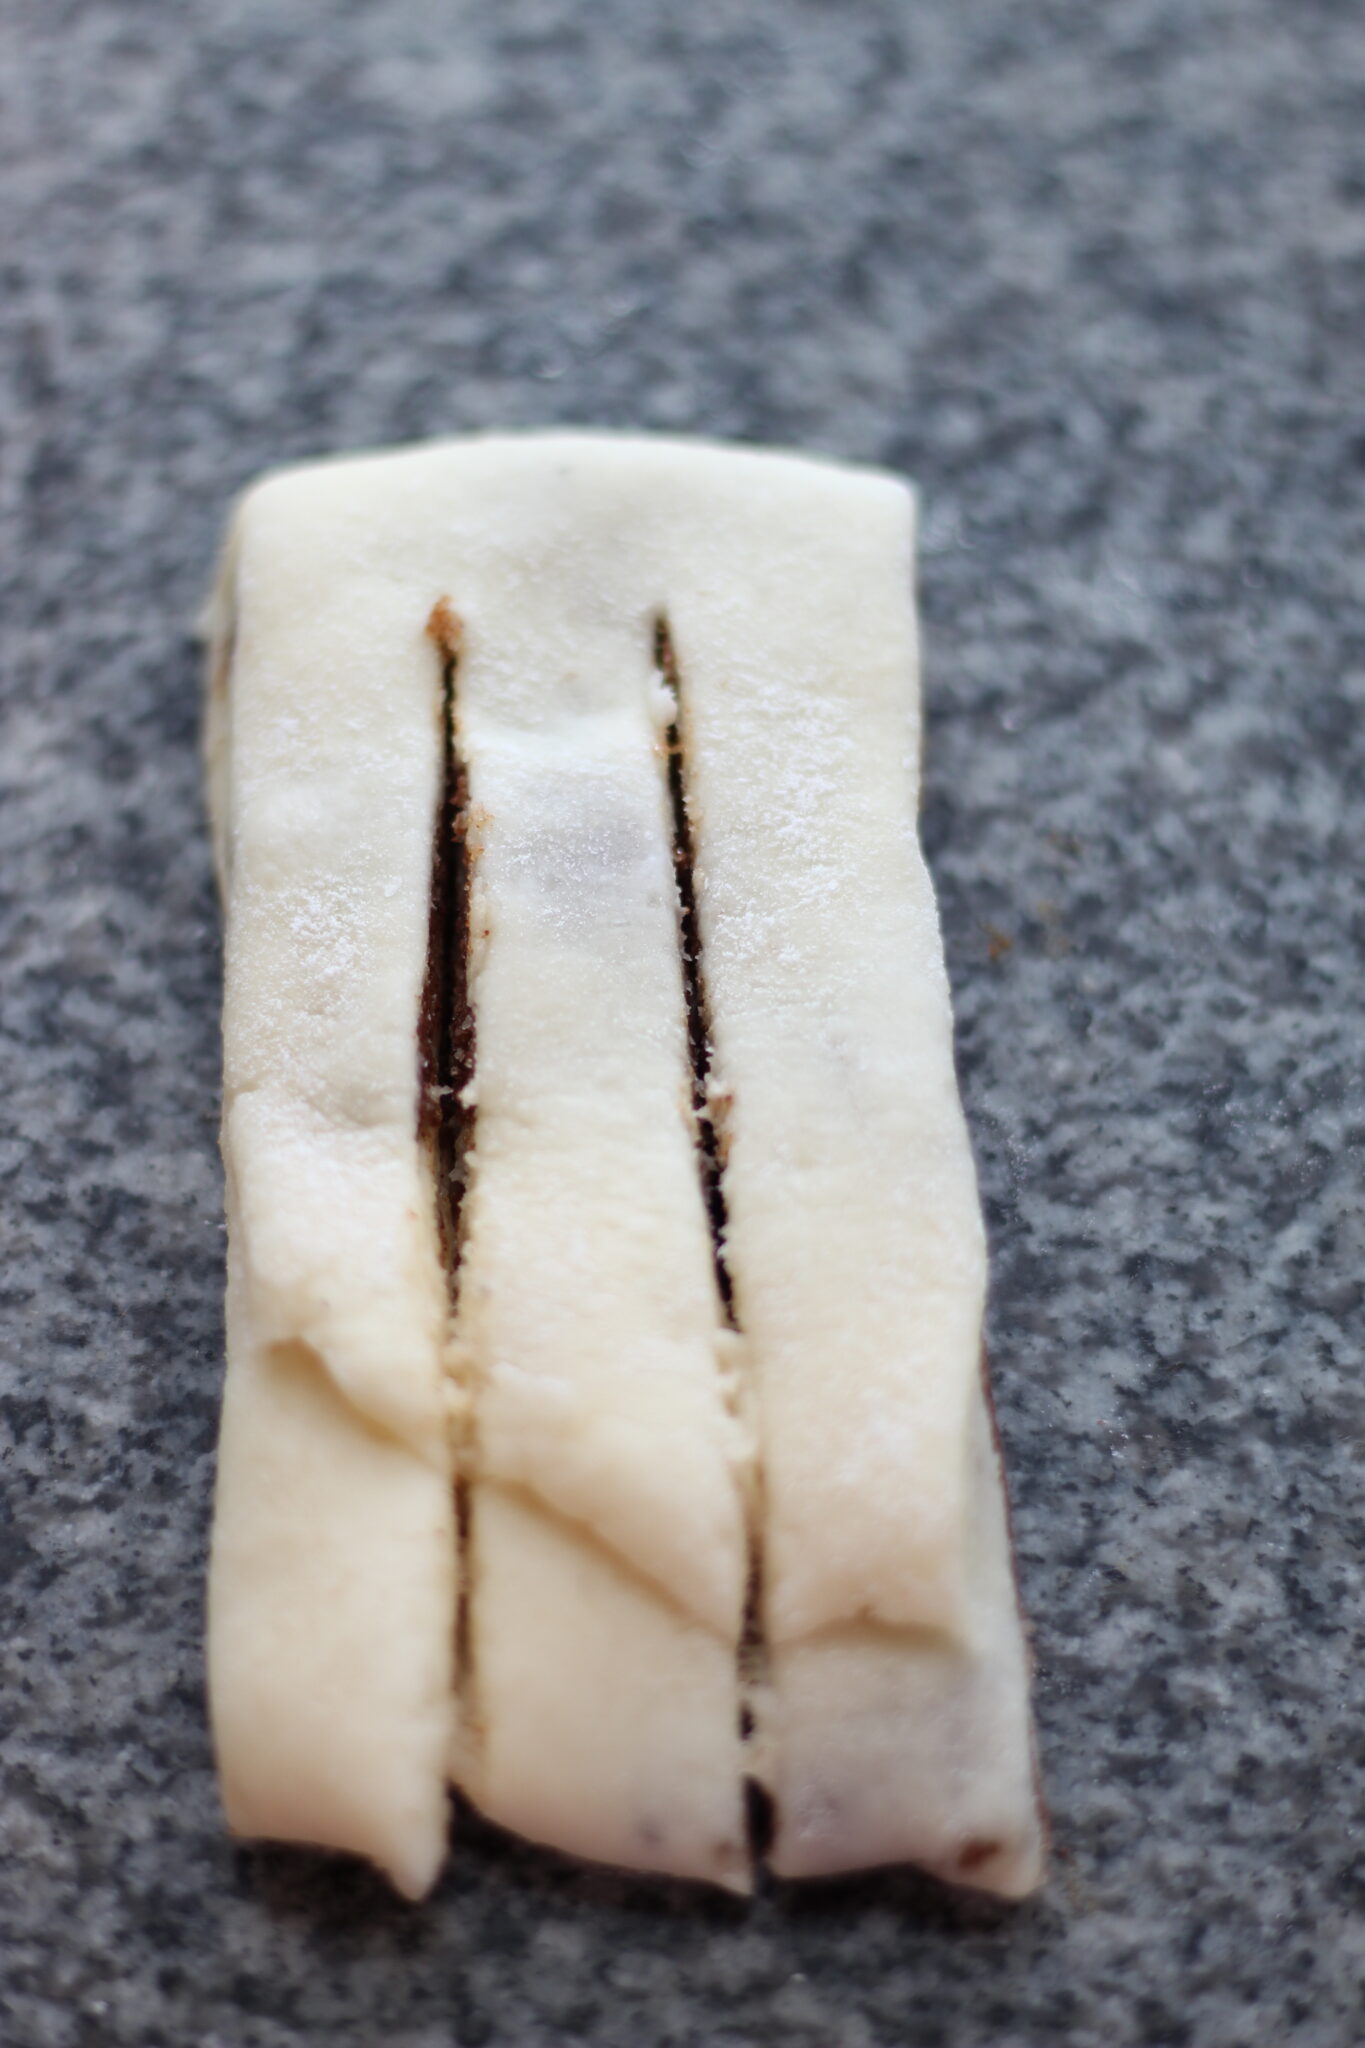
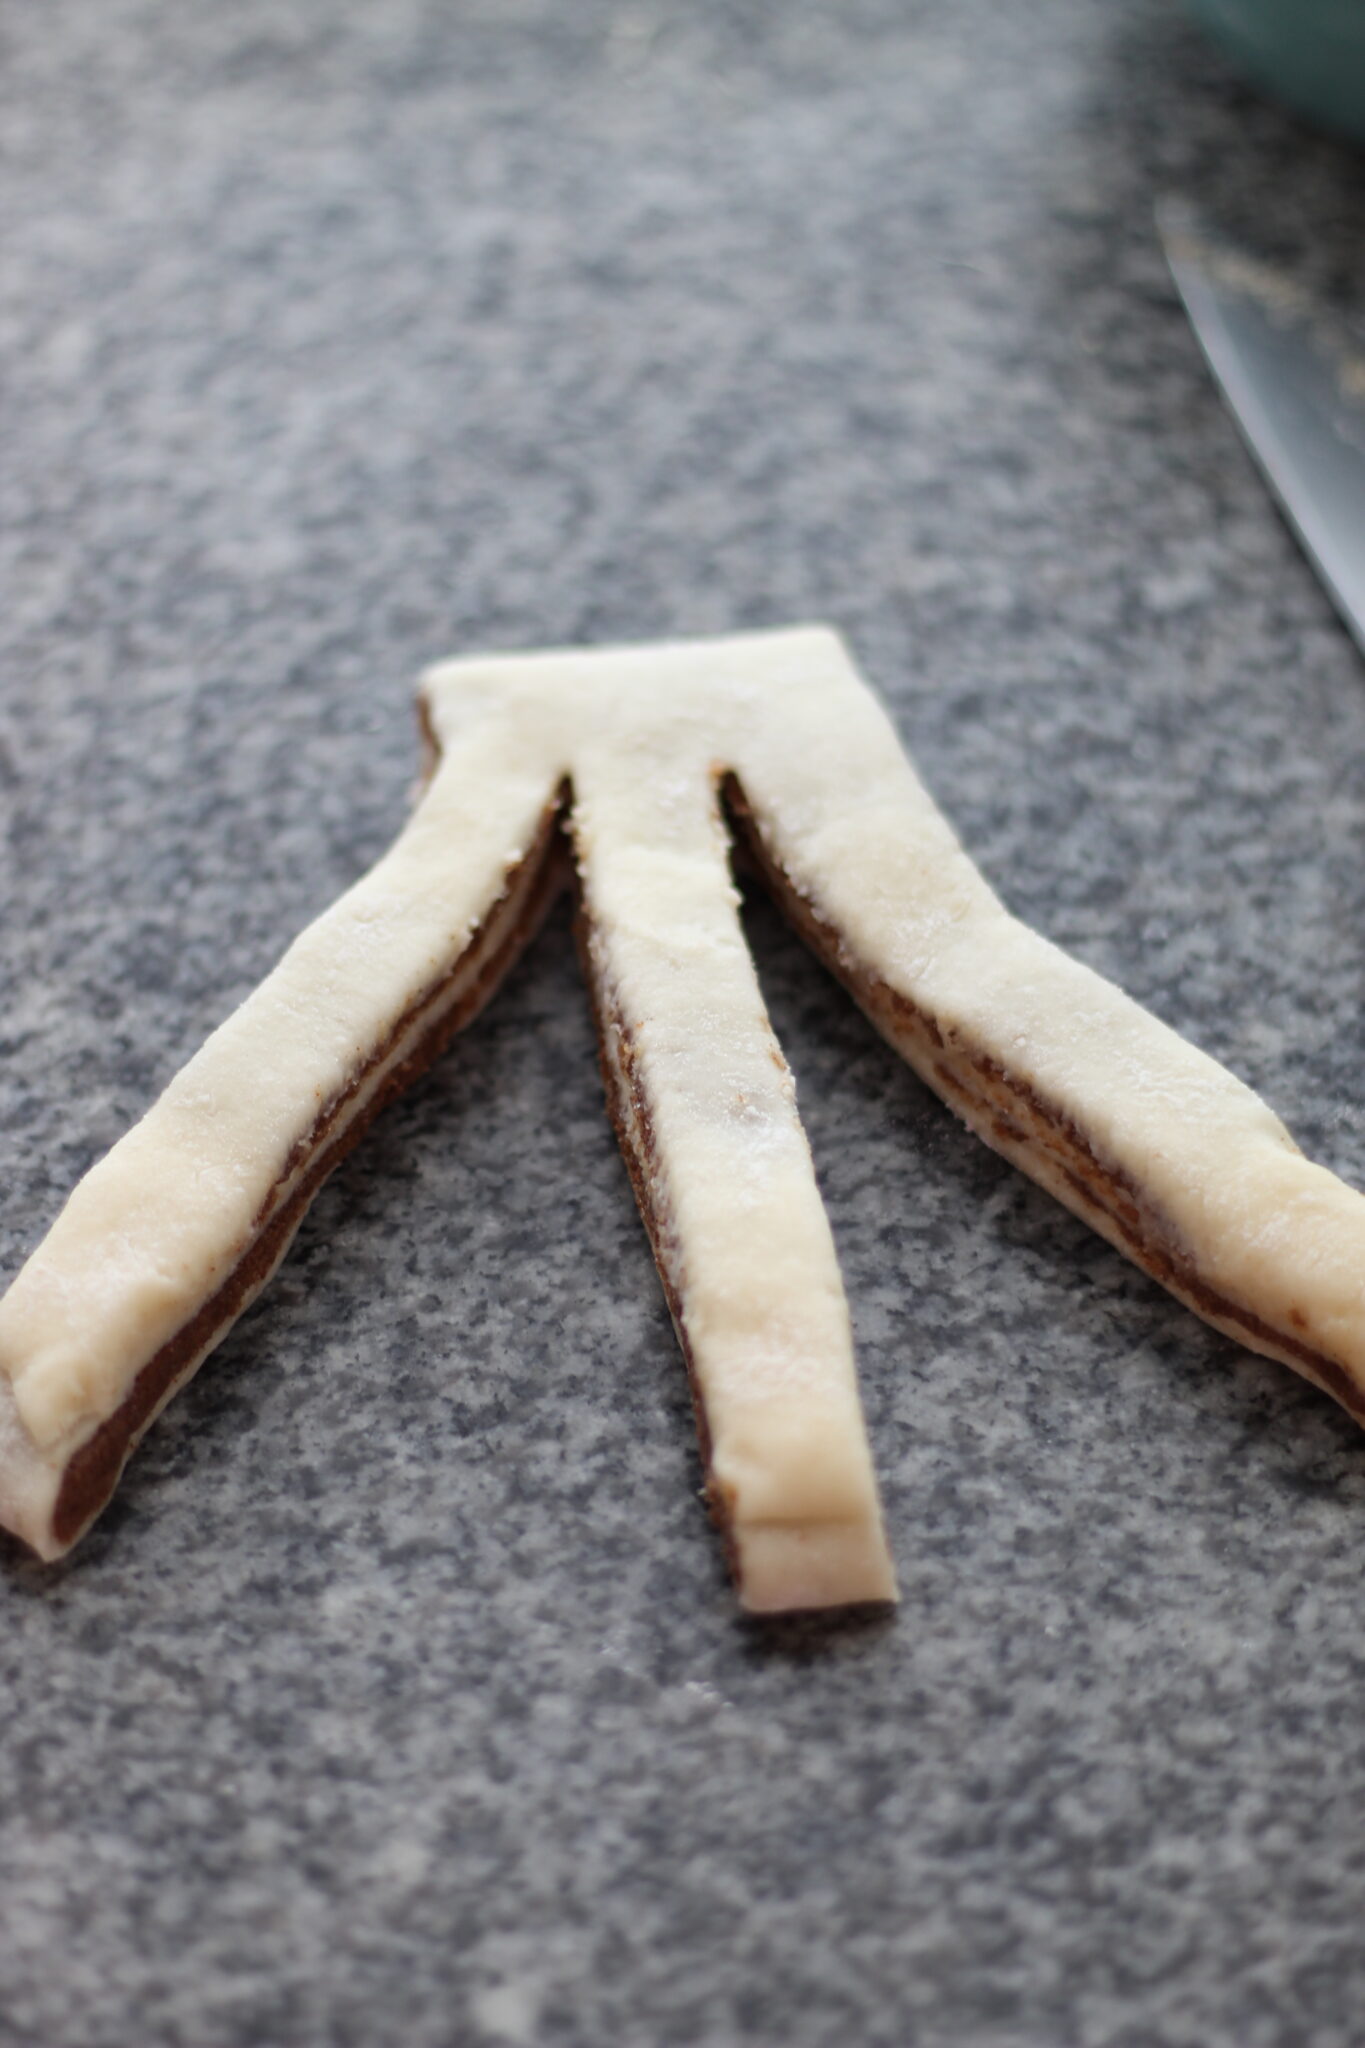
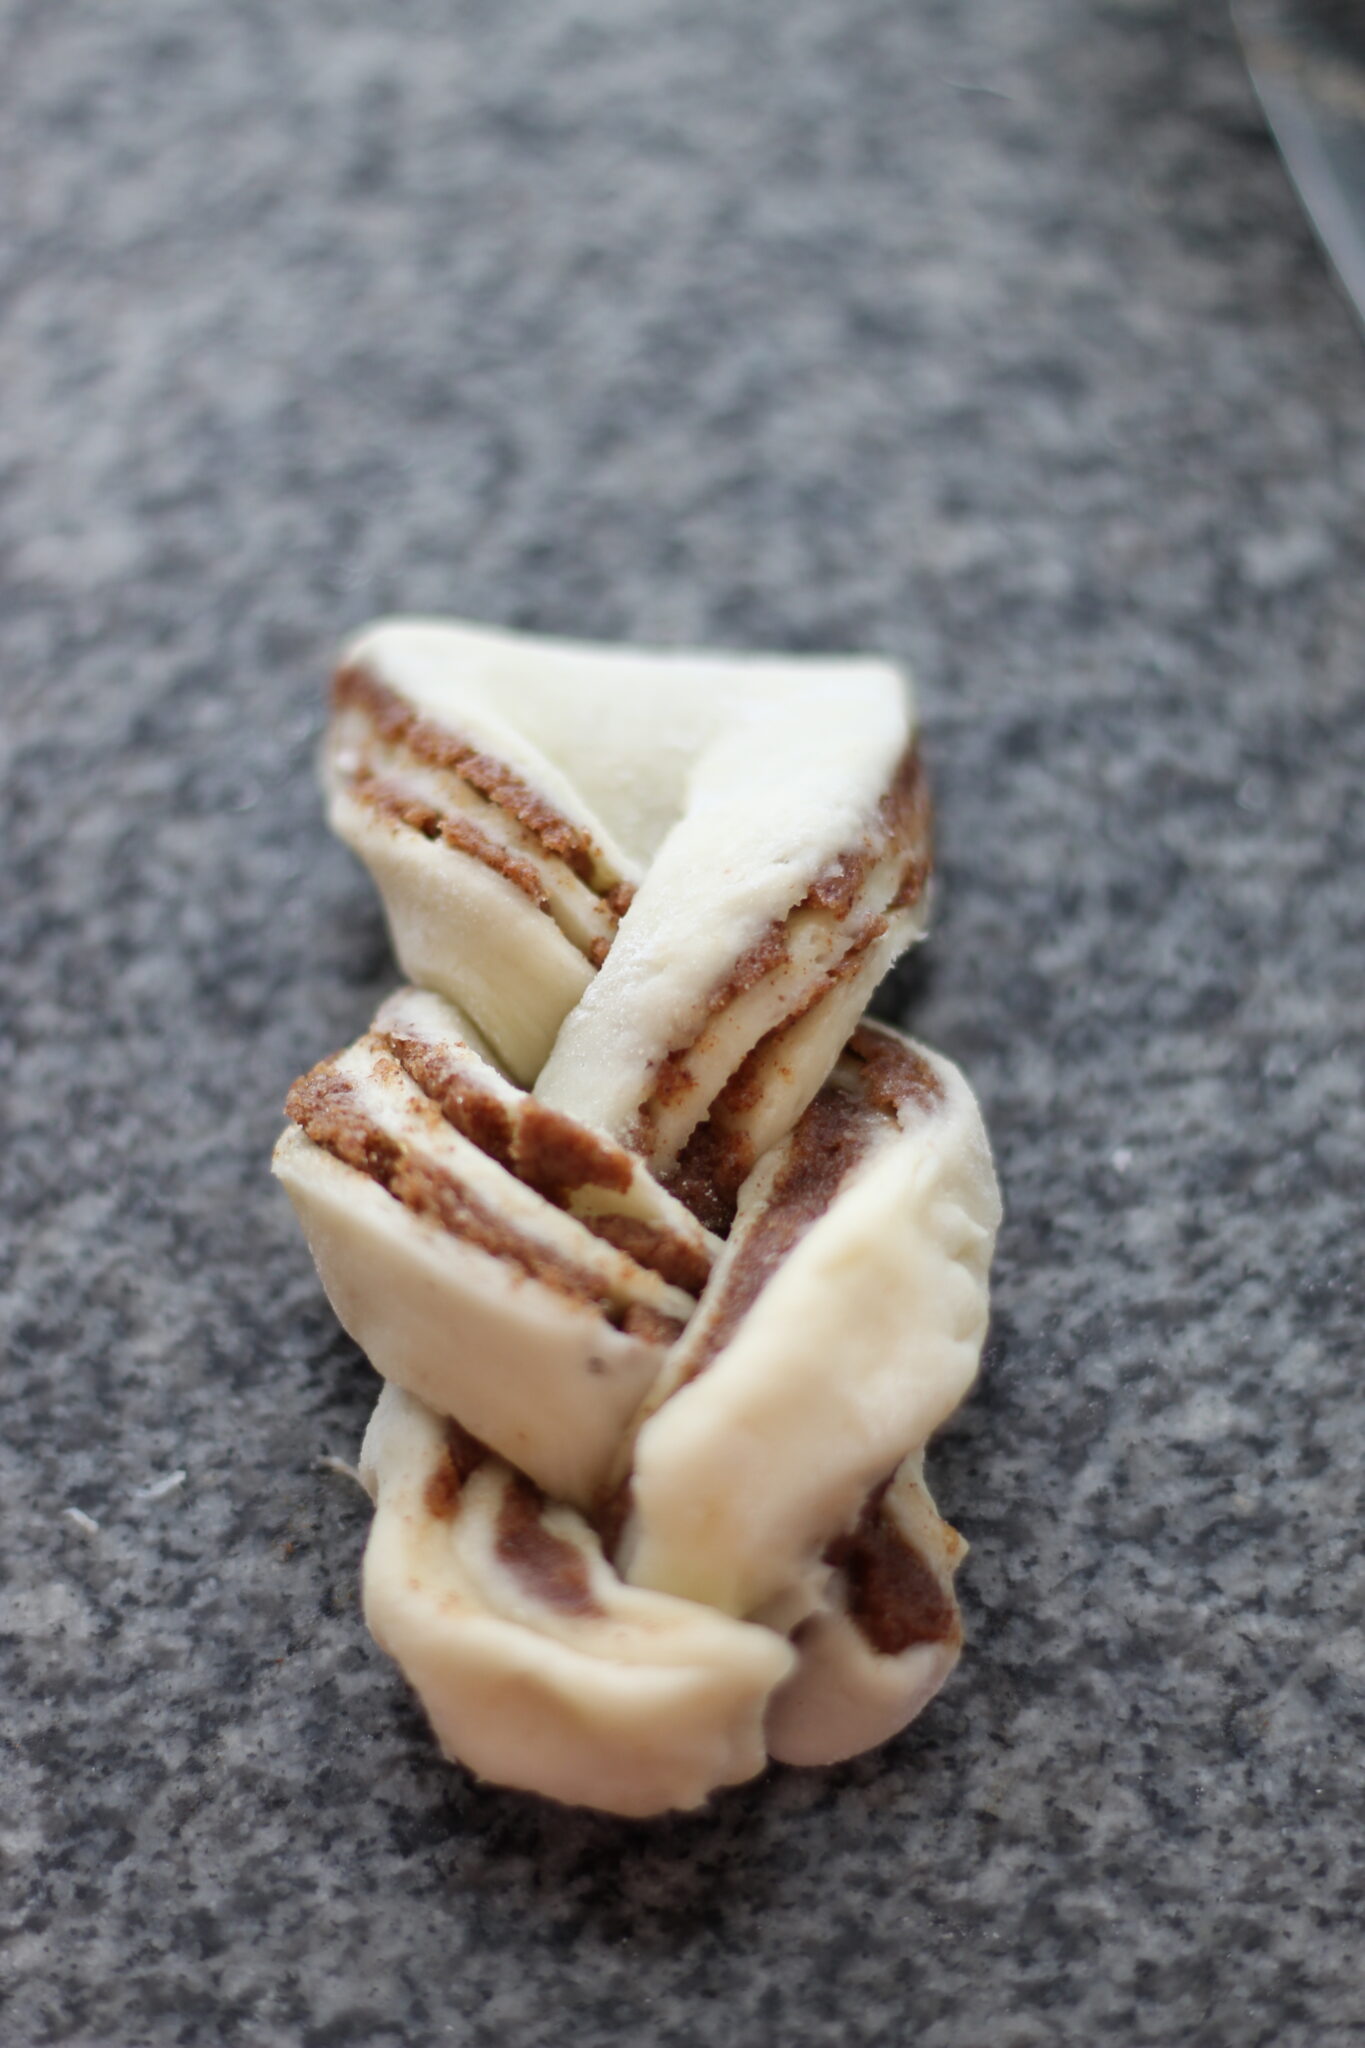
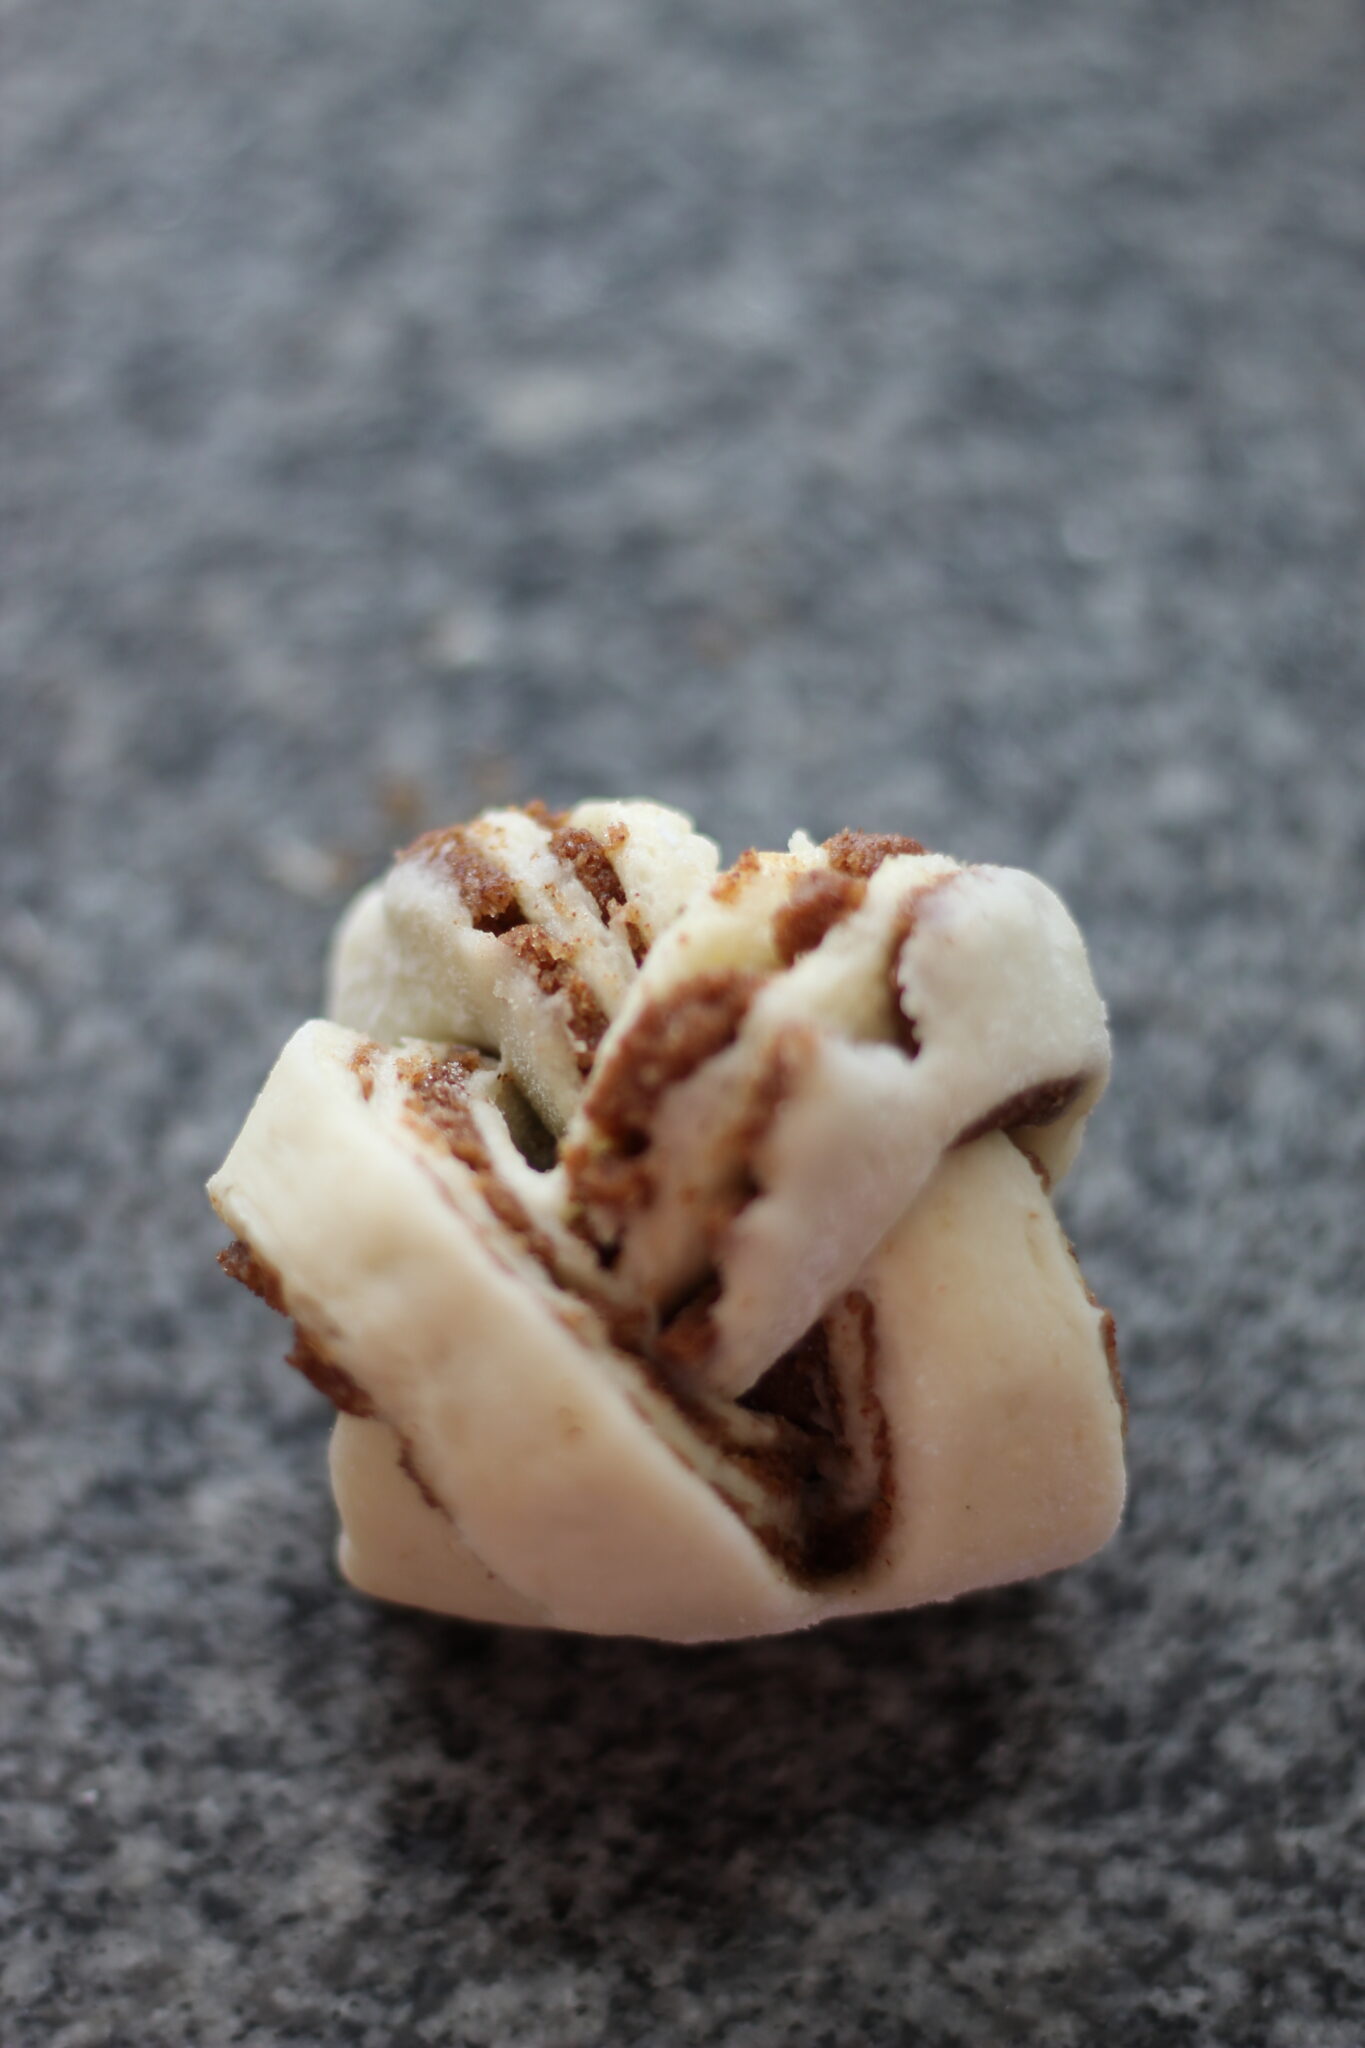
- Take each strip and cut two strips about an inch down from the top (leaving the fold intact) to make three total strips. Braid these strips together and then roll up the braid, uncut side first.
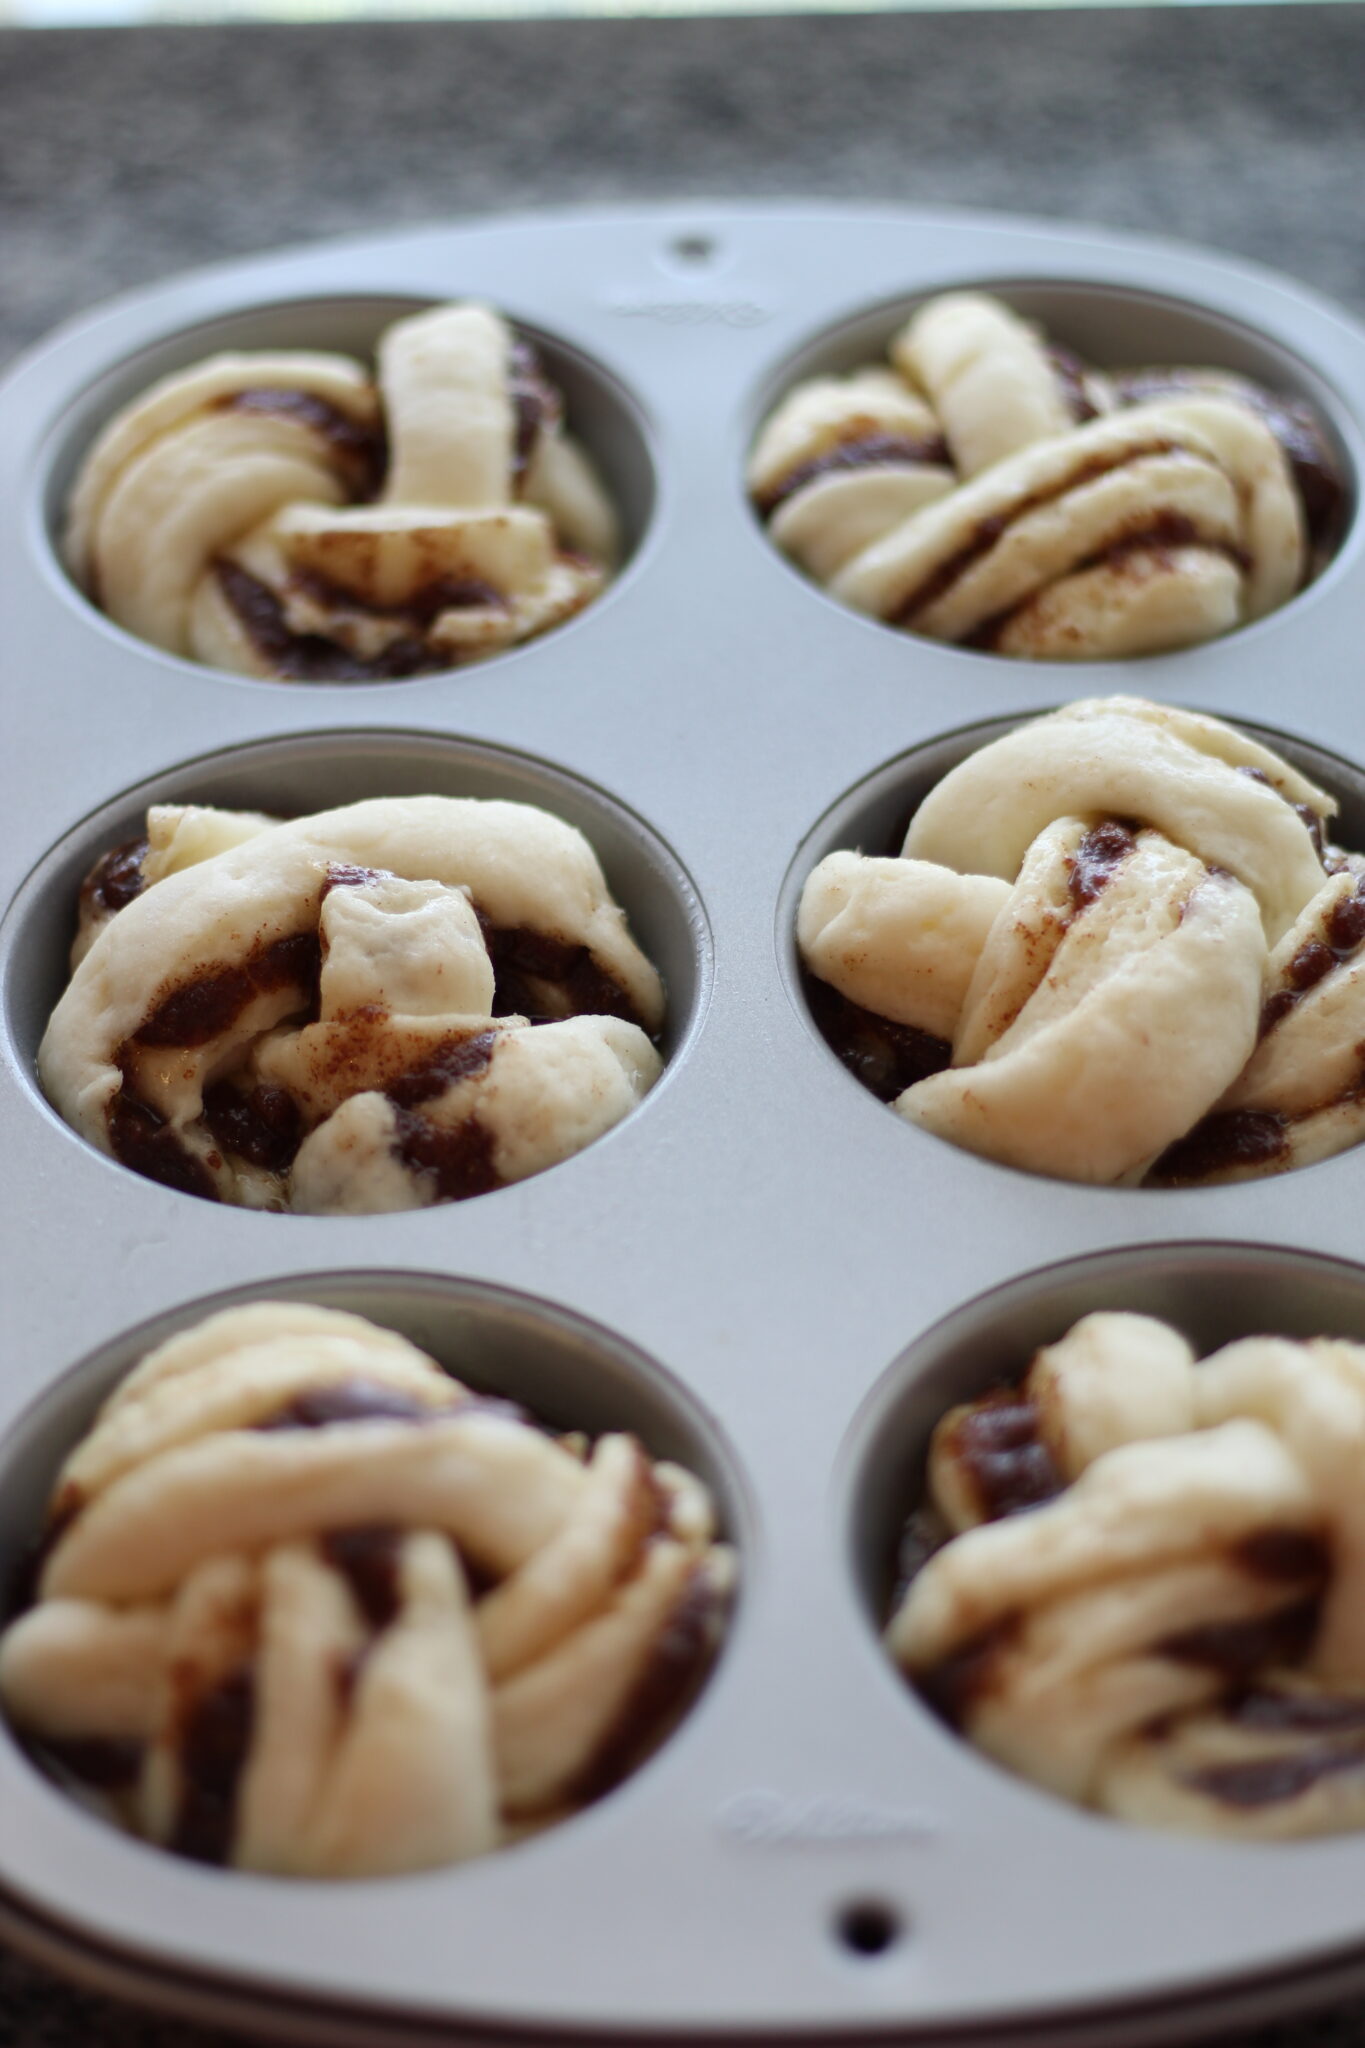
- Place in jumbo muffin tins and allow to rise until doubled in size, 30-60 minutes.
- Bake for 13-15 minutes, or until golden brown.
Cinnamon Knots FAQs
While the jumbo muffin tin is ideal, you can make these in a regular muffin tin, although they'll be smaller. You can also bake them on a parchment-lined baking sheet about 2 inches apart. They won't be quite as tall or impressive, but they'll still be delicious!
Instead of glazing, you can also roll them around in a mixture of cinnamon and sugar.
You can shape the cinnamon knots and refrigerate them overnight, well covered, prior to the second rise. They can also be frozen by placing them on a baking sheet and freezing until solid. Wrap well and freeze. When ready to bake, place them in the muffin tin frozen, cover loosely with plastic wrap, and allow them to thaw and rise at the same time (rising times will vary). Bake as instructed.
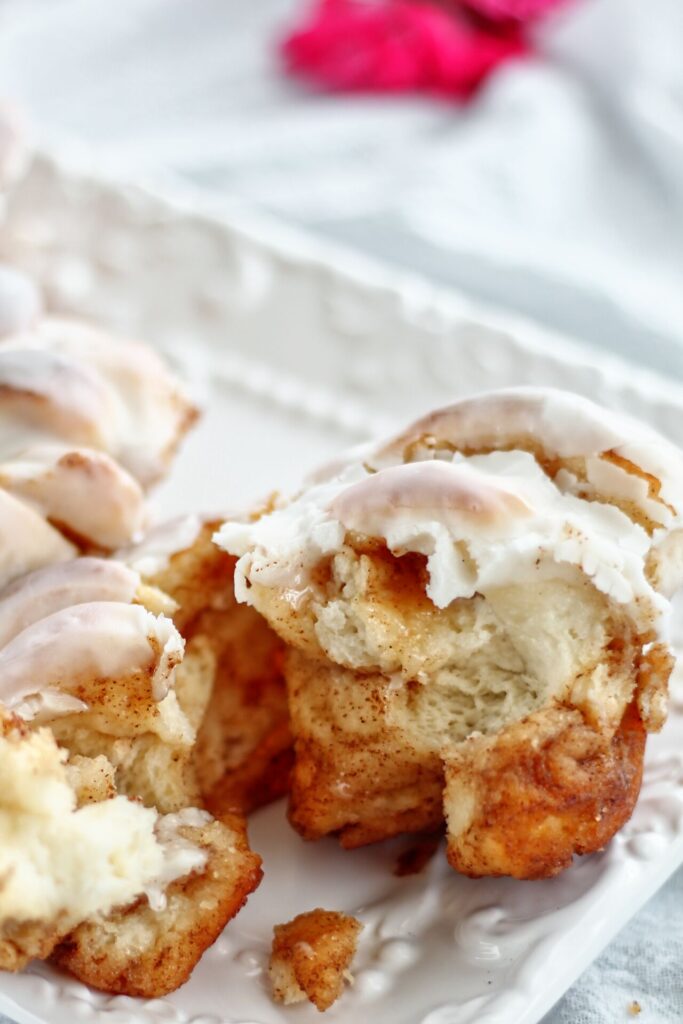
Gift these to your mom on Mother's Day and give her a reason to smile. She'll appreciate your effort and she'll love the cinnamon knots even more!

Gluten Free Cinnamon Knots
Equipment
Ingredients
- ½ recipe Gluten Free Sweet Dough
Filling
- 6 tbsp (85 g) butter, very soft
- ⅔ cup (133 g) light brown sugar
- 2 tablespoon ground cinnamon
Glaze
- 2 cups (250 g) powdered sugar
- 3-4 tablespoon milk, or as needed for desired consistency
- 1 teaspoon vanilla extract
Instructions
- Make the dough according to recipe instructions, including refrigerating overnight. You can make the entire dough amount and pull half the dough from the fridge (using the other half for another recipe) or you can halve the dough recipe. You can also use the full amount of dough if you want to make 12 knots, but you will need to double the amount of filling and glaze.
- Combine filling ingredients in a small bowl and set aside (do not refrigerate as you won't be able to spread it).
- Roll dough out into a long rectangle that's about ¼-inch thick and roughly 14 by 12 inches. Spread filling all over dough with an offset spatula, as far to all the edges as possible.
- Fold the bottom third of the dough one third of the way to the center and then the top third of the dough over that, as you would fold a letter.
- With a sharp knife or pastry cutter, cut dough in half width wise. From each half, cut 3 strips of dough, about 2-3 inches wide. Roll over each strip of dough gently to elongate it slightly. From each strip, make two cuts vertically, leaving the top folded portion intact (see video). You should have 3 long pieces to braid. Braid these three strips together and then roll up the entire braid into a knot.
- Place knots in a greased jumbo muffin tin (you can also place them on a baking sheet, but you won't get quite the same height). Cover the muffin tin loosely with plastic wrap and allow to proof until almost doubled in size.
- Preheat oven to 375° F. Place muffin tin on a larger parchment-lined baking sheet (to catch any drips) and bake knots for 13-15 minutes, or until golden brown. There most likely will be some filling seepage. Remove from oven and allow to cool for 5-10 minutes in the muffin pan, and then remove each knot from the pan and onto a plate or platter.
- Mix together glaze ingredients and dip the tops of each warm knot in the glaze. Serve warm or at room temperature. Knots keep well at room temperature, covered, for a few days and can be frozen for one month.




Heather
These turned out fantastic and were so much fun to eat!! Huge crowd pleaser 🙂 Taste tester said they were so good they didn't even need icing (although we of course did add). This was my fourth time making sweet dough and I have had issues with sticky dough in the past. I have realized that refrigerating dough overnight has made a huge difference so that the dough is much easier to work with. It then matches the consistency in your videos.
Thank you for taking the time to develop and share these recipes! Definitely turn out better than any gluten free bakery item I've ever tried
Shelly
Hi Kim! I have the Hawaiian rolls proofing in the oven right now and am wondering what else I can use this dough for? I didn’t realize when I began that it made 2 pans of rolls. The recipe for Hawaiian rolls doesn’t contain psyllium husks as the one listed for the cinnamon knots above. Did I miss something? I was thinking the same sweet dough was used for all of your sweet dough recipes. Thanks for your help!
Kim
Oh, I'm so sorry, Shelly! They technically do use all the same dough, but when I first posted the Hawaiian rolls recipe I didn't use psyllium husks in the dough. I thought I had gone back through and changed all of them, but I must have missed this one. I apologize. It will, however, work with or without psyllium husks. The psyllium husks just help with the stretch of the dough and make it easier to work with and shape.
There are so many recipes that use this dough, I almost need to create a separate sweet dough category, lol! Some that I can think of off the top of my head are cinnamon rolls, cinnamon knots, yeast donuts, monkey bread, stollen, beignets, king cake, apple fritters, orange rolls, Mexican conchas, hot cross buns, panettone, panettone babka, chocolate babka, pineapple bread, chocolate brioche buns, star bread, and kolaches! Whew!! That's a whole lotta things to make with this dough 🙂
Pat
These are fabulous. And even the next day cold they were still very very good. Thank you so much for sharing. Being gluten free the thing I missed most was breads you have made my life better and so much more enjoyable thank you
Kim
Awe, that's wonderful, Pat! So happy you liked them 🥰
Pat Drobnick
These cinnamon knots were delicious. I was so excited that I actually gave them to non gluten-free neighbors who said they couldn't tell the difference if they were gluten-free or not. Today I'm trying your focaccia bread and I'm so excited about it. One question can you tell me how to store your bread flour recipe and if you can make it in advance and store it and for how long