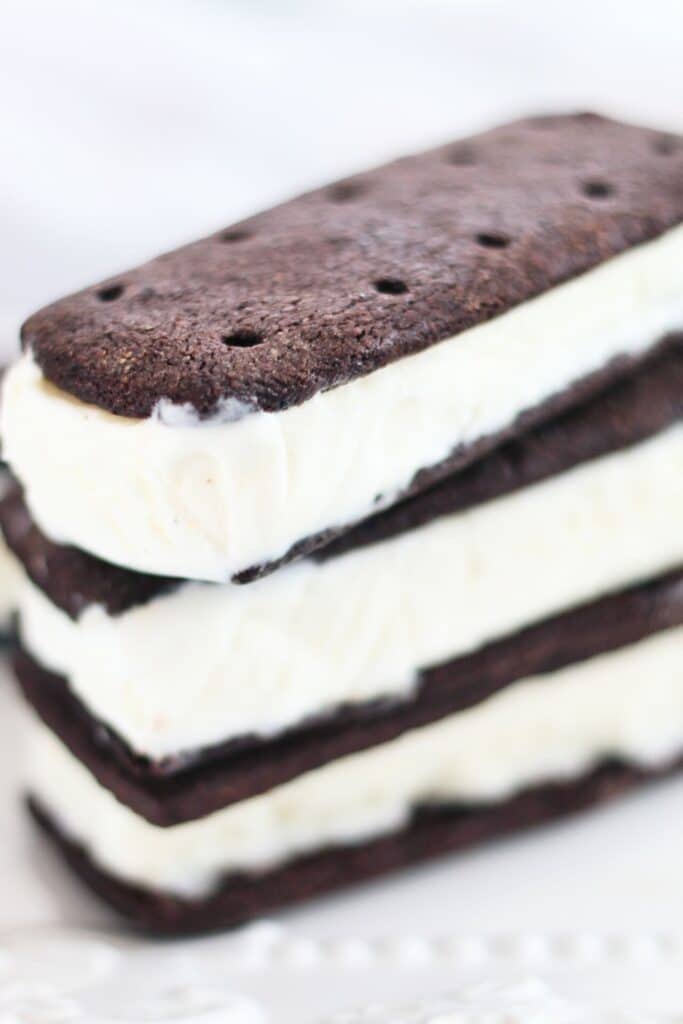
Nothing beats classic ice cream truck treats and these Gluten Free Ice Cream Sandwiches are exactly what we need to beat the heat this summer!
Some of the items linked in this post are affiliate links, meaning, at no additional cost to you, if you click through and make a purchase, I will earn a small commission.
When was the last time you had an ice cream sandwich? I seriously cannot remember myself. It's been years, I do know that. I think there may now be some gluten free versions in stores, but not where I live. We seem to be the last place on Earth that gets all the gluten free goodies for some reason. But that's okay because they'd probably be sky high in price, as everything is these days and even more so if they're gluten free. I'd rather take a little bit of time out of my day to make a whole ton of gluten free ice cream sandwiches to stock my freezer for those hot summer days!
Why You Should Make These Ice Cream Sandwiches
- They're easy to make
- They're delicious
- You can stock your freezer with them
- You can make them in any ice cream flavors you want, including two-tone. Add crushed gluten free Oreo cookies to the softened ice cream and you instantly have cookies and cream!
- Your kids will love them
- Your husband will love them
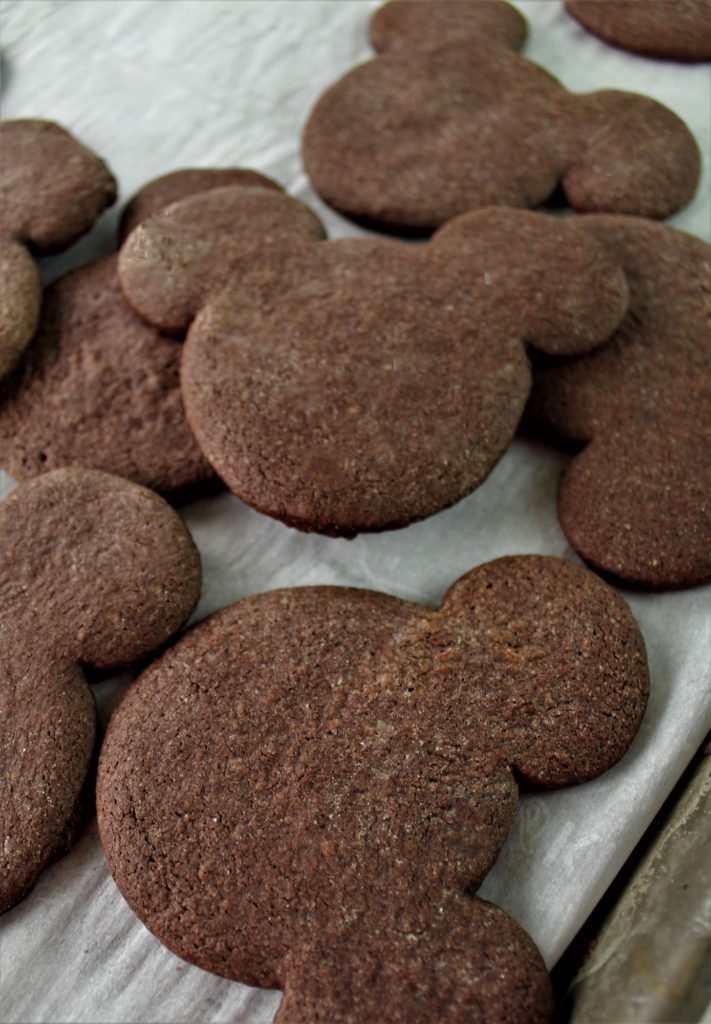
- You can make them into any shape you want, ideal for themed parties, kids' favorite shapes and characters (Mickey Mouse!), or whatever you want. Some suggestions? Stars for Fourth of July, hearts for Valentine's Day, shamrocks for St. Patrick's Day. The sky is the limit!
Here's What you'll need
- Kim's all purpose gluten free flour blend -- a store bought blend may work, but has not been tested.
- Unsweetened cocoa powder -- I've said it before, but if you have a Lidl in your area, their store brand cocoa powder is dark and super chocolatey and I love it. Any cocoa powder will work, though. Just make sure it's unsweetened.
- Baking powder -- that little bit of lift that the cookies get from the baking powder keeps them soft when they're frozen.
- Salt -- there's extra salt in this recipe because apparently freezing cookies mutes their flavor so we need that little boost of flavor from the extra salt.
- Butter
- Light brown sugar
- Granulated sugar
- Eggs
- Vanilla extract
- Ice cream -- the classic is vanilla ice cream, but have fun with it and use your own favorite ice cream flavors! You could also make the famous two-ingredient no-churn ice cream, such as this recipe.
prepare the ice cream
Put the ice cream in a large bowl and allow it to soften slightly at room temperature for about 5 minutes. Use a rubber spatula or wooden spoon to mix ice cream until it's the consistency of a thick buttercream.
Spread the ice cream into a 9 by 13-inch straight-sided baking pan that's been lined with plastic wrap, using an angled spatula to even it out. Cover with another sheet of plastic wrap and place in the freezer for at least four hours. Alternatively (if you want more than one flavor), prepare two 8 by 8 or 9 by 9-inch square cake pans and put a different flavor in each. OR, make two-toned ice cream sandwiches by freezing one flavor of ice cream for a few hours and then adding another flavor to the top of that and freezing the whole thing. See Claire's video here for instructions on how to do that.
make the cookies
- Make the dough. Whisk the dry ingredients together and set aside. Cream the butter with the sugars and add the eggs and vanilla. Slowly add the dry ingredients until a soft dough forms.
- Chill the dough. Divide the dough into two and wrap each in plastic wrap. Refrigerate for 2 hours.
- Roll out the dough on parchment paper and cut cookies into rectangles.
- Chill the cookies and dock them.
- Bake the cookies and cool completely.
Assemble Ice Cream Sandwiches
- Cut ice cream into equal-sized rectangles (or use the same cookie cutter that you used for cutting the cookies).
- Flip every other cookie over so the bottom (smooth side) is up on half of them.
- Place the ice cream on the flipped over cookies.
- Top with another cookie, pressing down gently to adhere.
- Wrap each sandwich in plastic wrap and freeze at least six hours, overnight if possible. The longer the cookies are in the freezer, the softer they will become.

gluten free ice cream sandwich faq's
Yes!! Use whatever ice cream is your favorite flavor. You can even layer ice cream flavors for a two-toned effect.
No, you can make them into any shape you'd like. Use cookie cutters to cut out both the cookies and the ice cream and sandwich them together. The sky is the limit!
That would also work. Freeze it in a single layer in the same 9 by 13-inch baking pan and proceed as the recipe instructs.

more ice cream and frozen dessert ideas
- Waffle Cones
- Patriotic Ice Cream Sandwiches
- Strawberry Balsamic Popsicles
- Easy Frozen Berries with Hot White Chocolate
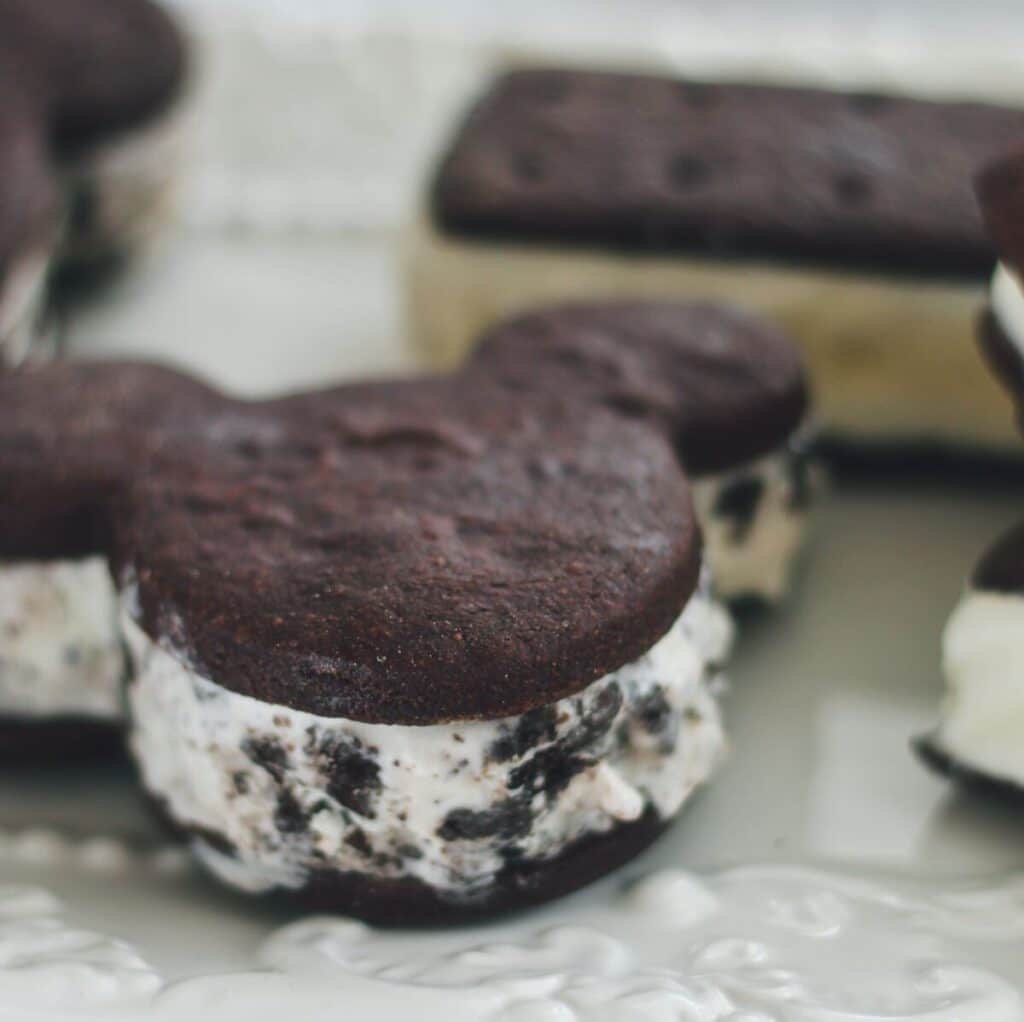
These gluten free ice cream sandwiches sure hit the spot to beat the summertime heat!
Gluten Free Ice Cream Sandwiches
Ingredients
- 2¼ cups (315 g) Kim's all purpose gluten free flour blend
- ¾ cup (90 g) unsweetened cocoa powder
- 1½ teaspoon kosher salt
- 1 teaspoon baking powder
- 1 cup (226 g) butter, softened
- 1 cup (200 g) packed light brown sugar
- ¾ cup (150 g) granulated sugar
- 2 large eggs, at room temperature
- 2 teaspoon vanilla extract
- 1 half gallon vanilla bean ice cream
Instructions
PREPARE THE ICE CREAM
- Remove the ice cream from the freezer and allow it to soften slightly, about 5 minutes. Place it in a large bowl and stir it until it's the consistency of thick buttercream frosting.
- Line a 9 by 13-inch* cake pan with plastic wrap, letting it overhang. Scrape the ice cream into the pan and smooth it out with an offset spatula. Cover with another piece of plastic wrap directly on the ice cream and place the pan in the freezer to freeze for several hours, at least 4, or overnight. *You can also use two 8 by 8 or 9 by 9-inch square cake pans and put different flavors of ice cream in each.
MAKE THE COOKIE DOUGH
- Whisk the gluten free flour blend, unsweetened cocoa powder, salt, and baking powder in a medium bowl until well combined. Set aside.
- Cream butter with sugars until light and fluffy, about 4 minutes. Add eggs and vanilla and continue to beat until fluffy, about 2 minutes. Slowly add the flour mixture on low speed and pulse just until combined. Use a spatula to incorporate any dry ingredients left in the bottom of the bowl.
- Divide dough in half and wrap each in plastic wrap. Refrigerate for 2 hours.
BAKE THE COOKIES
- Preheat the oven to 350° F. Remove the dough from the refrigerator and allow it to sit for about 5 minutes to soften slightly. Roll out on a lightly floured piece of parchment paper (or between two sheets if it's extra warm in your house) to about ⅛-inch thickness and cut into rectangles (or use cookie cutters to cut out desired shapes). You may need to refrigerate after rolling out (before cutting) if it's warm in your house. This is a slightly sticky dough.
- Transfer cutout cookies to a parchment-lined baking sheet and place in the refrigerator to chill while rolling out the other disk of dough.
- Bake the chilled cookies until the edges are firm, about 12 minutes. Let cool completely on baking sheets. Flip half the cookies over.
ASSEMBLE
- Remove the ice cream from the freezer and cut into equal-sized rectangles (or use the same cookie cutter as you used for the cookies) and place ice cream on the overturned cookies. Top with another cookie and press lightly to adhere.
- Wrap sandwiches and freeze overnight, until ice cream is hard and the cookies are slightly softened. The longer the cookies sit in the freezer, the more the cookies will soften so they're perfect for make ahead.
Notes
Adapted from Bon Appetit's Chocolate Ice Cream Cookie Sandwiches
This recipe was originally posted in March 2020 and has been updated with new copy, new pictures, and a video.



Lindy
I'll update in a couple days when the sandwiches have softened a bit, but this recipe is already a winner! The dough did require several chilling sessions to keep it easy to work with, but it's delicious! A strong chocolate-y flavor, perfectly puffed, and just what I was hoping for. Thank you Kim for another wonderful recipe!
Lindy
They're a hit! After a day or two in the freezer the sandwiches were the perfect consistency. The cookies kept enough crisp to be a nice contrast, but were soft enough to bite through with the icecream so nothing squeezed out the sides. I also got so many out of this recipe! I managed 28 2.5in round sandwiches, and could have gotten more cookies by rerolling the scraps a third time. Great recipe!
Kim
Wow, that's a lot of sandwiches!! I'm so glad you enjoyed them 🥰
Rebecca
I made these today and the cookies came out with kind of a sour taste. I used your gf blend and chilled the dough for 2 hours. Any ideas what could have happened?!
Kim
I've never had a sour taste in these cookies and my non-gluten free family say they can't tell they're gluten free, so I'm not sure what could cause the sour taste. Maybe your milk powder was bad? What brand did you use?
Rebecca Lamson
Hmm weird! The milk powder I used was brand new. It was the Good & Gather brand from Target. The only other brand they had was Nestle Carnation and it said "may contain what" on their ingredients.
Rebecca
Hmm weird! The milk powder I used was brand new. It was the Good & Gather brand from Target. The only other brand they had was Nestle Carnation and it said "may contain what" on their ingredients.
Lindy
Did you happen to use natural or unprocessed cocoa? I just pulled a batch from the oven made with Dutch processed cocoa and they aren't sour or bitter at all.