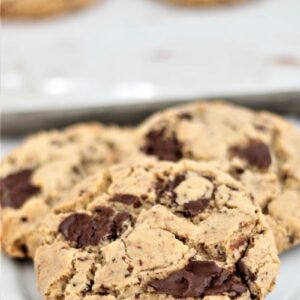
These gluten free brown butter chocolate chunk cookies have crunchy edges and soft middles. Add browned butter and this is one helluva great cookie!
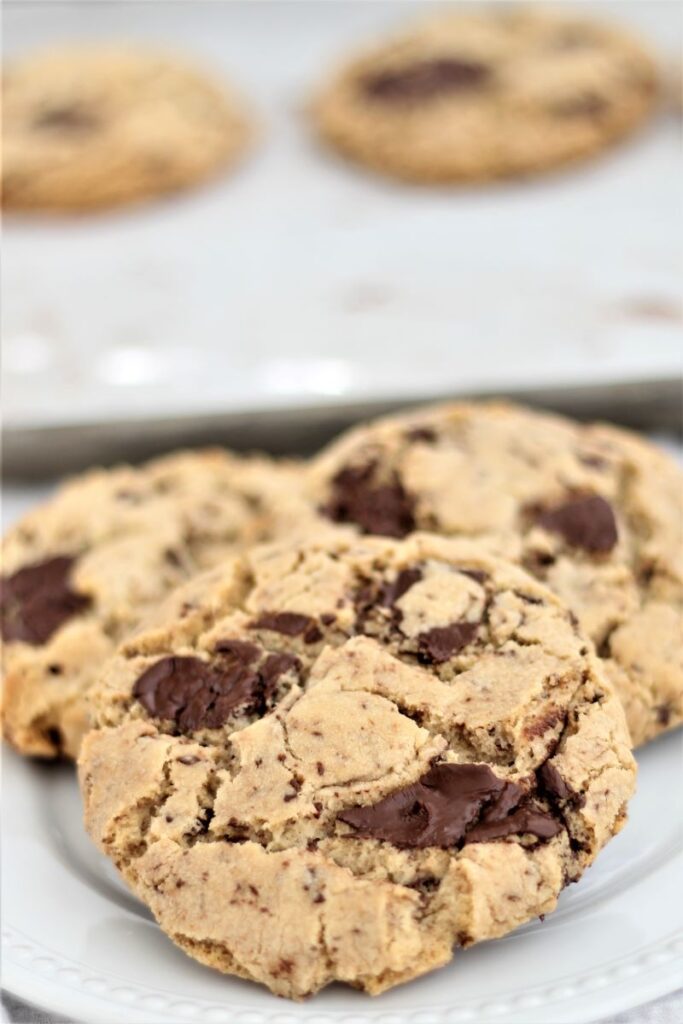
Add brown butter to anything and you instantly make it better! That's my opinion at least, especially after making these cookies. These gluten free brown butter chocolate chunk cookies will blow your mind and your diet, haha!!
MAKING GLUTEN FREE BROWN BUTTER CHOCOLATE CHUNK COOKIES
When I first thought of making brown butter cookies for this gluten free blog, I went to my tried and true chocolate chip cookies recipe. I've been making these cookies for YEARS (over 20) and they've never failed to impress anyone who eats them. I wanted to start there and see what I could do. But I also wanted to dip my toes into a new (to me) method that I've been eyeballing. And that's pan banging. So let's talk about what the ingredients are and how I changed them (and how I added the pan banging method too):
- Kim's gluten free all purpose flour blend--you could probably use a store bought blend, but I haven't tested any of my recipes with store bought blends in recent years. In creating this new cookie, I decided to decrease some of the flour in the recipe to get a less cakey, thick cookie and a more thin, pan banging-style one.
- Butter--during the process of browning butter, some of the liquid in the butter evaporates. Therefore, I added 4 tablespoons more butter than my original recipe to account for this.
- Baking soda--my recipe calls only for baking soda and not baking powder. This allows the cookies to be baked immediately without having to wait.
- Brown sugar--there's no granulated sugar in this recipe. It's all about the brown sugar.
- Salt
- Eggs
- Vanilla extract
- Chocolate chunks--this time I went with the chunks because I wanted that melty slab of chocolate poking through each cookie.

BROWNING THE BUTTER
If you've never had brown butter before, you will soon see how addictive this wonderful ingredient is. You can use it for both sweet and savory applications. And it's so different and unusual that it really makes whatever you put it in take on a whole new flavor profile.
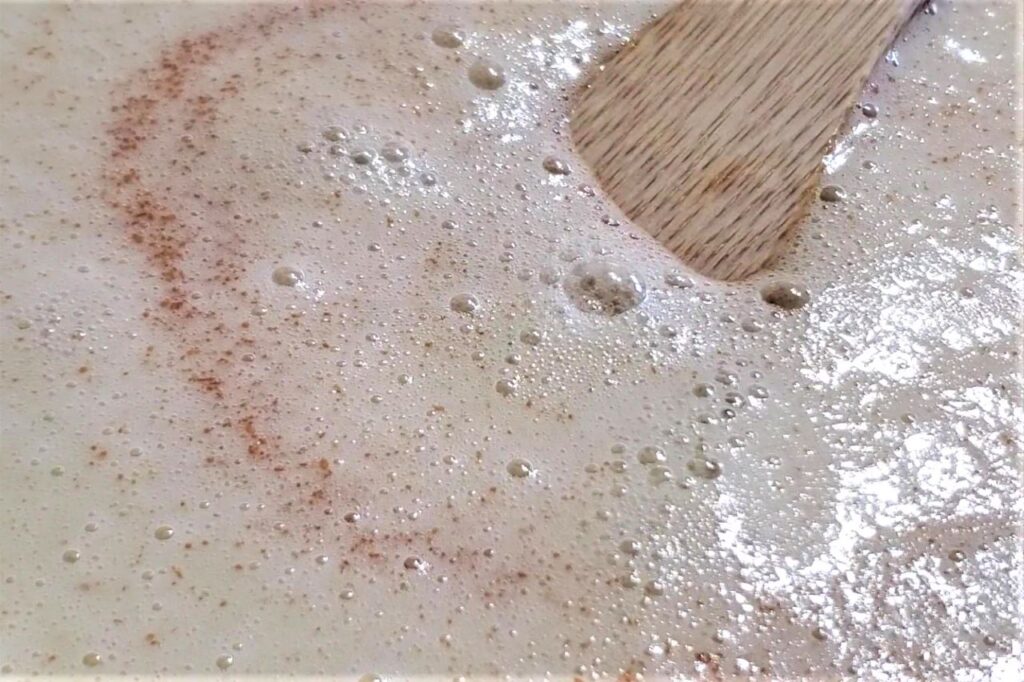
It's really easy to brown butter, but you do have to pay close attention to it. Brown butter can go from perfect to burnt in a matter of seconds. I prefer to brown butter in a skillet rather than a pot, mainly for the fact that it goes fairly quickly with more surface area. But also because I feel I can see what's going on better in the skillet than I could in the depth of a pot. Also, it's much easier to see what's going on in a light-colored skillet.
Begin melting the butter in the skillet over medium heat, whisking or swirling the pan occasionally. Once it starts to bubble and foam, keep a very watchful eye on it. It will bubble at first, then begin foaming, and then the milk solids will sink to the bottom of the pan. At this point, swirl or whisk the butter more regularly to avoid those milk solids from burning. I always use my nose for telling when it's close to being done. When you smell the toasty butter, you're pretty much there. Remove it from the heat quickly and pour it into a heatproof bowl to cool.
Pan Banging
Is it really necessary to bang the pan?? The short answer, no. The long answer, it does do an amazing job of creating two types of cookie in one. And what I mean by that is you get crispy edges, but still a gooey soft center of a cookie. Who doesn't want that? Now, when I did the pan banging on these cookies, they don't really show the ripples like Sarah Kieffer's original recipe does. But that's okay because I used my own recipe with her technique and I kinda knew it wouldn't look quite the same. As long as they taste amazing and have the two textures I wanted, I'm good!
The process is simple. Bake the cookies halfway through. Open the oven door and lift the baking sheet up about four inches off the rack. Bang it back down onto the rack, which will "settle" the cookies and allow them to ripple out instead of puff up. You can do this a couple more times until they are fully baked, to get as many ripples as you might want. I did mine 2 more times for a total of 3 before the 20 minutes were up.
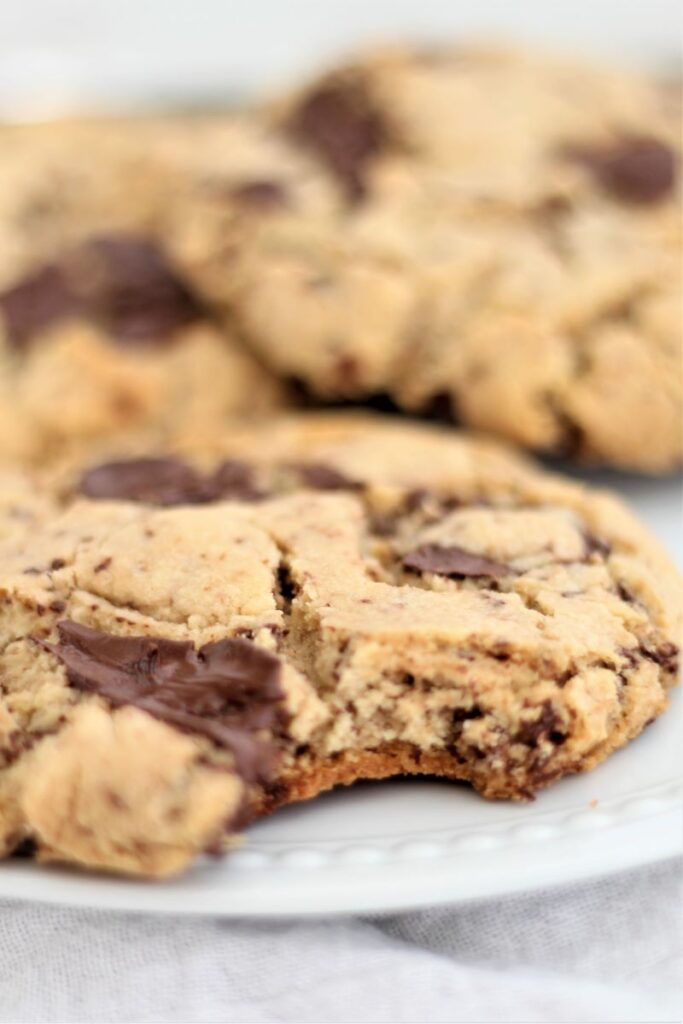
I know there are a ton of chocolate chip cookie recipes out there, but if you give this one a try I'm sure you'll fall in love. Brown butter nuttiness, crunchy yet chewy and soft at the same time? How could you go wrong?
Gluten Free Brown Butter Chocolate Chunk Cookies
Ingredients
- 1¼ cups (2½ sticks or 283 g) butter, browned (see below)
- 2 cups (450 g) very tightly packed brown sugar
- 2 large eggs, at room temperature
- 3½ cups (490 g) Kim's gluten free all purpose flour blend
- 1½ teaspoon baking soda
- ½ teaspoon kosher salt
- 1 tablespoon vanilla extract
- 12 oz (340 g) dark or milk chocolate chunks, or a combination of the two
Instructions
- Cut the butter into 1 inch pieces and place in a stainless steel or other light colored skillet (so you can see when the butter is browning). Place the skillet over medium heat and begin melting the butter, swirling the pan or stirring occasionally while it's melting. Once it's completely melted and beginning to bubble, stir regularly until the butter begins to brown. Take it off the heat and immediately pour it into a heat-proof bowl to stop the cooking process. Refrigerate the butter until it's cold and set, but not firm.
- Preheat the oven to 350° F. In a medium bowl, whisk together the flour, baking soda, and salt and set aside.
- In a large bowl, cream the brown sugar and brown butter until combined. Turn the mixer up and continue beating for 4-6 minutes, until very light in color, scraping the sides of the bowl a couple of times in between.
- Add the eggs, one at a time, and beat until well incorporated and smooth, about 2 minutes.
- Slowly add the flour mixture in two additions, pulsing to avoid a flour cloud. Add the chocolate chunks and mix on low just until combined.
- Using a large cookie scoop, scoop 6 balls of dough onto two parchment-lined baking sheet, spaced at least 3 inches apart. Bake for 10 minutes. Carefully lift each baking sheet from about 4 inches above the rack and gently bang it back down on the rack. Close the oven door. Do this every 2-3 minutes for a total cooking time of 18 minutes.
- Remove the cookies and allow to cool on the baking sheets for 2 minutes before transferring to cooling racks to cool.
Pan banging technique adapted from The Vanilla Bean Blog's Pan Banging Chocolate Chip Cookies


Maya Siegel
A little on the sweet side, but I love this recipe! I separated the dough into balls and froze them to bake off fresh whenever I want a cookie and they bake great from frozen or fresh. Absolutely love these cookies and Kim’s flour mixes are a bit of a hassle to get all the ingredients for but it is sooooo worth it!
Carrie
This recipe turned out perfect. They smell absolutely delicious while they are baking. I used Allergy Free Dark Chocolate Chips. My husband, who does doesn't like gluten free, liked this cookie.