How cute are these Valentine's chocolate bars? Would you believe it if I told you they're also super simple to make? Throw in some add-ins and you've got yourself a gourmet candy bar that looks and tastes like you bought it at a chocolate shop 🙂
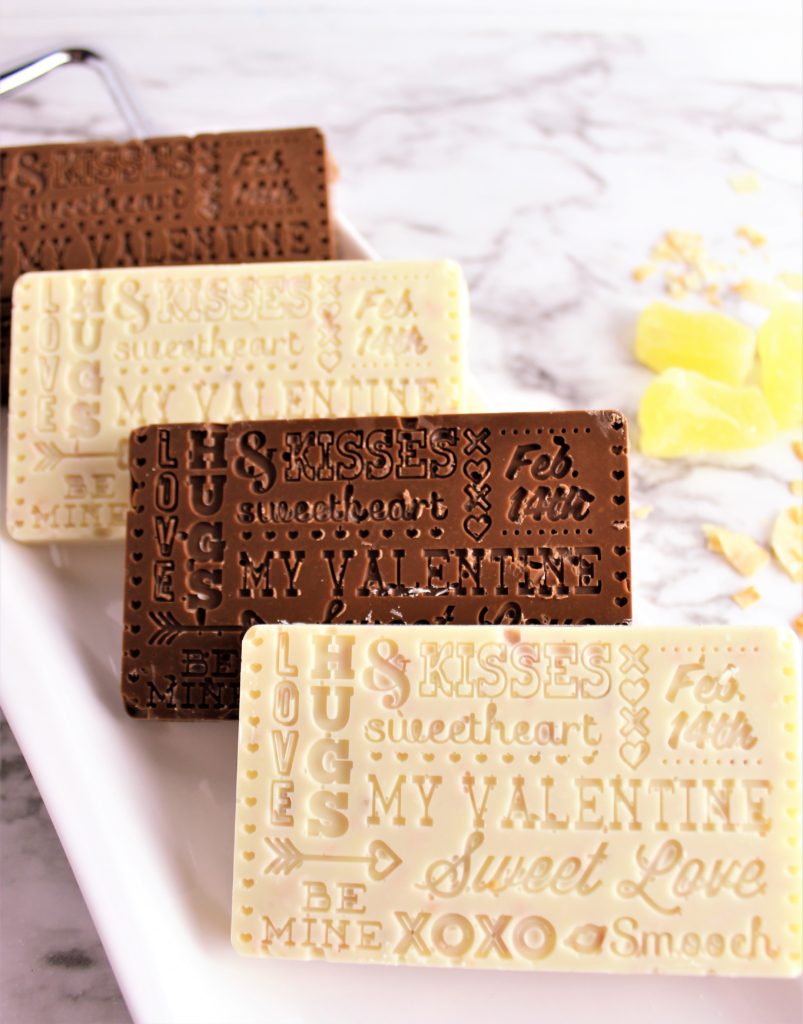
I am so in love with all these cool molds any average Joe can buy just about anywhere! You can pretty much walk through a Walmart, Target, of course any craft store (Michael's, Hobby Lobby, AC Moore) or even a grocery store and find a chocolate mold to use for current holiday candy making.
Years ago, before this stuff was available all over the place, there was a local specialty store in our area that sold anything and everything you'd need for candy making and cake decorating. They also taught classes at night and that's where I got my start in making all kinds of homemade candies and decorated cakes. I'd go home with bags full of the best candy wafers, molds, and fillings and get started making (and eventually selling) my own candies.
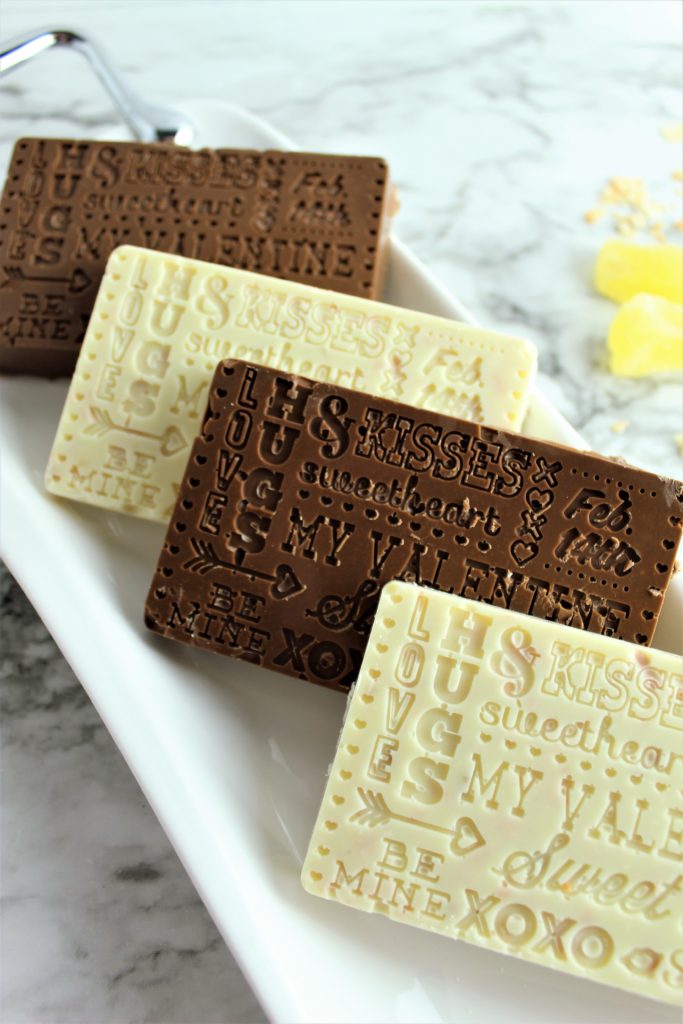
How to Temper Chocolate Like a Boss
Now that I have my Lasergrip Digital Thermometer Gun, it's never been easier to temper chocolate. Plus, this method is so simple anyone can do it! I took a tip from the queen of the kitchen, Ina Garten, for easily tempering chocolate:
Chop all your chocolate and place ¾ of the chopped chocolate in a microwave-safe bowl. Microwave at 30-second intervals until all the chocolate is melted, stirring in between. It should reach a temperature of about 115 degrees.
Add the rest of the chocolate and stir gently until the temperature goes down to 88 to 91 degrees. It might seem strange, but when it's in temper it actually makes a different sound, like a slapping against the side of the bowl. Test it by using your spatula to smear a small amount onto parchment paper and let it set. If it sets in a few minutes, it's in temper. If it takes a long time and is still wet-looking, it needs to drop down a few degrees. Keep stirring and try again.
If you're still not ready to jump in and give tempering chocolate a go, you can always use candy wafers for an easier alternative.
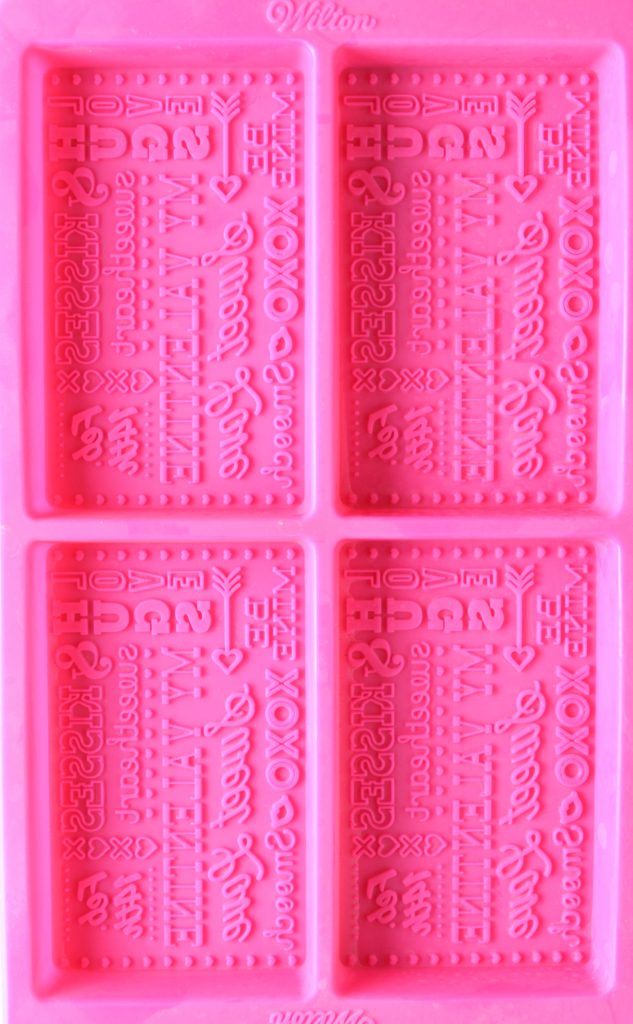
CUSTOMIZING YOUR CHOCOLATE BARS
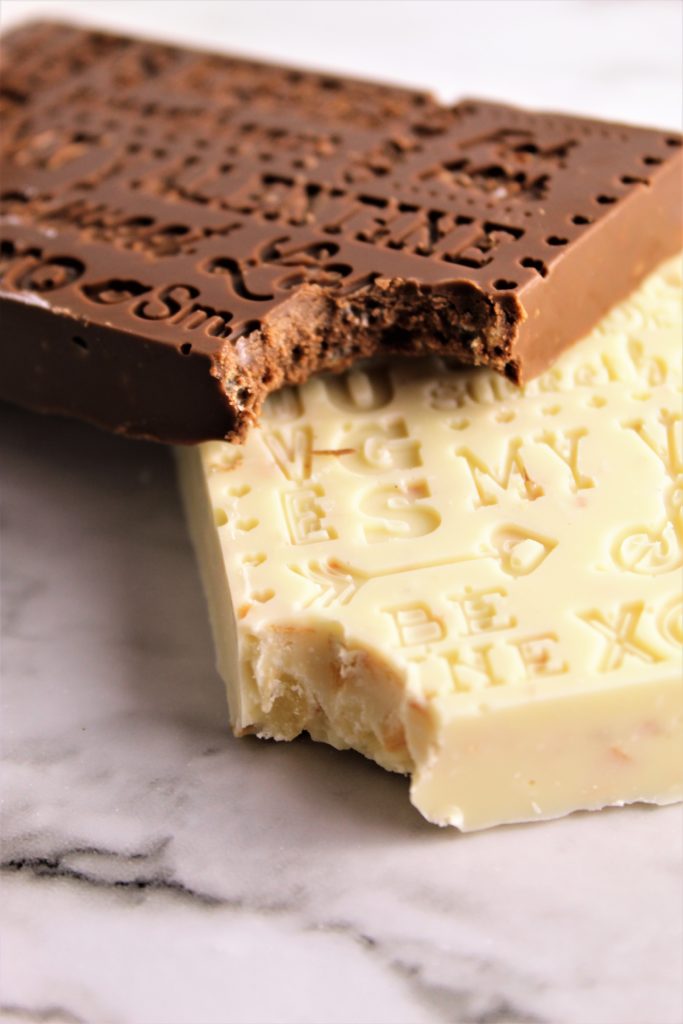
There's a place at Disney Springs in Orlando that I could live at, the Ganachery. They make unbelievable chocolates! The Ganachery had different chocolate bars named after the most famous Disney characters and places. For instance, there was the Mickey Mouse, which was a simple milk chocolate bar. The Donald Duck was white chocolate with blueberries and habanero chilis. I loved the Aulani the most (named after Disney's Hawaiian resort). It featured white chocolate with pineapple and coconut flakes and it was divine!! To duplicate this, simply add chopped candied pineapple and unsweetened toasted coconut flakes to white chocolate. Then pour it into the molds.
To milk chocolate, I added gluten free rice cereal to mimic a Nestle Crunch Bar. I haven't had one of those in years and they are sadly NOT gluten free. My son said they were better than the original! How could I argue with that?
For a quick and simple Valentine's treat for the ones you love, pick up a mold and some chocolate and bring out your inner Willy Wonka 🙂
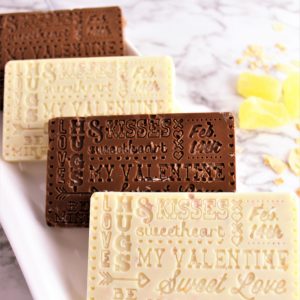
Valentine's Chocolate Bars
Ingredients
- 1 pound (16 ounces) white chocolate, chopped
- 4 ounces dried pineapple, finely chopped
- 1-2 ounces unsweetened coconut flakes, toasted and crushed
- 1 pound (16 ounces) milk chocolate, chopped
- 1 cup gluten free rice cereal
Instructions
- To toast coconut, place on baking sheet and toast for about 5-10 minutes at 350 degrees, watching closely to make sure it doesn't burn.
- Melt and temper white chocolate according to above instructions for tempering (or melt candy wafers as per package instructions).
- Add chopped pineapple and toasted coconut, crushing coconut in hands as you sprinkle it into chocolate. Stir to combine.
- Pour into molds and place molds in refrigerator to set for about 5 minutes.
- Meanwhile, melt and temper milk chocolate according to above instructions for tempering (or melt candy wafers as per package instructions).
- Add rice cereal and stir to combine.
- Pour into molds and place molds in refrigerator to set for about 5 minutes.
- Remove all chocolate bars from molds and serve. They do not need to be refrigerated unless you are using real chocolate and haven't tempered it.



Leave a Reply