Ya'll, these lil' pot o' gold mousse cups are so cute aren't they? But they're also so easy, you won't even believe it!! And what's more, they're unbelievably tasty, too 🙂
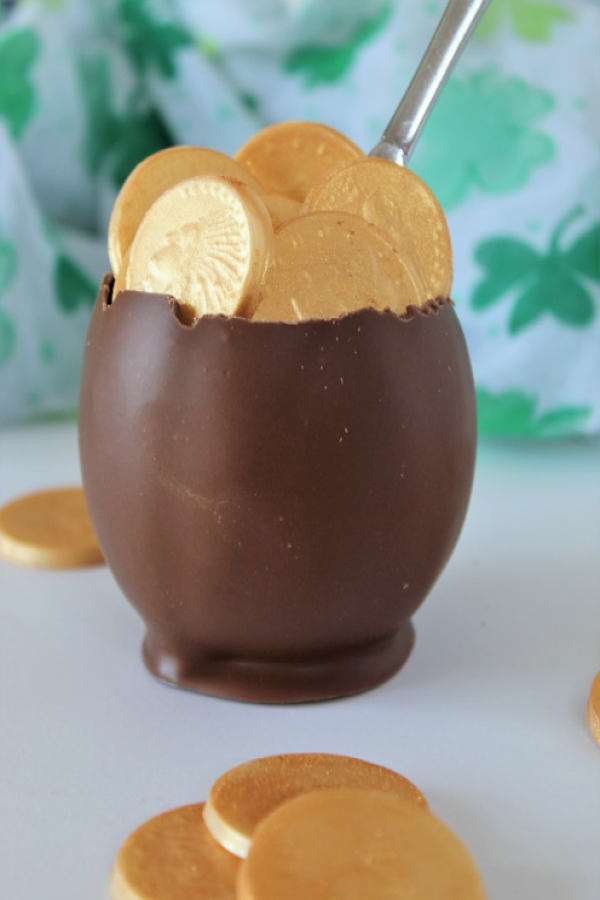
Serve these for St. Paddy's Day and you're sure to have the luck o' the Irish with you! As the Irish say, "if you're lucky enough to be Irish, then you're lucky enough!" I guess I'm lucky enough to be part Irish at least.
You won't believe how truly easy these are to make! They come together pretty quickly, too so you won't be slaving in the kitchen for hours. Make them for your kids' school parties or family St. Patrick's Day dinner, or just for yourself if that's the way you roll 😉 The chocolate mousse is so incredibly easy, but it's sure to please the most discerning palate!
Tools Needed for Making the Pot O' Gold Mousse Cups
There are a few specialty tools you'll need, but you can find every one of them on Amazon and if you have Prime you'll get them shipped in just two days! You can also find some of these at any hobby store or even Walmart (except for the coin mold).
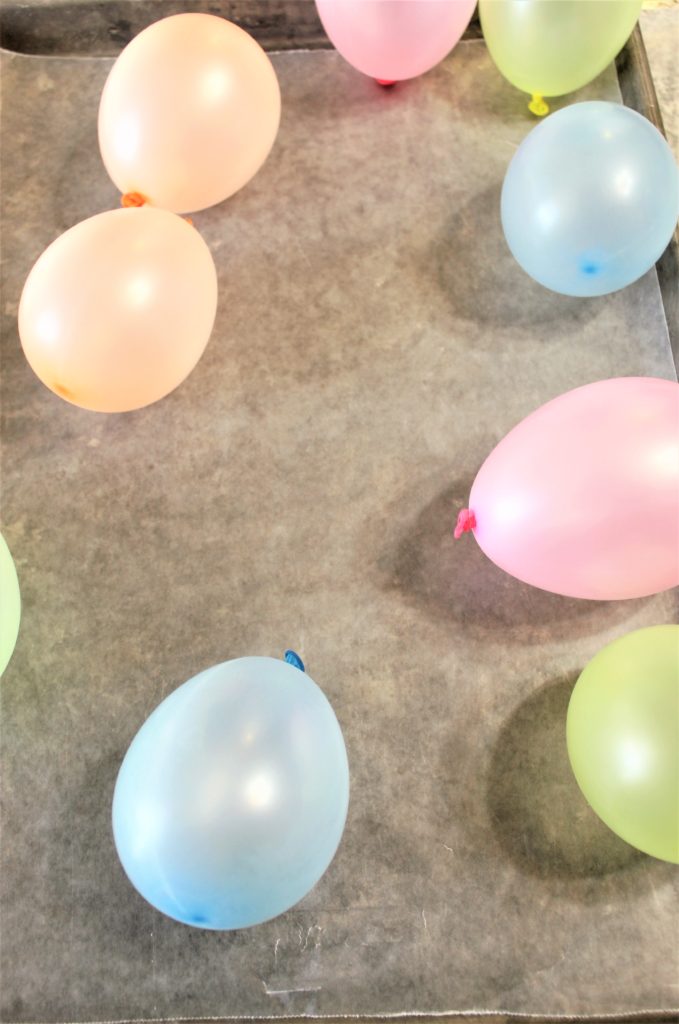
- Water balloons. Not actually filled with water of course (haha!) but you'll need a package of very small balloons and water balloons are perfect. I actually got mine at Walmart, but you can find them on Amazon as well.
- A coin candy/chocolate mold. I'm not sure if you'll find this in stores, but I found this one on Amazon.
- Candy wafers (NOT Wilton brand as they're not guaranteed gluten free). I love Merckens and I bought this bag on Amazon. If you have an AC Moore in your area, they have a brand, I think it's Melt N Mold or something like that, that says it's gluten free on the bag. You're welcome to use real chocolate, but you'll have to temper it first. If you're into that, head over to my chocolate bars post here and see how to do it.
- Gold luster dust and food safe paint brush. I've had the paint brushes from my cake decorating days, but they can found at any craft/hobby store or even Walmart, or of course on Amazon. I bought this gold luster dust on Amazon, but you can also find different brands at some stores such as Michael's, AC Moore, Hobby Lobby, etc.
The Simple Steps to Making These Mousse Cups
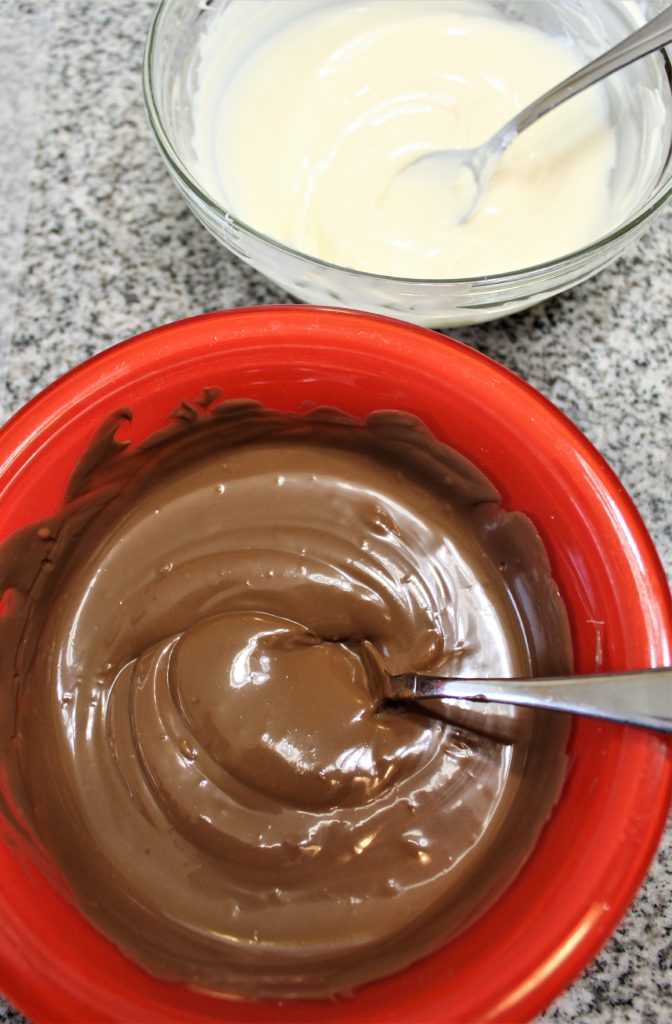
- Melt chocolate wafers. Allow to cool to room temperature.
- Dip balloons in melted chocolate and place on waxed paper lined baking sheet. Sadly, I forgot to snap a picture of this part, but check out Elizabeth at Sugar Hero's step by step photos on how to dip the balloons. Her pots look WAY better than mine, but all of her stuff is just amazing so you should definitely check her site out!
- Allow chocolate to harden (either by putting in the refrigerator or leaving at room temp until completely hardened.
- Carefully let the air out of the balloons. The easiest way I found to do this is to hold up the knot and use scissors to gently cut the balloon beneath the knot. Remove deflated balloon from chocolate cup.
- Melt white chocolate wafers and fill coin molds with melted chocolate. Put in freezer for a few minutes to harden.
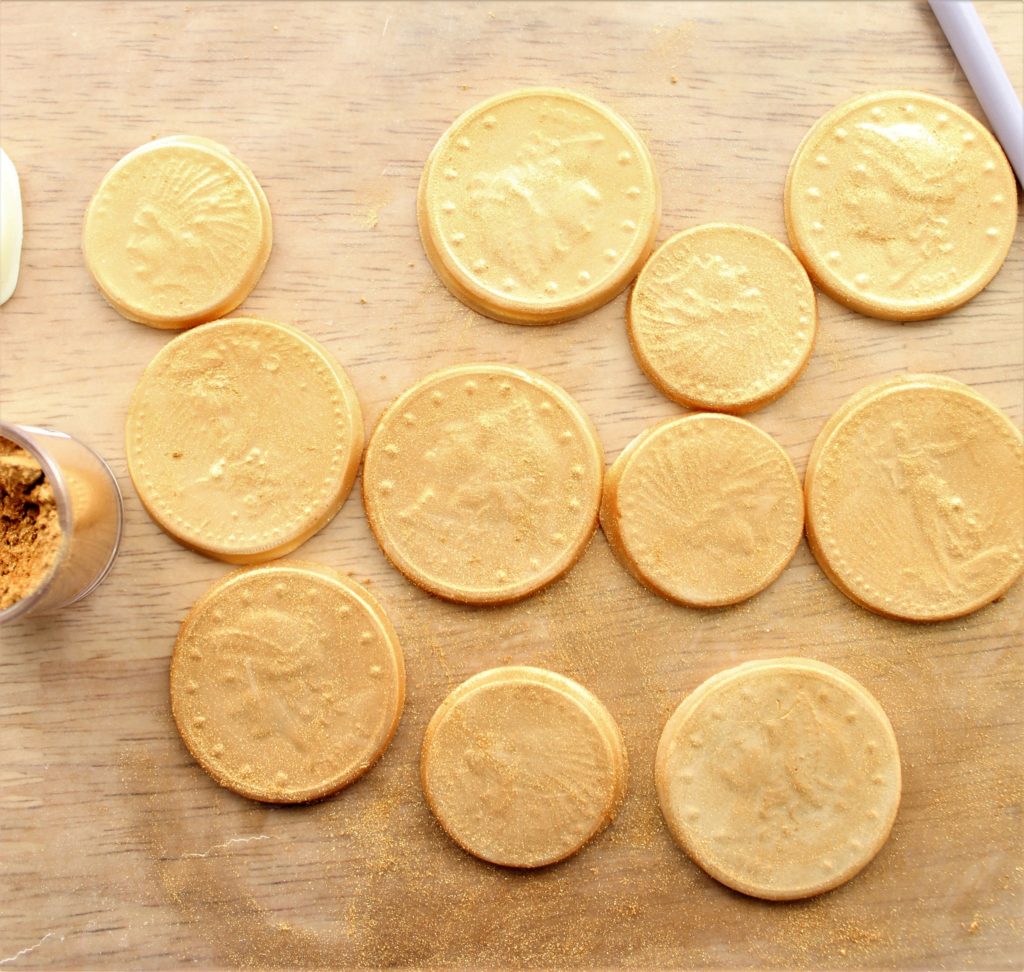
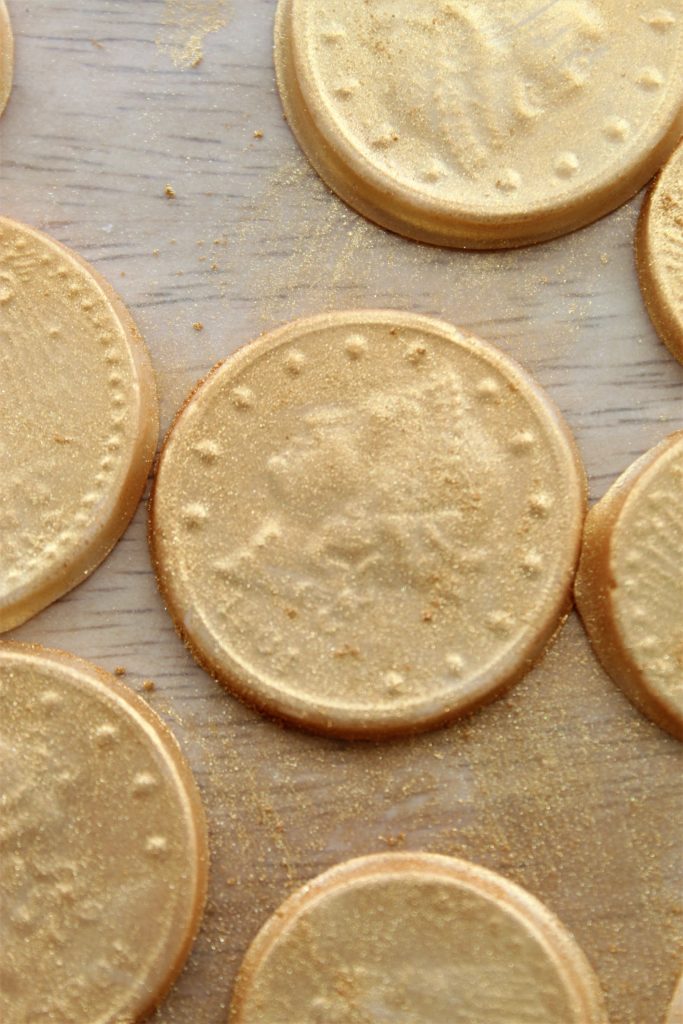
- Remove coins from mold and place on waxed paper. Use food safe paint brush to brush the coins with the gold luster dust.
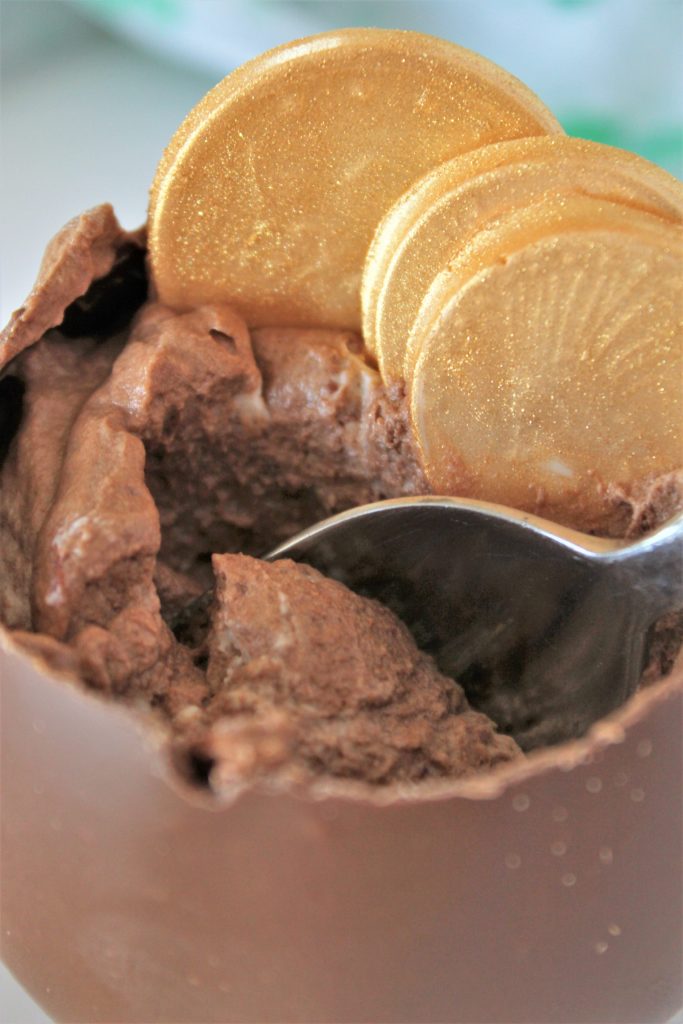
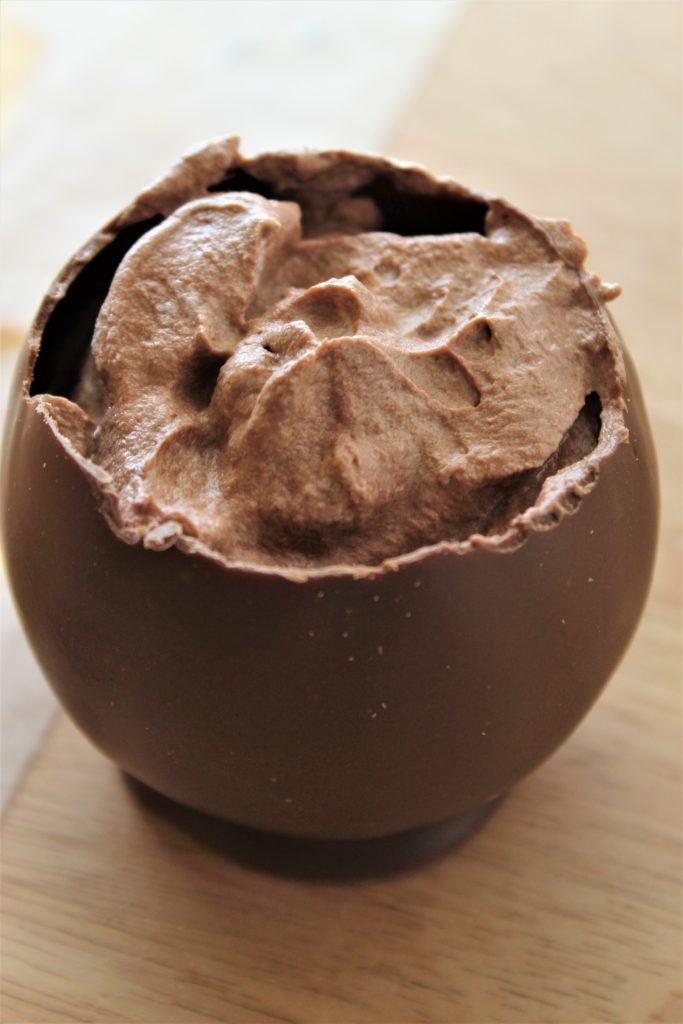
- Make the mousse and fill the cups with the mousse. Add coins to the top.
These little pot o' gold mousse cups are so fun to make!! But they're even more fun to eat 🙂

Pot O' Gold Mousse Cups
Ingredients
- 1 pound (16 ounces) chocolate candy wafers
- ½ pound (8 ounces) white chocolate candy wafers
- small water balloons, blown up (without the water)
- gold luster dust
CHOCOLATE MOUSSE:
- 6 ounces finely chopped semi-sweet chocolate `
- 2 cups (12 ounces) heavy cream
- ¼ cup powdered sugar
- 1 teaspoon pure vanilla extract
- ½ teaspoon instant espresso powder
Instructions
FOR THE CHOCOLATE POTS:
- Melt the chocolate per package instructions. Allow to cool to only lukewarm or room temp, otherwise the balloons may pop.
- Dip bottoms of balloons in melted chocolate, halfway up the sides. I did straight down into the chocolate and pull straight up. Having a somewhat deep bowl is best for this.
- Place dipped balloons onto waxed paper lined baking sheet. Allow to harden completely at room temperature if the ambient temperature of your room is fairly cool. Otherwise, put tray in refrigerate to set for about 30 minutes.
- Carefully pop balloons by grasping knot and cutting small slit underneath knot and gently letting air out of balloon. Be gentle because popping balloons could cause chocolate to break. Remove deflated balloons from chocolate cups.
FOR THE GOLD COINS:
- Melt white chocolate according to package instructions. Fill molds with a tiny amount of melted white chocolate (molds are small and not very deep). Once all cavities have been filled, tap or drop the mold on a counter to spread the melted chocolate throughout the mold and to pop any air bubbles that are trapped.
- Place mold in freezer for a few minutes to harden.
- Remove mold from freezer and invert onto waxed paper, where coins should pop right out if they've fully hardened.
- "Dust" coins with food-safe paint brush using luster dust. Allow to set, although the luster dust will not completely set and will get on your fingers when coins are touched.
FOR THE CHOCOLATE MOUSSE:
- In small heavy saucepan, bring ½ cup of the heavy cream with the instant espresso powder to just below a boil over medium low heat. Remove from the heat and pour over chopped chocolate. Cover with plastic wrap for about 3 minutes. Remove plastic wrap and whisk to combine. If all chocolate isn't completely melted, put bowl in microwave for about 15 seconds at a time, stirring after until all chocolate is melted and smooth. Set aside to cool to room temperature.
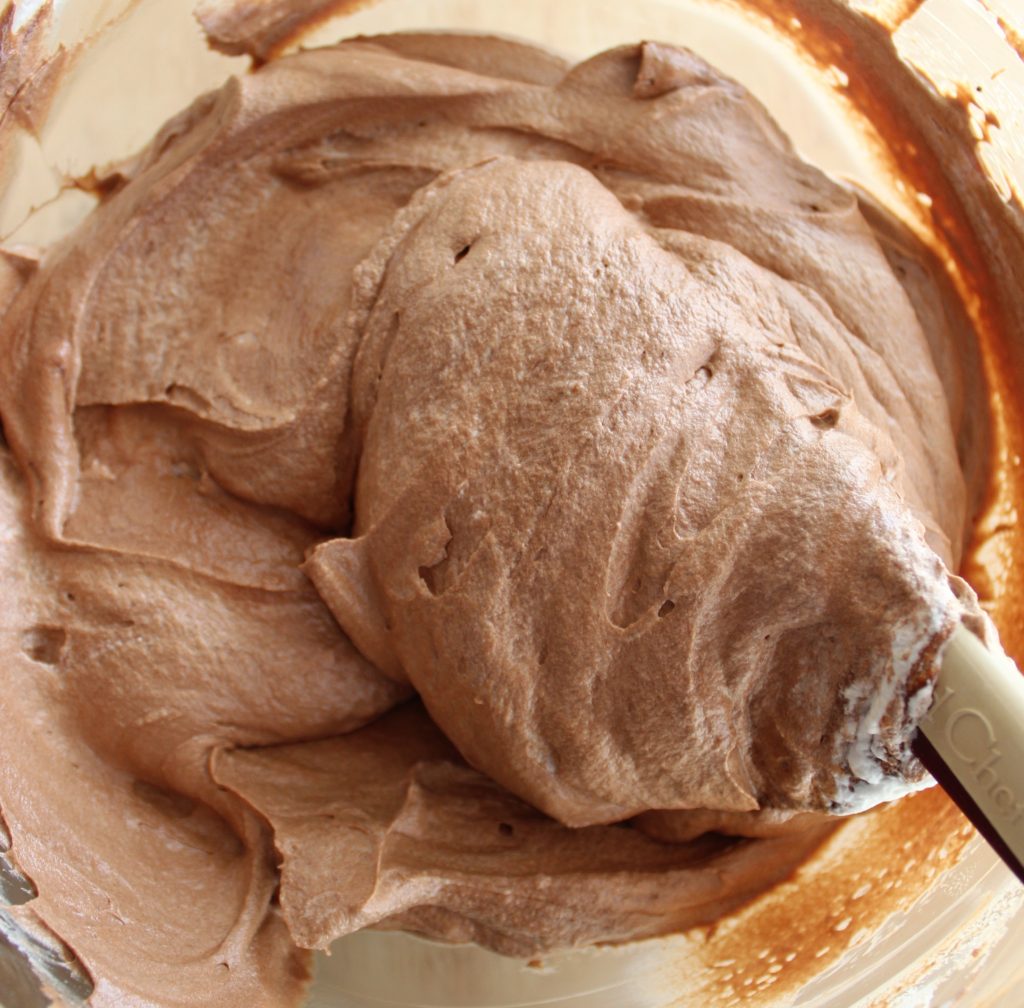
- In bowl of stand mixer using whisk attachment, add the rest of the heavy cream (1 ½ cups) and whisk on medium until soft peaks form. Slowly add powdered sugar and vanilla and continue to whisk until stiff peaks form.
- Mix about ½ cup of whipped cream into chocolate mixture to lighten it, then gently fold the rest of the whipped cream into the lightened chocolate mixture. Spoon into chocolate cups and add coins on top.
Adapted from Sugar Hero's Chocolate Honey Pots with Honey Mousse.
This post contains Amazon affiliate links.




Leave a Reply