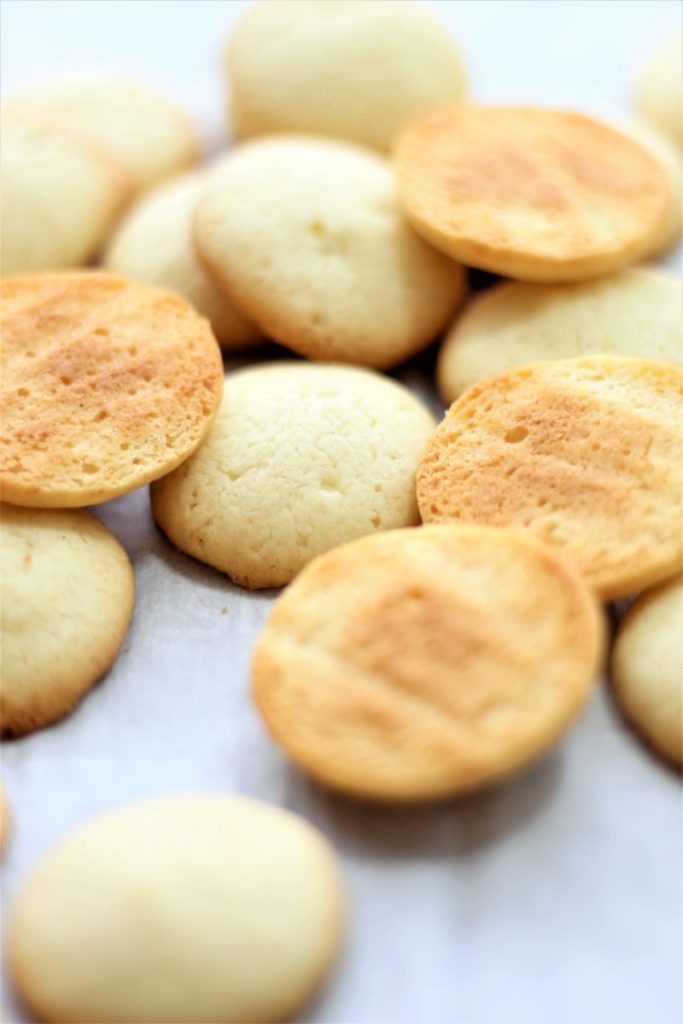
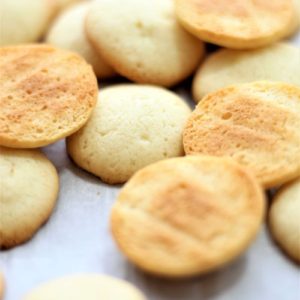
It's so easy to make your own homemade gluten free vanilla wafers. They're full of real vanilla bean flavor and are crisp and delightful.
Back before I was diagnosed with Celiac, I never really thought about making things from scratch such as vanilla wafers. But after the diagnosis, I found it was often very difficult finding gluten free vanilla wafers in stores when I wanted them. And if I happened to find any, there would only be maybe one box on the shelf. Now how in the world do you make something like banana pudding with just one tiny box of cookies? Because you know all things gluten free come in two sizes too small. And yet their cost is TRIPLE the amount of a regular box of something of the same value that's filled with gluten.
Ingredients Needed for Homemade Gluten Free Vanilla Wafers
I bet each of you have all of these ingredients in your kitchen right now. That's the first indication at how easy these cookies are to make:
- Gluten free flour blend--I recommend using my own Kim's all purpose gluten free flour blend. You can try to use a store bought flour blend, but just note that this recipe hasn't been tested with one.
- Baking powder
- Kosher salt
- Butter--for dairy free, use a dairy-free butter alternative, coconut oil, or vegetable shortening.
- Granulated sugar
- Powdered sugar
- Egg--for vegan or egg allergies, you can try an egg substitute, which should work fine as there is only one egg in this recipe. Here's a great article on egg substitutes.
- Vanilla bean--you can use extract if that's all you have, but for the ultimate vanilla flavor I use the seeds from a vanilla bean.
- Whole milk--for dairy free, use a dairy-free milk.
Getting the Most Vanilla Flavor in Your Vanilla Wafers
You can use vanilla extract and mix it in with the egg and milk, but here's what gets the most vanilla flavor in those little bites that rely only on vanilla for their flavor. Empty the vanilla bean seeds right into the sugars and blend with the sugars first to get the best and most amazing vanilla flavor in your wafers!
Making Vanilla Wafers from Scratch
Seriously, if this isn't easy enough for ya, go buy those expensive boxes of gluten free vanilla wafers. Otherwise, continue reading and you'll see just how easy these insanely vanilla-y wafers really are to make!
- Cream together the butter and both sugars until fluffy. You can use a stand mixer, but I find there isn't enough of a batter to get the proper amount of fluffiness, so I use a hand mixer.
- Add the egg and milk (and vanilla extract, if using) and blend briefly to combine.
- Whisk the flour, baking powder, and salt in a small bowl and add the dry ingredients to the rest of the mixture and beat on low until incorporated.
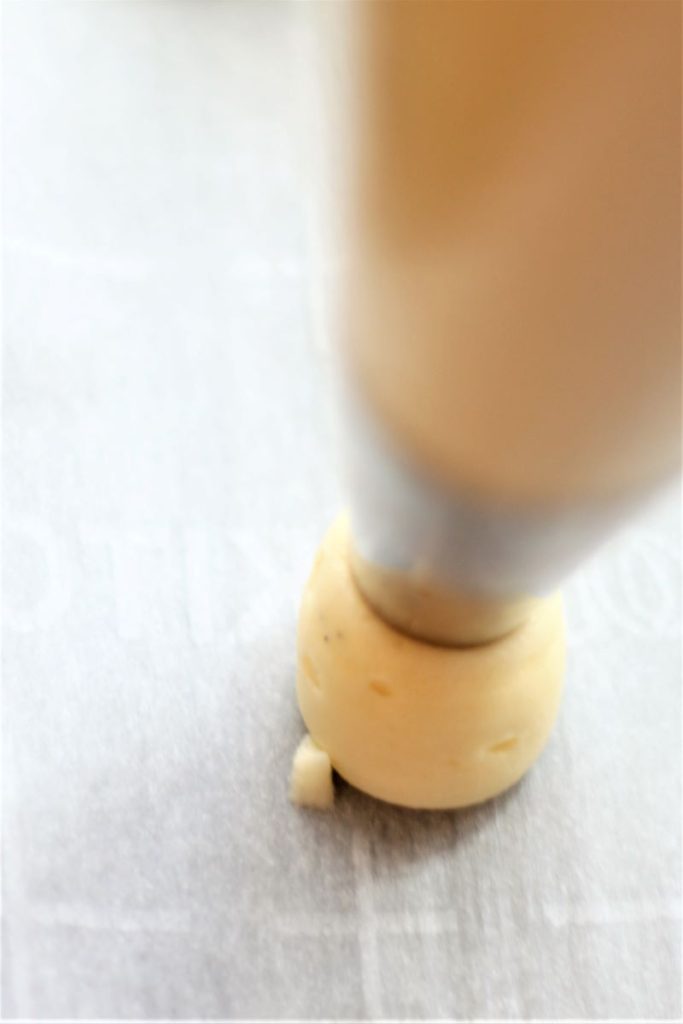
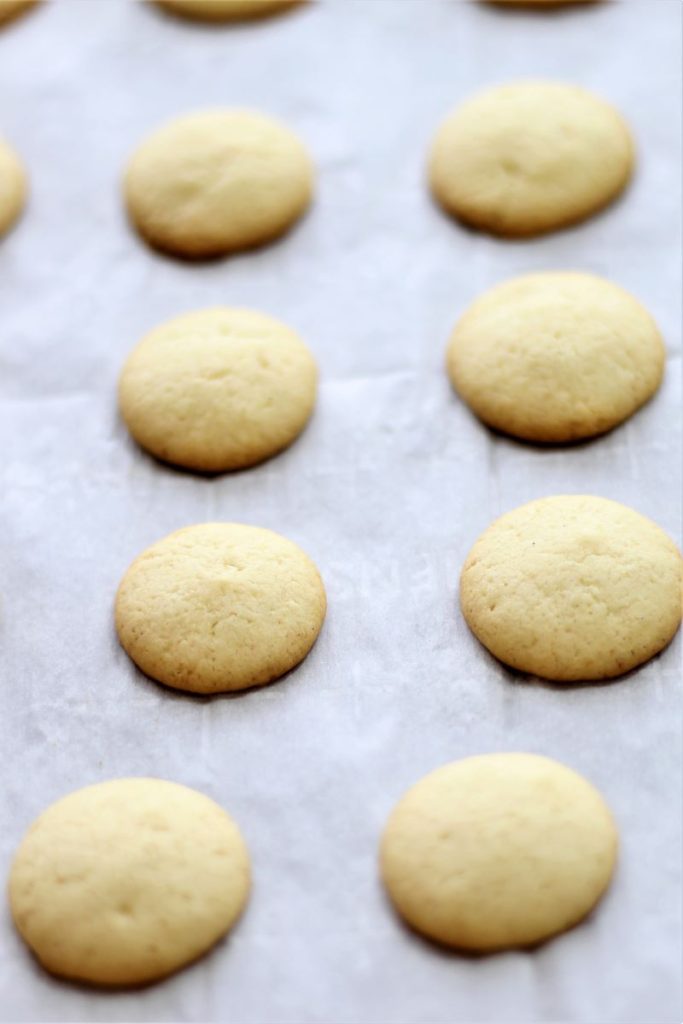
- Using either two small spoons or a pastry bag fitted with a round tip, spoon or pipe a small amount onto a parchment-lined baking sheet (about 1 teaspoon's worth). The wafers will spread larger so you don't want to add too much batter to each.
- Bake the vanilla wafers for 14-16 minutes, or until golden brown, especially around the edges. The cookies will crisp further as they cool.
Homemade Gluten Free Vanilla Wafers FAQs
How Do I Store Them?
The best way to store any gluten free crisp cookies is in a glass container or jar. The glass, for whatever reason, keeps them crisp for days, even up to a week or two.
Can I Double the Recipe?
Yes, you can definitely double the recipe!
Can I Make Banana Pudding with These Vanilla Wafers?
Absolutely!! If you're looking for an amazing gluten free banana pudding, try my banana pudding recipe and substitute the store bought shortbread cookies with these homemade vanilla wafers.
Don't run around town trying to find gluten free vanilla wafers! I'll bet you can make these homemade gluten free vanilla wafers in less time it takes you to find one box. And they'll be way better than you ever imagined 😉
Homemade Gluten Free Vanilla Wafers
Ingredients
- 1½ cups (210 g) Kim's gluten free flour blend (a store bought blend may be substituted, but hasn't been tested)
- ¾ teaspoon baking powder
- ½ teaspoon kosher salt
- ½ cup (63 g) powdered sugar
- ¼ cup (50 g) granulated sugar
- ½ cup (1 stick or 113 g) butter, softened
- 1 large egg, at room temperature
- 2 tablespoon whole milk, at room temperature
- 1 vanilla bean, or 1 tablespoon pure vanilla extract
Instructions
- Preheat the oven to 350°F. Line two baking sheets with parchment paper and set aside.
- In a large bowl, beat the sugars with the vanilla bean seeds until well combined. If not using vanilla bean seeds, skip to the next step.
- Cream butter and sugars until light and fluffy, 1-2 minutes. Scrape down the sides of the bowl. Add the egg and milk and, if using, vanilla extract. Beat until well incorporated, 30 seconds to one minute.
- Add the dry ingredients and mix on low speed until combined.
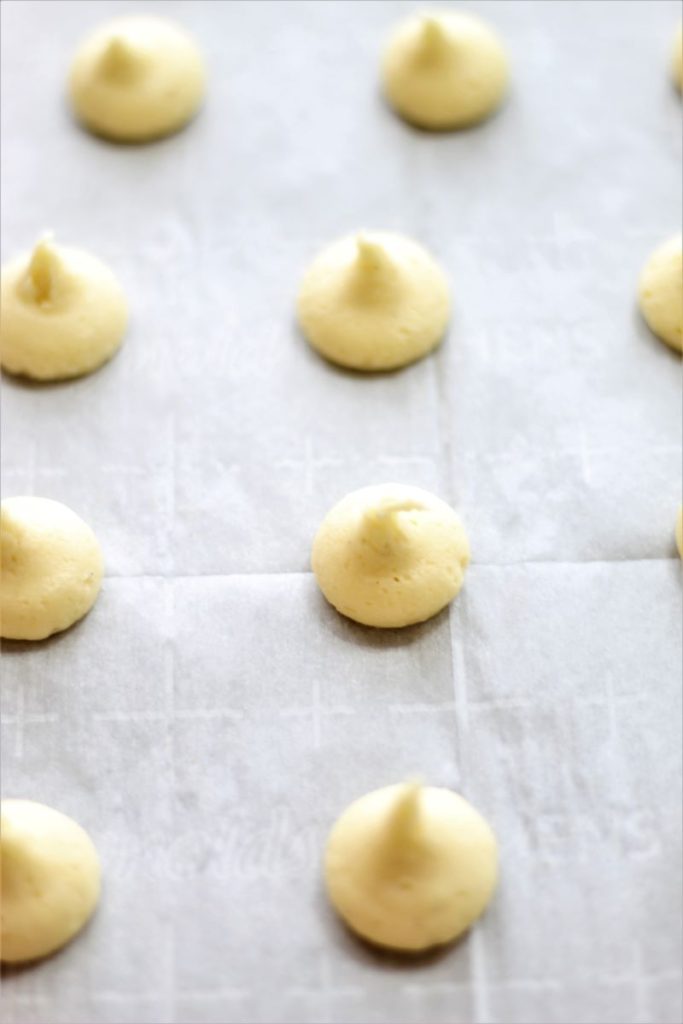
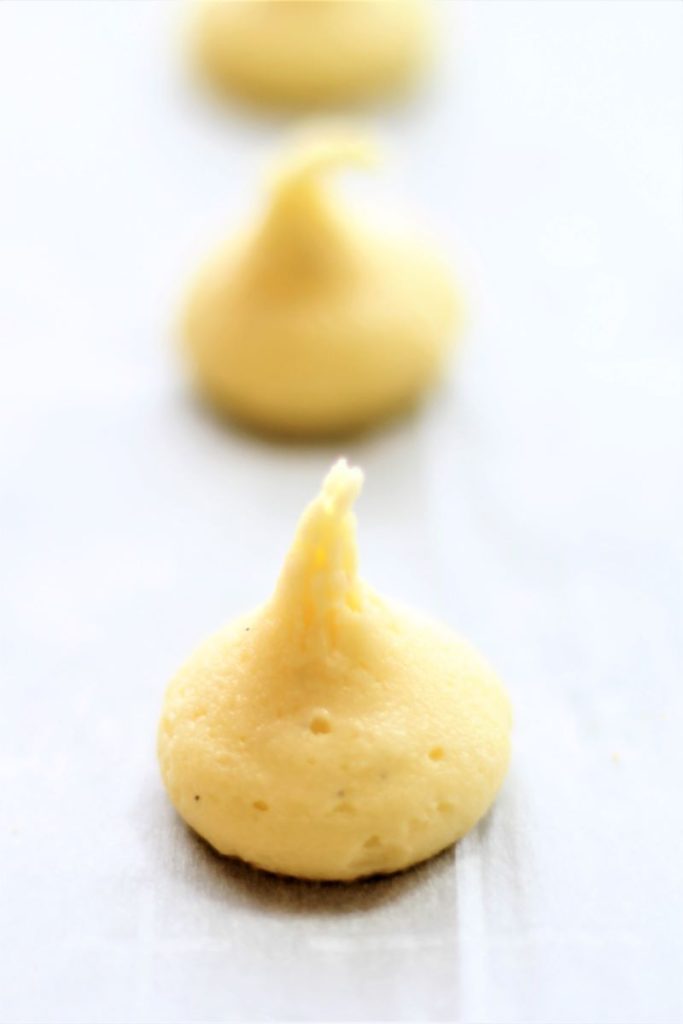
- Fill a pastry bag fitted with a large round tip with the cookie batter/dough. Pipe small (1 inch) disks/kisses onto the parchment, spaced 2 inches apart. Don't worry about the point when you pipe them. They will spread slightly and the point will disappear.
- Bake for approximately 13-16 minutes, or until golden brown, especially around the edges and the bottom.
- Allow to cool before serving. Store in a glass container or jar to keep them from losing their crispness.

SH
My husband loves these Nilla wafers & I’m tickled with how easy they are to make. He takes them in his lunch every day! Thank you for another fantastic recipe. I think I might be your biggest fan. Please keep up the good work. You are making our lives SO much easier with your wonderful recipes!
When I made these cookies last, I ran out of vanilla- yikes! So I substituted maple flavoring for half of the vanilla. The turned out delicious! And my husband says he likes them even better. (I thought I’d share that, just for fun 🙂
Thanks again!!!
Kim
Awe, thank you so much! You're too kind!!
Maple sounds fabulous, and I'll have to try it one day 🙂
Merry Christmas 🎄
Lindy
I used to use Nilla wafers for my key lime pie crusts back in my gluten days. These hit the spot and made excellent crusts! 1 batch was exactly enough for two 9" pie crusts. They had a lovely vanilla flavor. If I make them again, and don't plan to crumble them up for crust, I will smooth the points after piping though. Mine didn't spread quite enough in the oven.
Chantile
You are beautifully brilliant and this is AMAZING. I saved a few, melted chocolate, and made milanos!
Kim
Awe, you are too kind!! Thank you so much 😍 That is a great idea 🙂