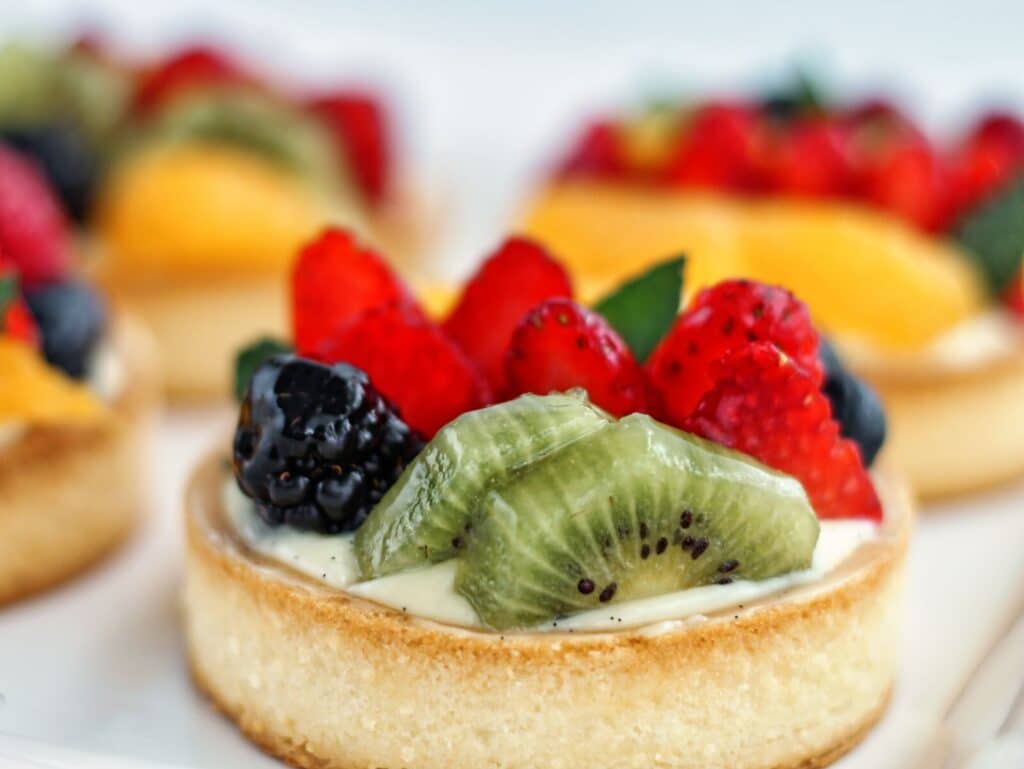
Made with a buttery shortcrust, filled with pastry cream, and topped with fresh fruit, these Gluten Free Fruit Tarts are as delicious as they are beautiful.
Some of the items linked in this post are affiliate links, meaning, at no additional cost to you, if you click through and make a purchase, I will earn a small commission.
Have you ever seen those cute little tarts (or tartlets) at normal (non-gf) bakeries that are filled with pastry cream and adorned with fresh fruit glistening from a clear glaze? We in the gluten free community don't have to stare longingly at those tarts any more because now we can make them ourselves! With my foolproof method (and a few specialty items), we can make dozens and dozens of these little babies. And share them with loved ones. Or eat 'em all ourselves if we want (I won't judge!).
why you should make this recipe
- They're easier than they look
- The components can be made in advance
- The dough is a breeze to work with
- They're beautiful
- They're delicious!
ingredients you'll need
Tart Shells
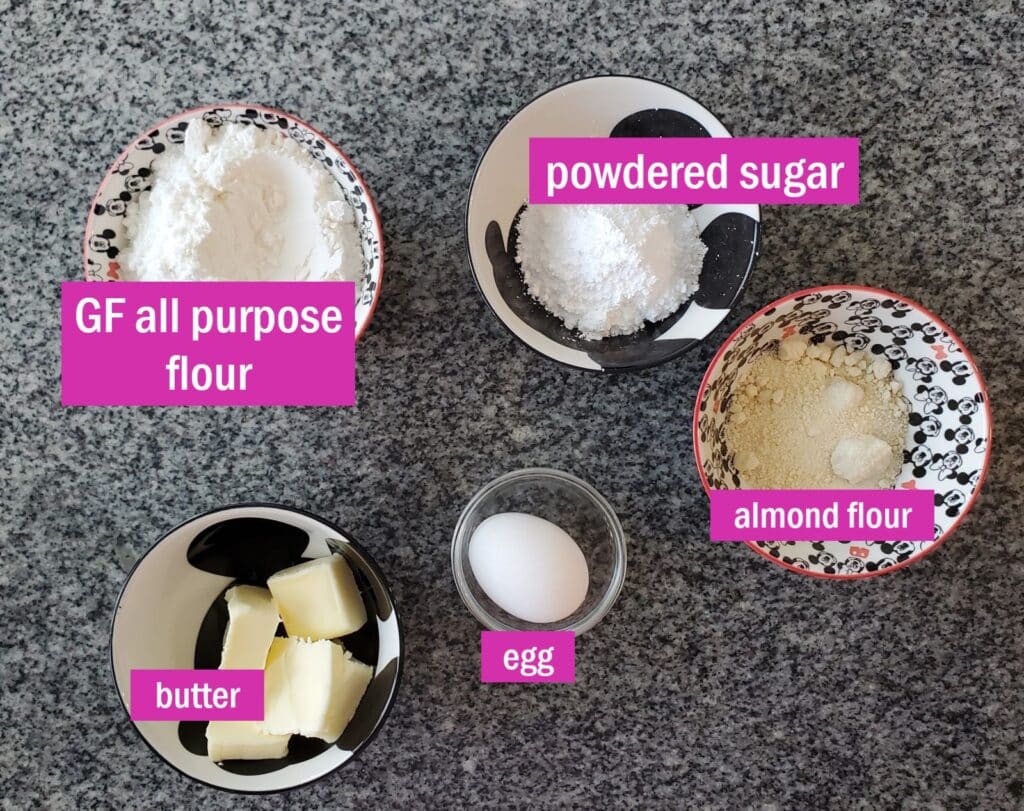
- Almond flour -- in my opinion, an essential ingredient in any tart shell. However, if you don't like almonds (or are allergic), other nut flours such as pistachio, hazelnut, or walnut will also work (and give it a different flavor, too.
- Kim's all purpose gluten free flour blend -- I don't know if this recipe will work with another blend as I haven't tested it. However, I would think a high-quality blend would work just fine.
- Powdered sugar -- powdered sugar integrates into the dough much better than granulated.
- Egg -- an egg binds everything together.
Pastry Cream
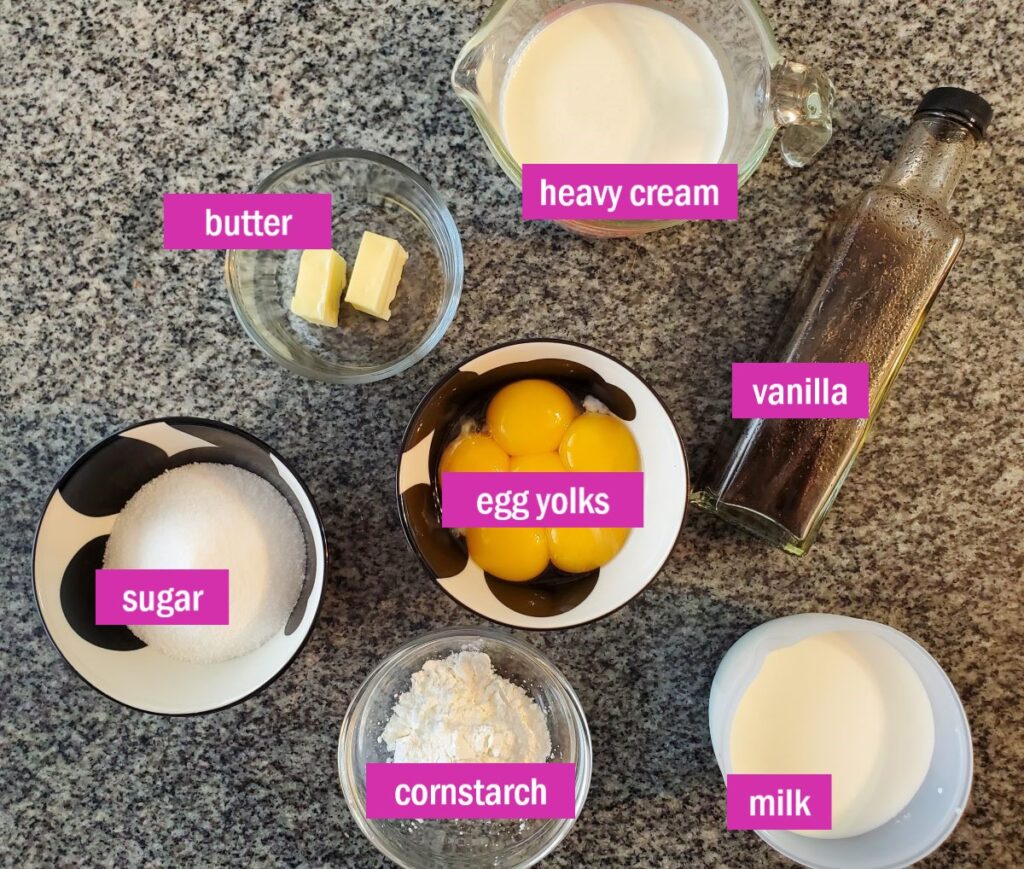
- Egg yolks -- egg yolks, instead of whole eggs, make for a richer pastry cream.
- Cornstarch -- what's great about this recipe is that it's already naturally gluten free by using cornstarch instead of flour.
- Heavy cream and milk -- a mixture of both makes for a pastry cream that's rich and thick, but not overly so.
Clear Glaze
- Potato starch -- you can substitute cornstarch
- Sugar -- not a lot, just enough for light sweetness
- Cinnamon -- just a dash is all you need for a little flavor
equipment you'll need
- Perforated tart molds -- I strongly suggest you get yourself a set of these tart shell forms (affiliate link). The perforation allows the air to flow through, which means there is NO BLIND BAKING! Who wants to mess with all that?
- Perforated air mat -- another item I strongly recommend. These are inexpensive and indispensable for making all kinds of French pastries (eclairs for one!). Again, the air flow makes for crisp bakes instead of soggy ones.
making tart shells
- Make the dough: whisk together the dry ingredients in a medium bowl.
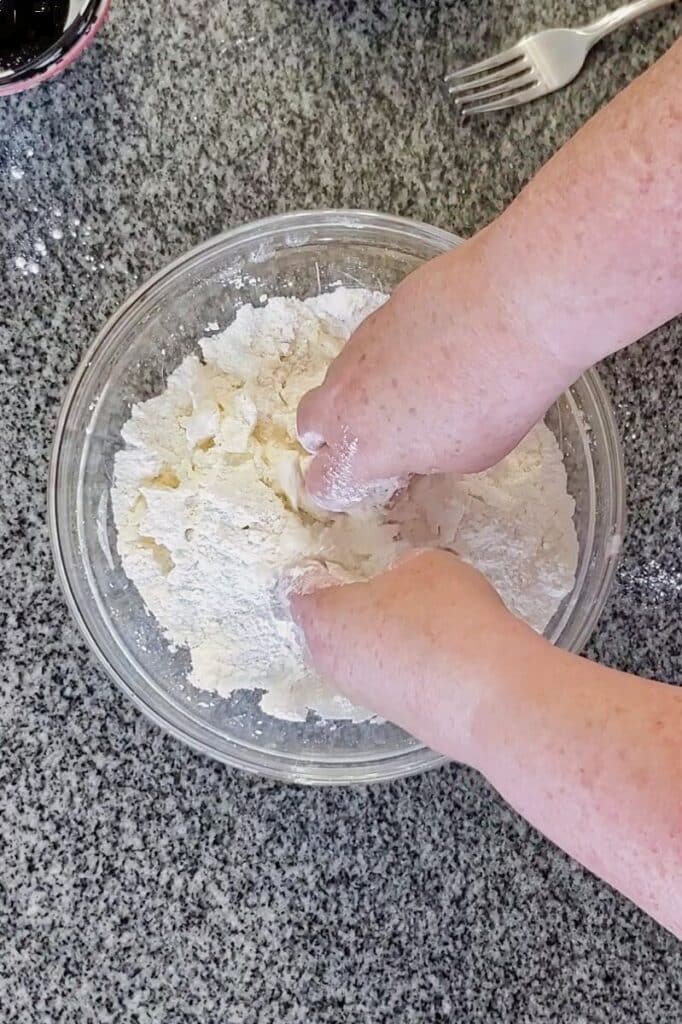
- Add cold butter chunks and rub with your fingers until the mixture is like coarse sand.
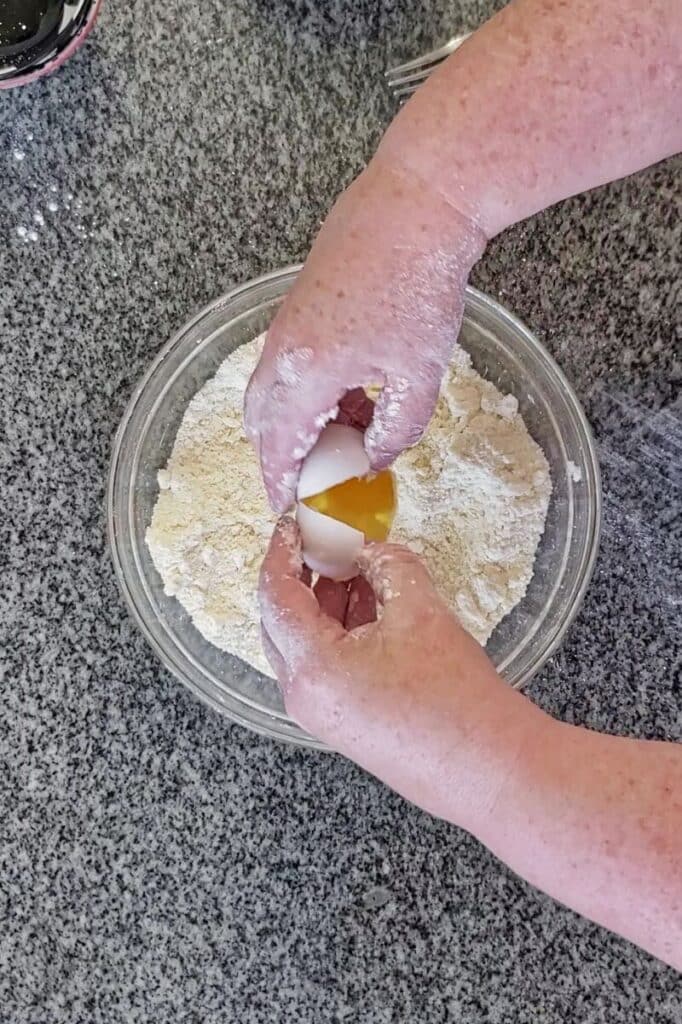
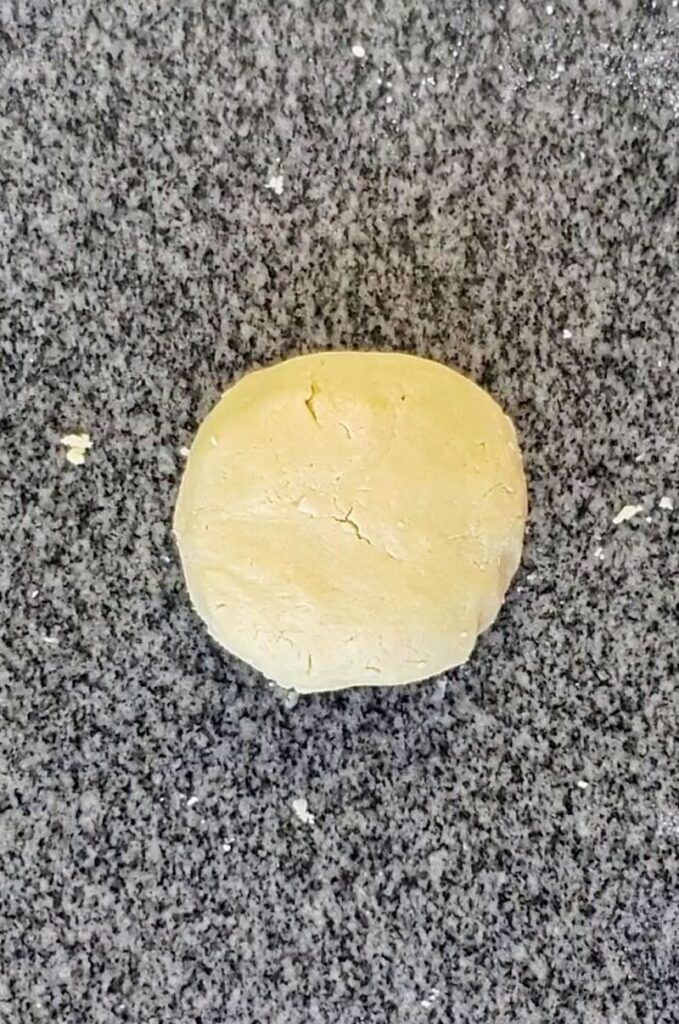
- Add the egg and mix in thoroughly until a soft dough forms; knead to smooth out dough. Chill if necessary.
- Roll dough out between two silicone mats (affiliate link).
- Place on a sheet tray and freeze for 10-15 minutes.
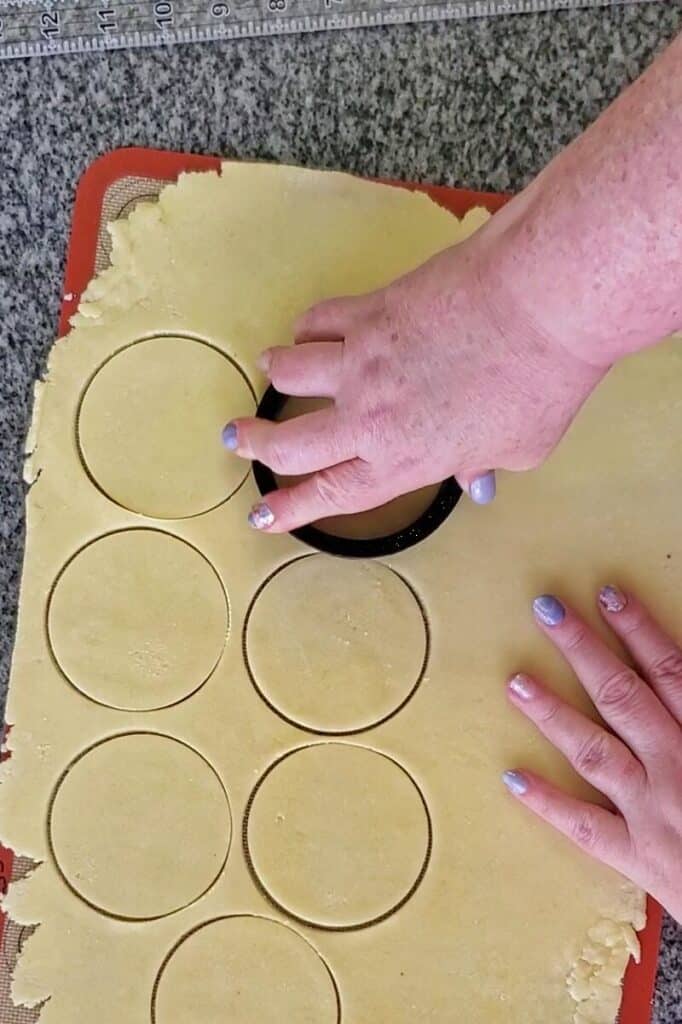
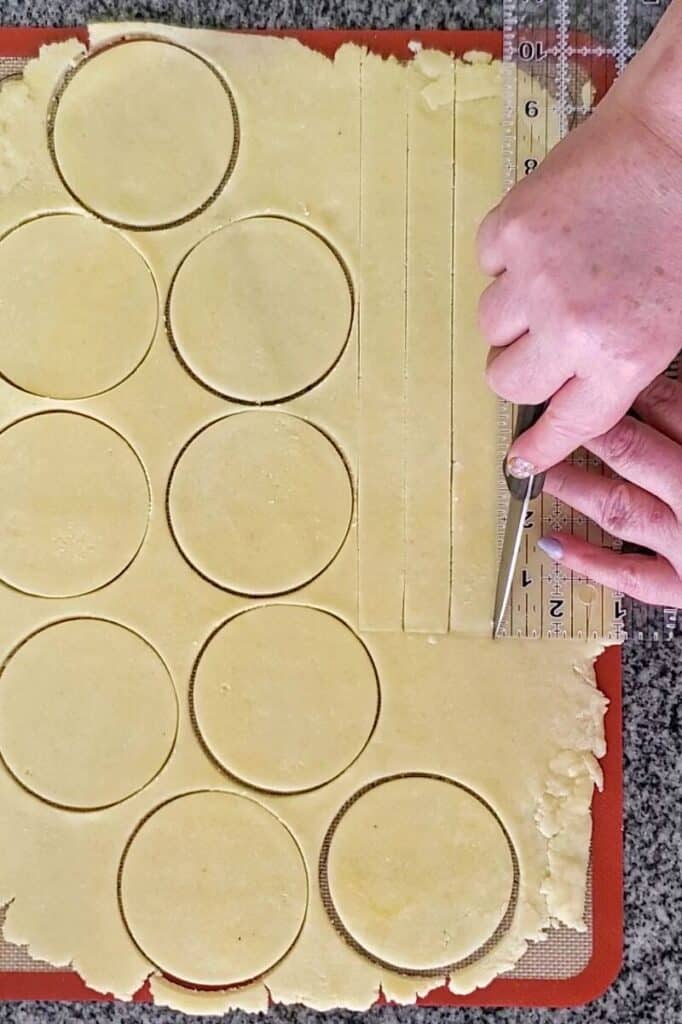
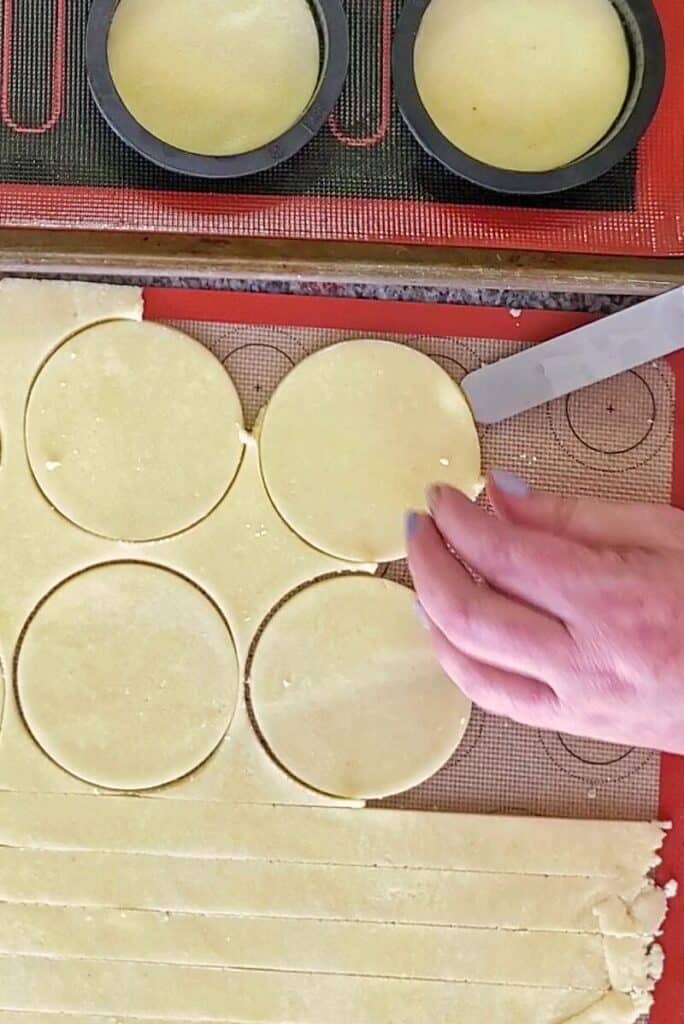
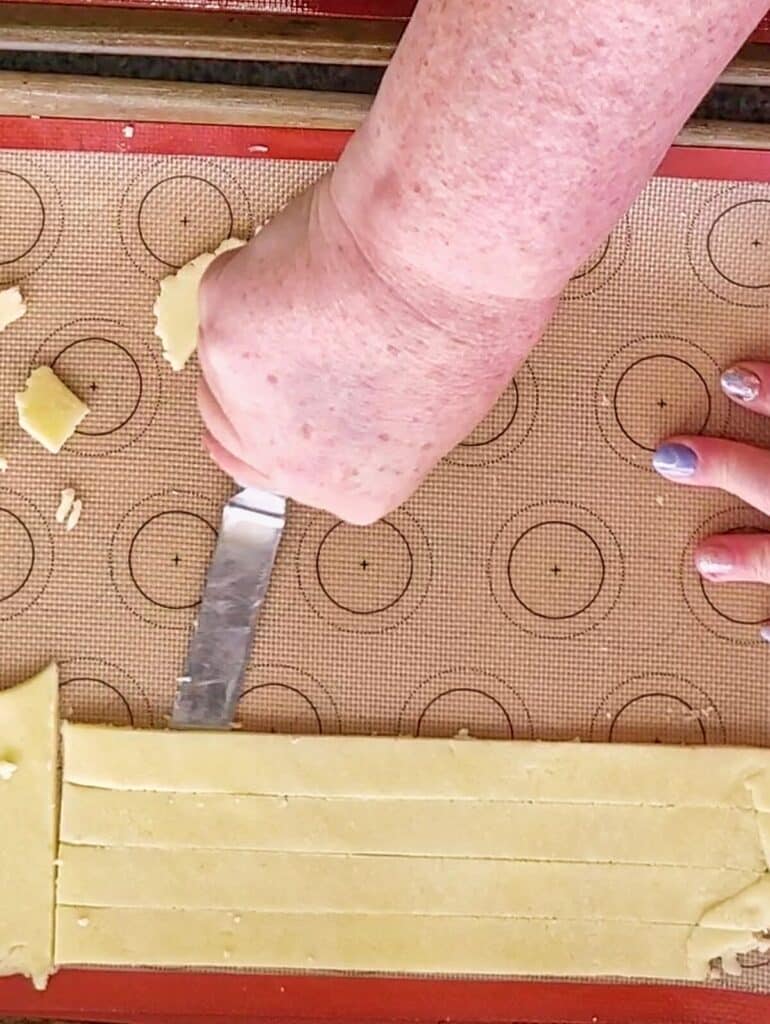
- Cut out tart bottoms using tart molds. Also cut out strips for sides.
- Place the tart molds onto a baking sheet lined with a perforated air mat (affiliate link) and carefully place circles into bottom of tart mold.
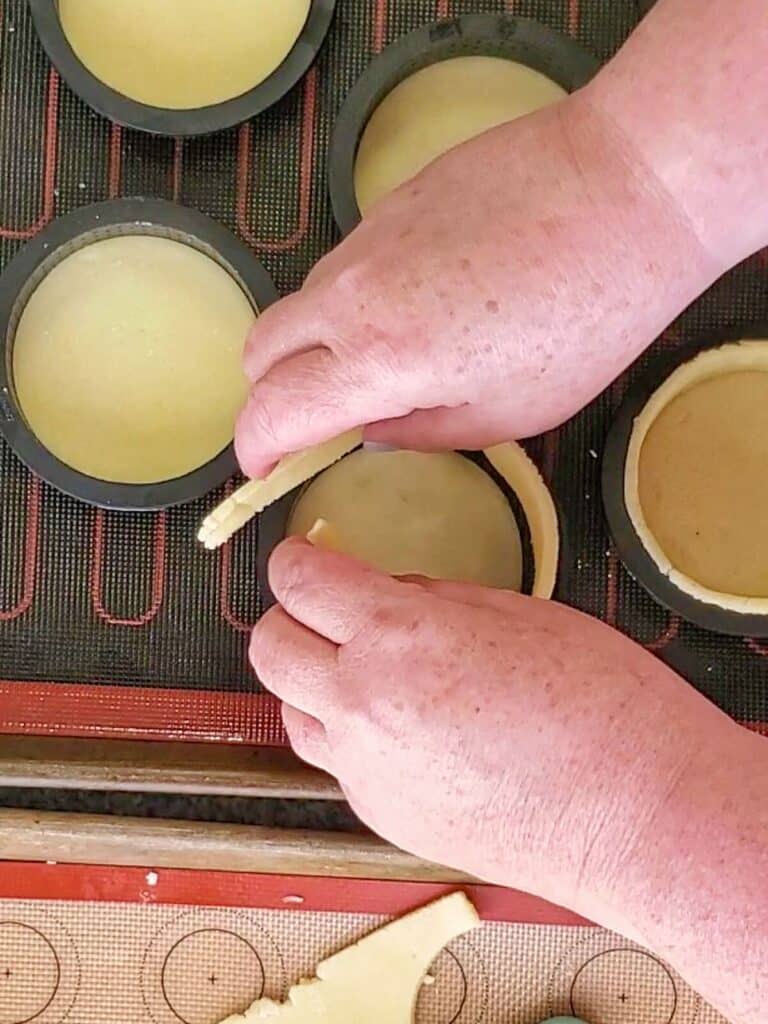
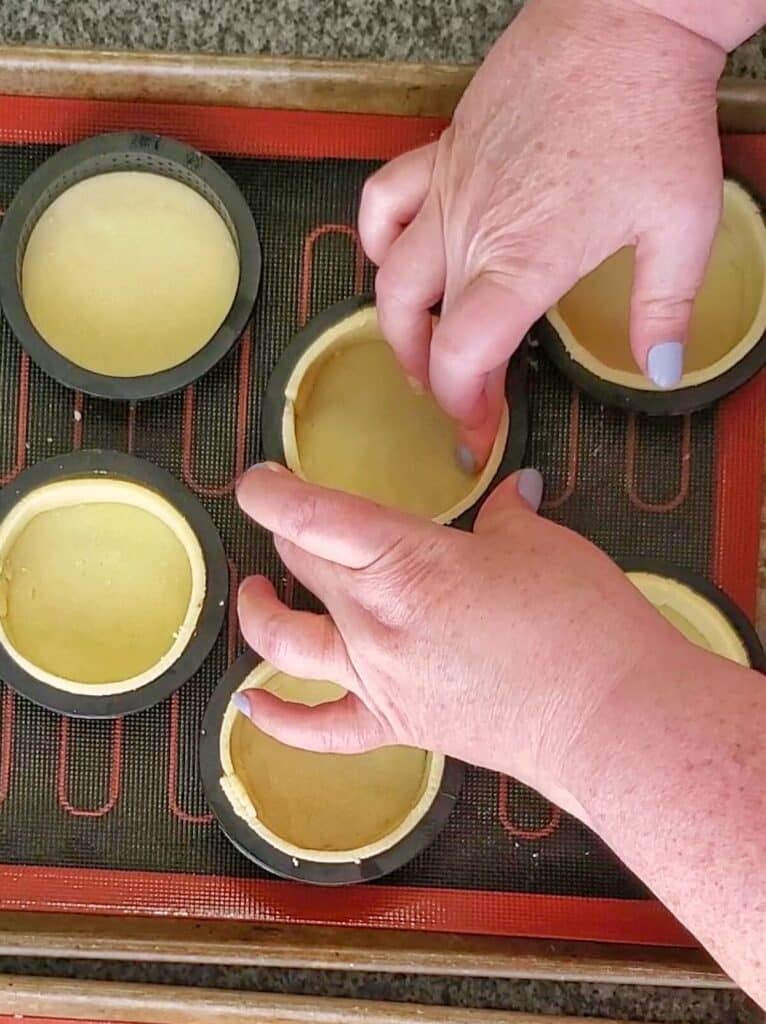
- Wrap strips around the insides of tart molds. Press gently to the sides.
- Freeze for 30 minutes.
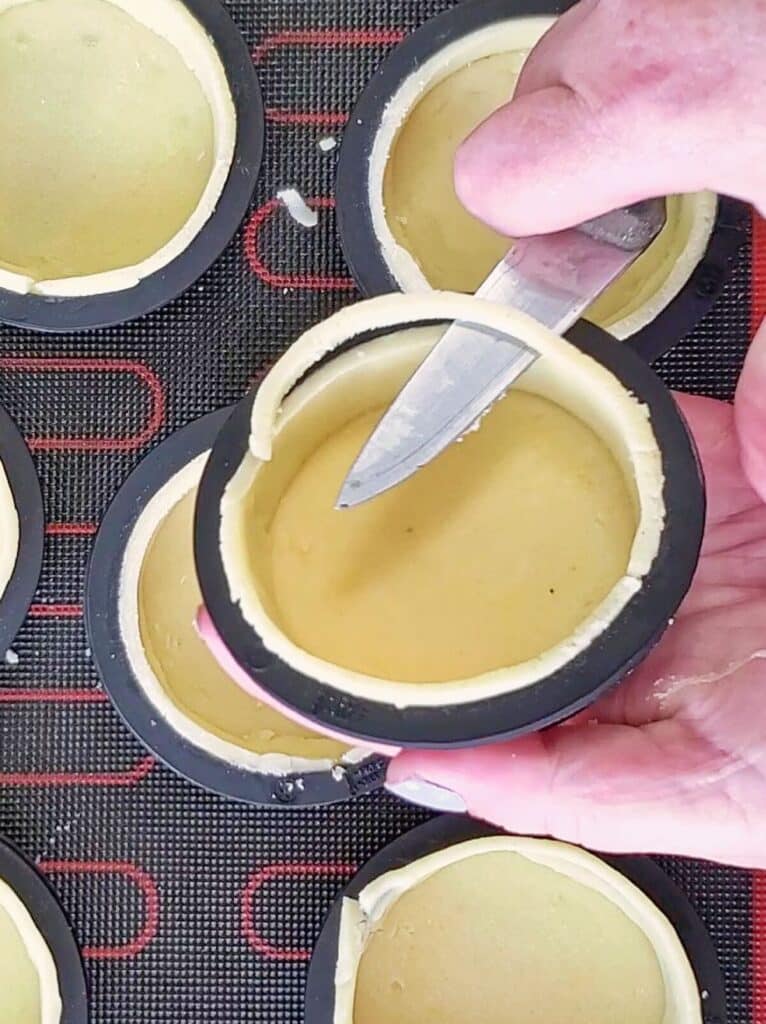
- Use a paring or small knife to cut off any excess dough that's sitting above the height of the tart mold.
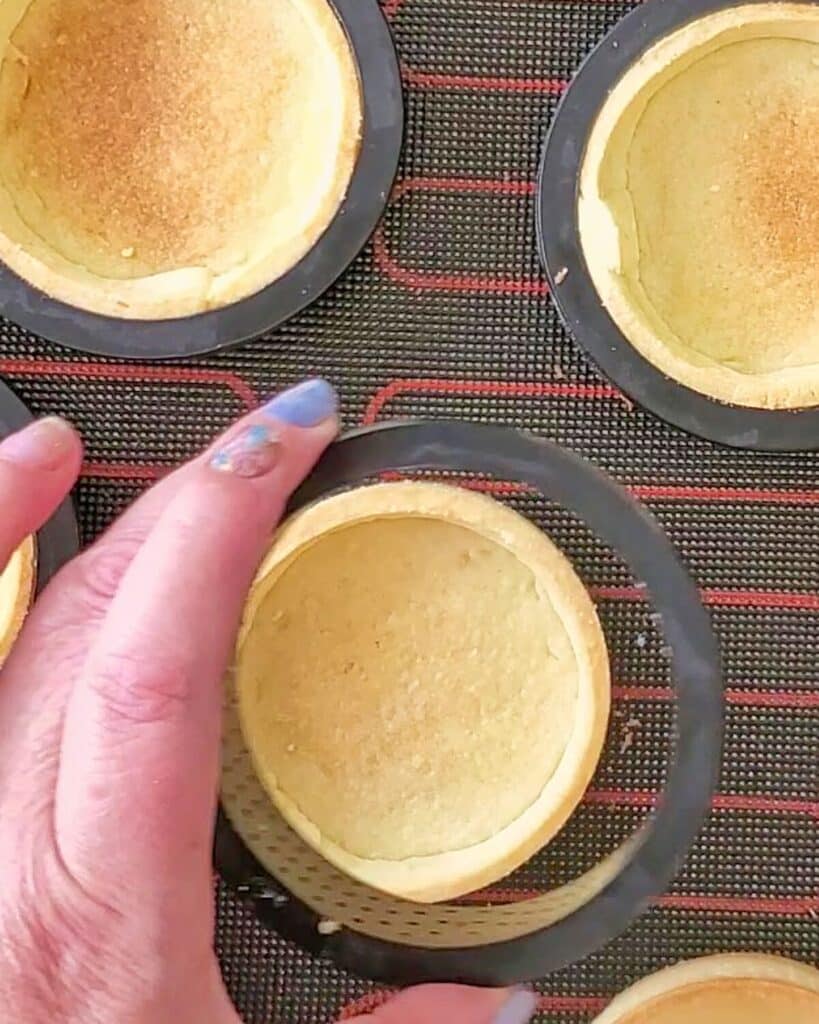
- Bake tart shells at 320 degrees F for 15-20 minutes. Carefully remove the tart molds and bake for another 5 minutes.
- Cool completely before filling.
making pastry cream
- Pour cream and milk into small saucepan and heat over medium until nearly boiling.
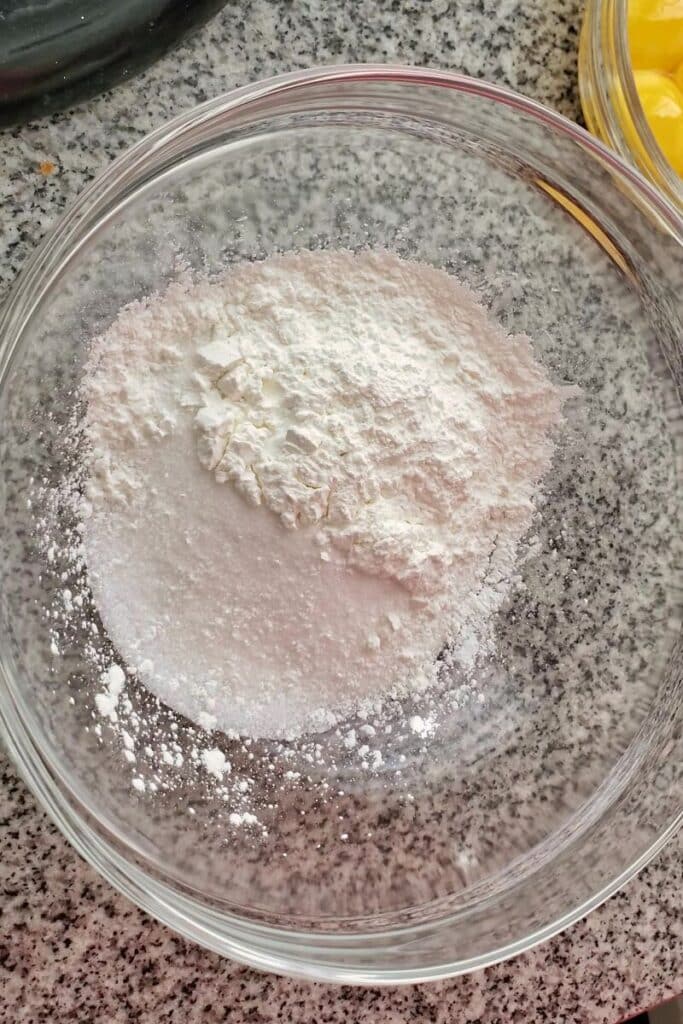
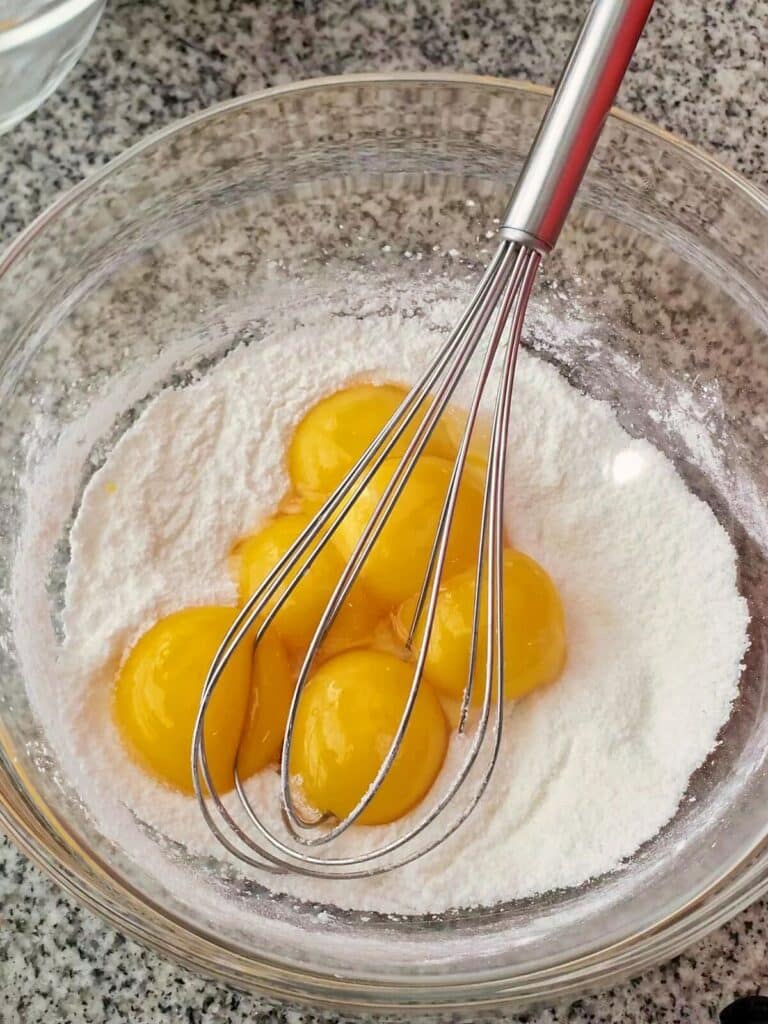
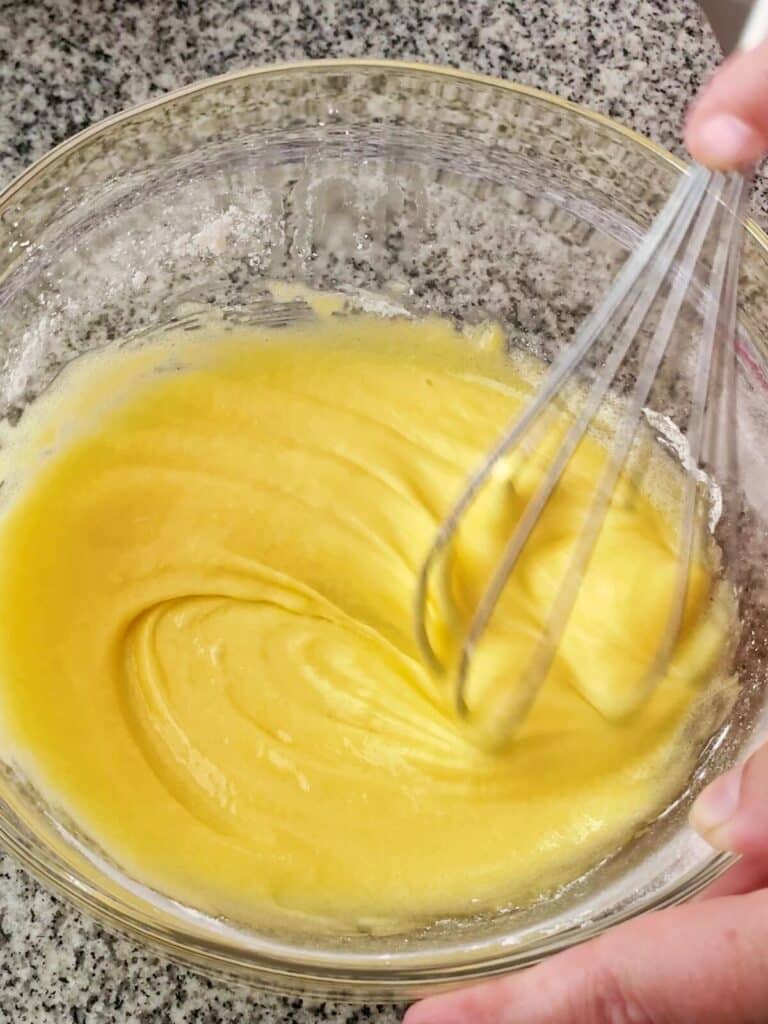
- Whisk sugar and cornstarch together in a medium bowl. Add egg yolks and whisk until fully incorporated, thick, and smooth.
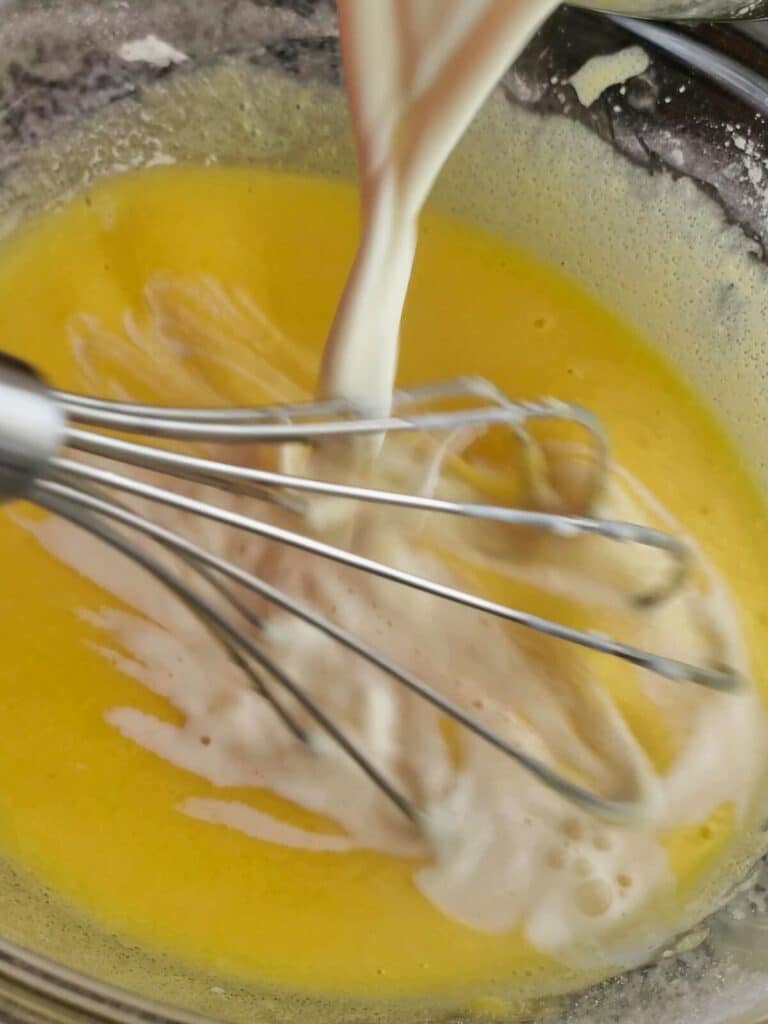
- Carefully and slowly pour the hot liquid into the eggs, whisking constantly, to temper the egg mixture.
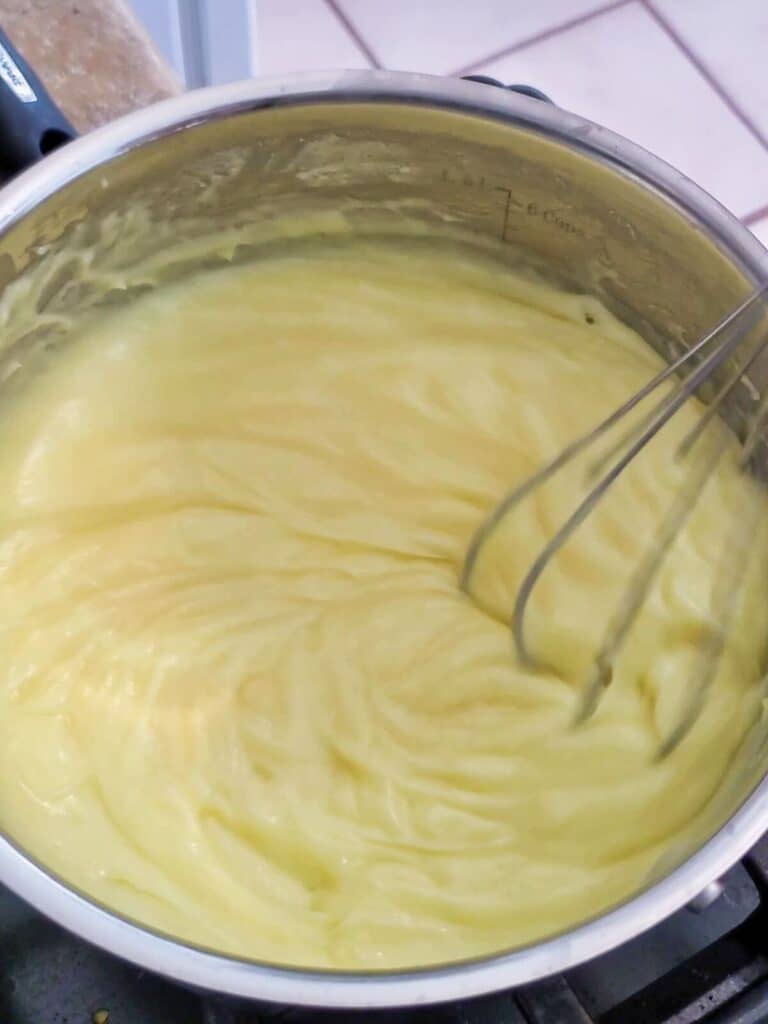
- Pour the entire mixture back into the saucepan and heat over medium heat, whisking constantly, until it thickens and begins to bubble. Set a timer for one minute and stir briskly and constantly for one minute (to stabilize the cornstarch).
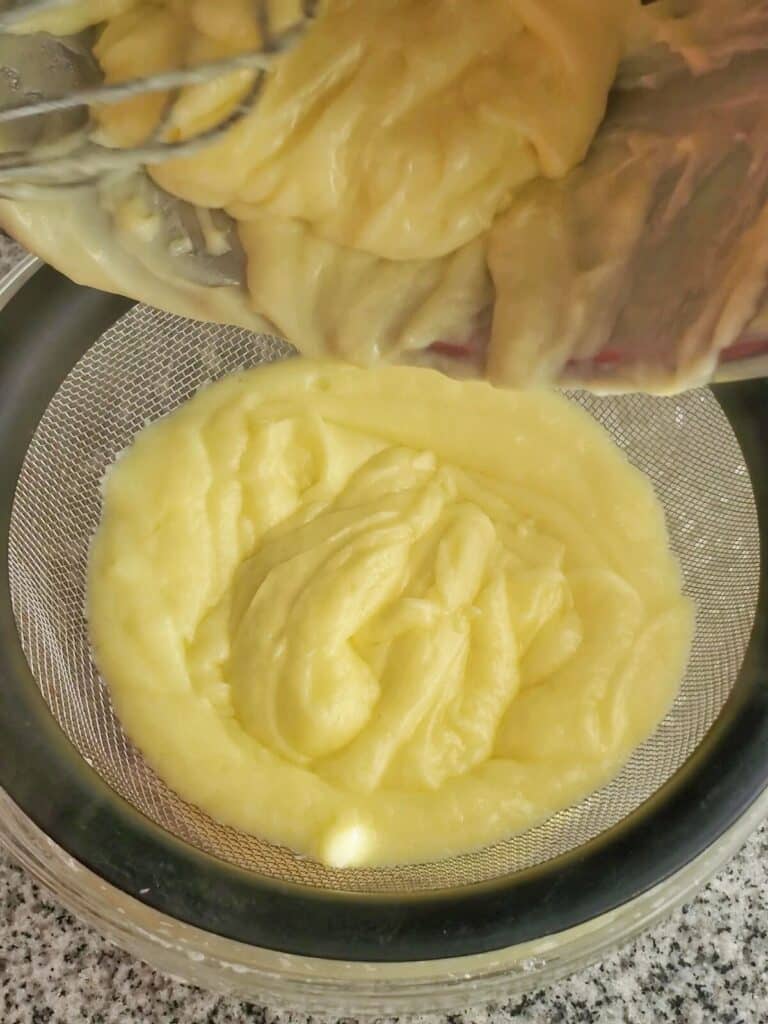
- Immediately remove from the heat and pour through a sieve over a small bowl.
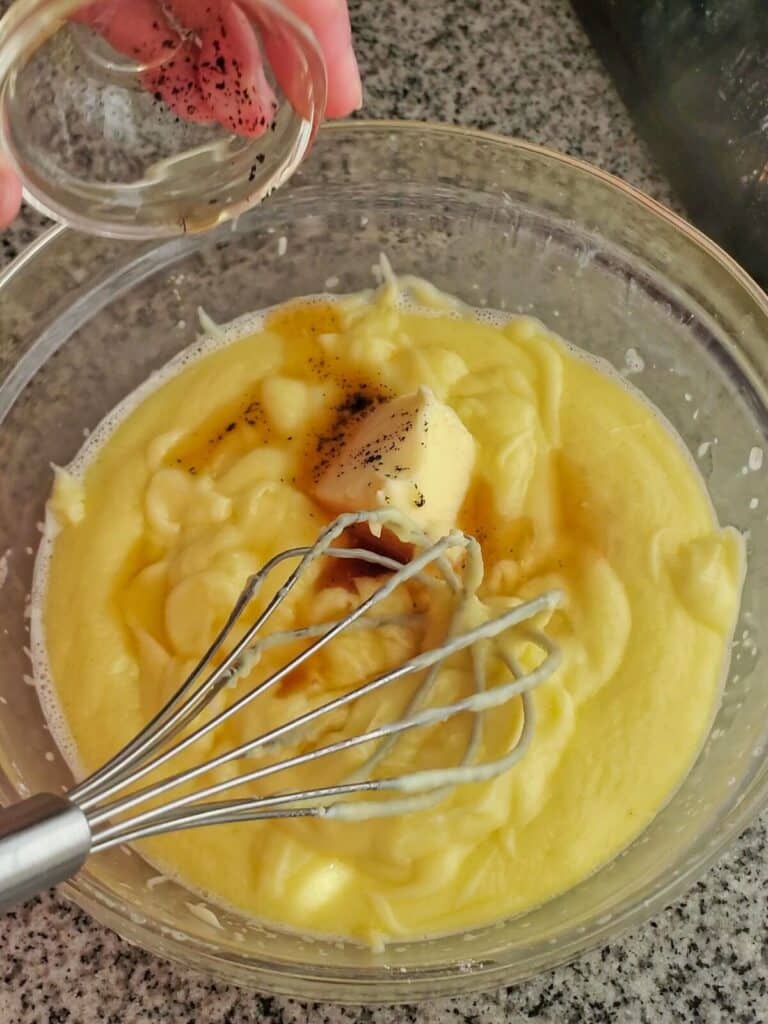
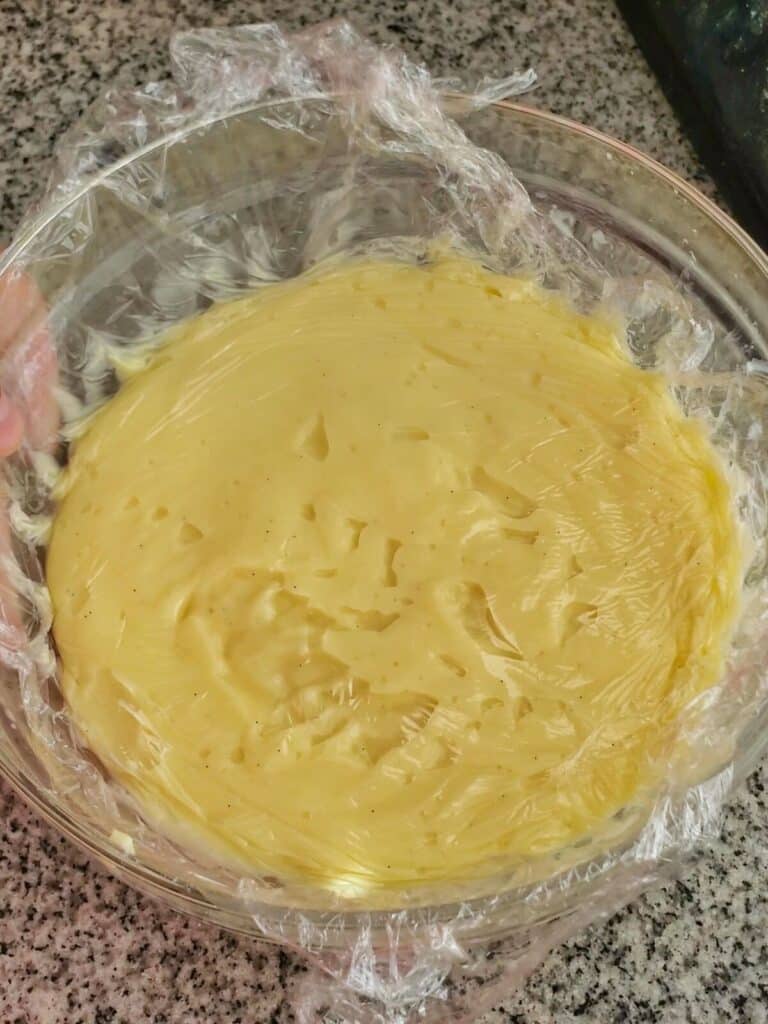
- Whisk butter and vanilla into pastry cream and immediately put a piece of plastic wrap directly over the surface of the cream (to prevent a skin from forming).
- Refrigerate for several hours until firm. Whisk before using.
preparing glaze
While many fruit tarts suggest using an apricot jam glaze, I prefer this easy potato starch glaze. It's clear, it's thick (you can also adjust the thickness), and it doesn't interfere with the taste of the fruit itself. Here's how to make it:
- Combine potato starch with 60ml of the water called for in the recipe until the starch has dissolved.
- Add the rest of the water called for in the recipe, as well as the sugar, to a small saucepan and bring to a low boil.
- Add the starch mixture to the sugar/water mixture and whisk constantly until the mixture thickens.
- Remove from the heat and allow to cool before brushing on fruit.
GF Fruit tarts FAQs
Pate sablee is a type of dough that's a shortcrust, mainly used as tart shells.
They will keep for up to a week in the fridge. For longer storage, freeze for three months.
If you make tart shells with perforated tart molds and mats like I suggest in my recipe, there is no need to line the pans and fill with weights before baking.
Pastry cream will last in the fridge, covered, for up to three days.
While it adds shine and a little bit of sweetness, its main purpose is to preserve the fruit so it doesn't dry out.
fruit options for topping
There are many types of fruit that can be used on top of these tarts. Here are my favorites:
- Strawberries
- Blueberries
- Mangoes
- Kiwi
- Raspberries
- Blackberries
- Mandarin oranges
more gluten free pie and tart options
- Blueberry Pie
- Triple Layer Coconut Cream Pie
- Lemon Meringue Pie
- Frozen Candy Bar Pie
- Perfect Peach Pie
- Fresh Strawberry Pie
- Peanut Butter Pie
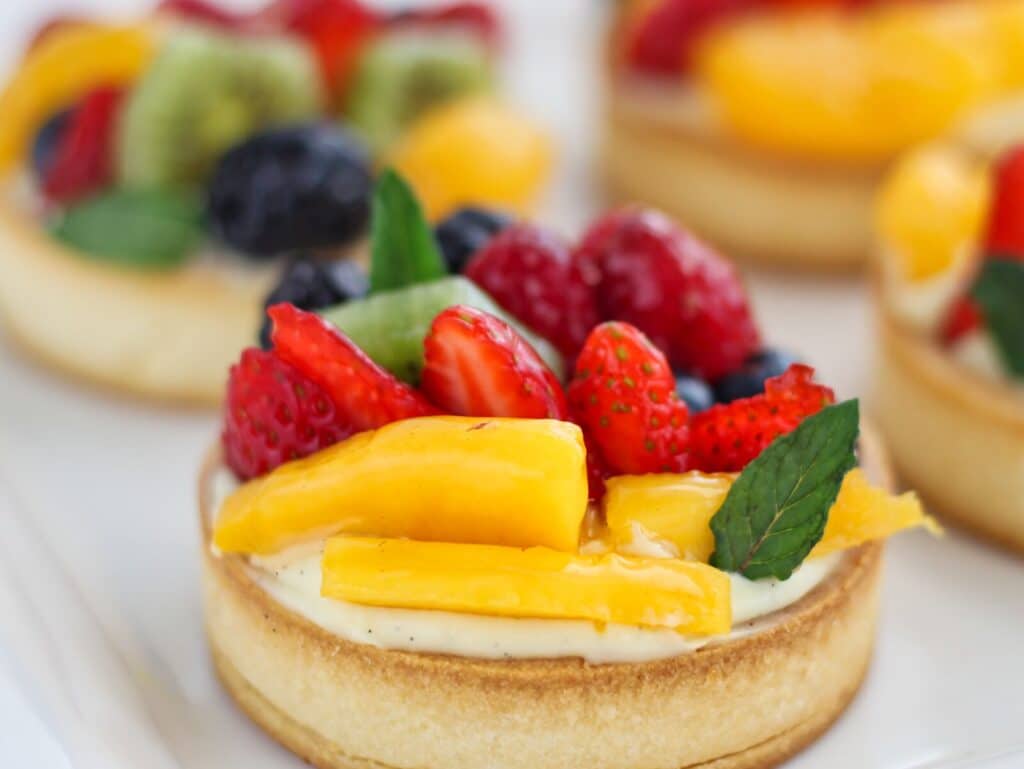
Although very impressive, these fruit tarts are much easier to make than you'd think and make for a wonderful gift for mom on Mother's Day (or any time)!

Gluten Free Fruit Tarts
Ingredients
Tart Shells
- 1½ cups (210g) Kim's all purpose gluten free flour blend (a store bought blend may work, but has not been tested)
- ¾ cup (94g) powdered sguar
- (30g) almond flour
- ½ cup (113g) butter, cold and cut into chunks
- 1 large egg, cold
Pastry Cream
- 1 cup (240ml) whole milk
- 1 cup (240ml) heavy cream
- 6 large egg yolks, at room temperature
- ½ cup (100g) granulated sugar
- ¼ cup (30g) cornstarch
- 2 tbsp (28g) butter, at room temperature
- 1 tablespoon vanilla extract or vanilla bean paste
Clear Glaze
- 2 tbsp (25g) granulated sugar
- 1 tbsp (12g) potato starch
- 1 cup (240ml) water
- pinch of cinnamon, optional
- fresh fruit of choice (strawberries, blueberries, raspberries, kiwi, mango, etc)
Instructions
For the tart shells
- Whisk together the flour, powdered sugar, and almond flour in a medium bowl.
- Add cold butter chunks and flatten and rub the butter into the dry ingredients between your hands until it's a sandy texture.
- Add the cold egg and mix with your hands or a fork until the dough comes together.
- Dump the dough out onto the counter and knead with the palm of your hand for a few minutes, just until the dough is smooth.
- If the dough is too warm, wrap it in plastic wrap and refrigerate it for 15-20 minutes.
- Roll the dough out between two silicone mats (or parchment paper) until it's between ⅛ to ¼-inch thick. Place the dough onto a baking sheet and into the freezer for 15 minutes (still in the silicone mats).
- Line two baking sheets with perforated air mats and set aside. Alternatively, you can use parchment paper; however, you'll need to blind bake the tart shells.
- Take the dough out of the freezer and use one of the tart rings to cut out 8 circles. These will be the bottoms of your tart shells. Use an offset spatula and slide it under the chilled dough to move the circles into the tart rings on the perforated mats. (If the dough becomes too warm to move without messing it up, place it back in the freezer for 5-10 minutes.
- Cut 8 long strips out of the dough (you may need to reroll the dough and pop it back in the freezer from time to time to maintain the proper cold temperature). Carefully place these strips into each tart ring, pressing against the sides so it sticks.
- Place the assembled tart shells in the freezer for 30 minutes. Preheat the oven to 320° F.
- After removing from the freezer, trim the tops of each shell with a sharp paring knife.
- Bake for 20 minutes and then carefully remove the rings and bake for another 5 minutes, or until golden brown. Let the shells cool on the perforated mat completely before filling.
For the pastry cream
- Add milk and cream to a small saucepan and heat over medium heat until almost boiling (bubbles begin surfacing around the edges).
- While liquids are heating, whisk together the cornstarch and sugar in a medium bowl. Add the egg yolks and whisk until thick and smooth.
- Slowly pour the milk mixture into the egg mixture while whisking constantly, to temper the eggs and bring them to the same temperature as the milk mixture.
- Pour everything back in the saucepan and whisk constantly over medium heat until mixture begins to thicken. Once bubbling, whisk vigorously for one minute.
- Remove from the heat and pour through a sieve back into the medium bowl. This will catch any cooked egg bits. Add the butter and vanilla to the pastry cream and whisk until the butter has melted and the cream is smooth.
- Cover with plastic wrap, directly on the surface of the pastry cream, and refrigerate for at least 2 hours and up to 3 days. When ready to use, whisk again until smooth.
For the clear glaze
- Place potato starch in a small bowl and add ¼ cup (60ml) of the total amount of water and whisk until well combined.
- Pour the remaining ¾ cup (180ml) water in a small saucepan and add the potato starch water to this, as well as the sugar. Heat over medium heat, stirring constantly, until thickened. You may add a small pinch of cinnamon to the mixture to give it a slight flavor, if desired.
- Remove from the heat and cool before using. Stir or whisk every so often while cooling to prevent a skin from forming.
Assemble Tarts
- Add pastry cream to tart shell and use an offset spatula to even out the top.
- Add various pieces of fresh fruit and berries to top of tart in an artful way, if desired.
- Use a pastry brush to brush the cooled glaze onto the tarts. Serve immediately or refrigerate for up to 1-2 days. Crusts will soften further as they sit in the fridge.
Notes
Tart shell recipe adapted from Spatula Desserts
Glaze recipe adapted from Baking Like a Chef


Erin Landry
1. Thank you, thank you, thank you for this recipe! 2. This was absolutely delicious and beautiful! 3. I can’t believe I was able to make this let alone make it gluten free.
THANK YOU!