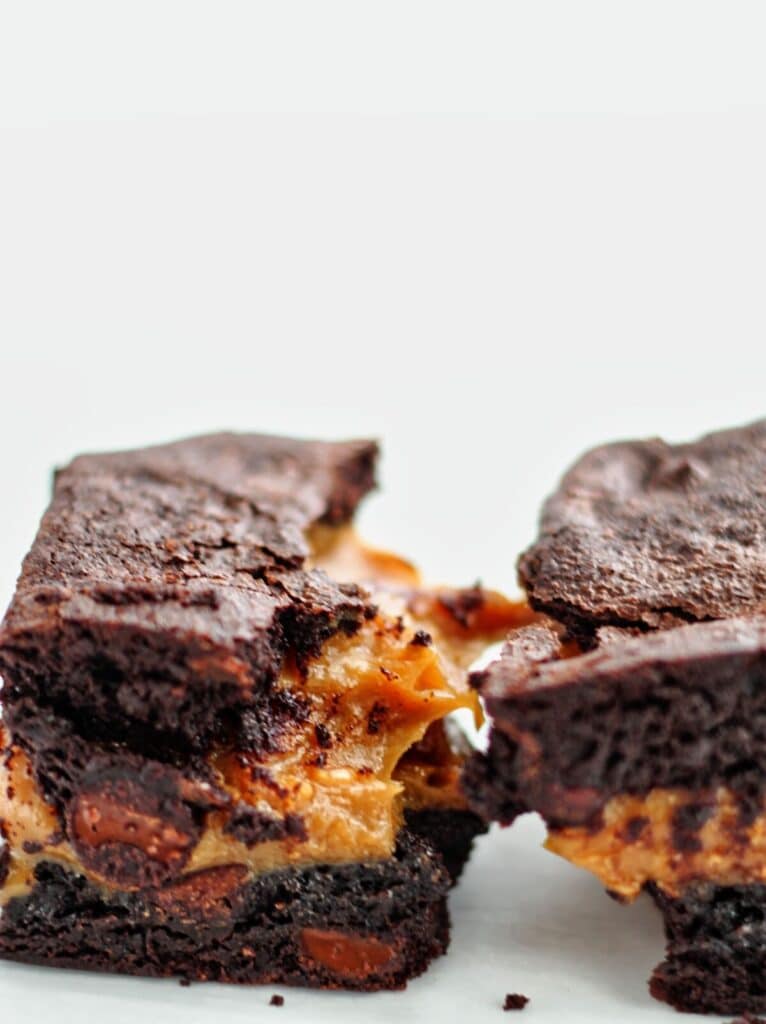
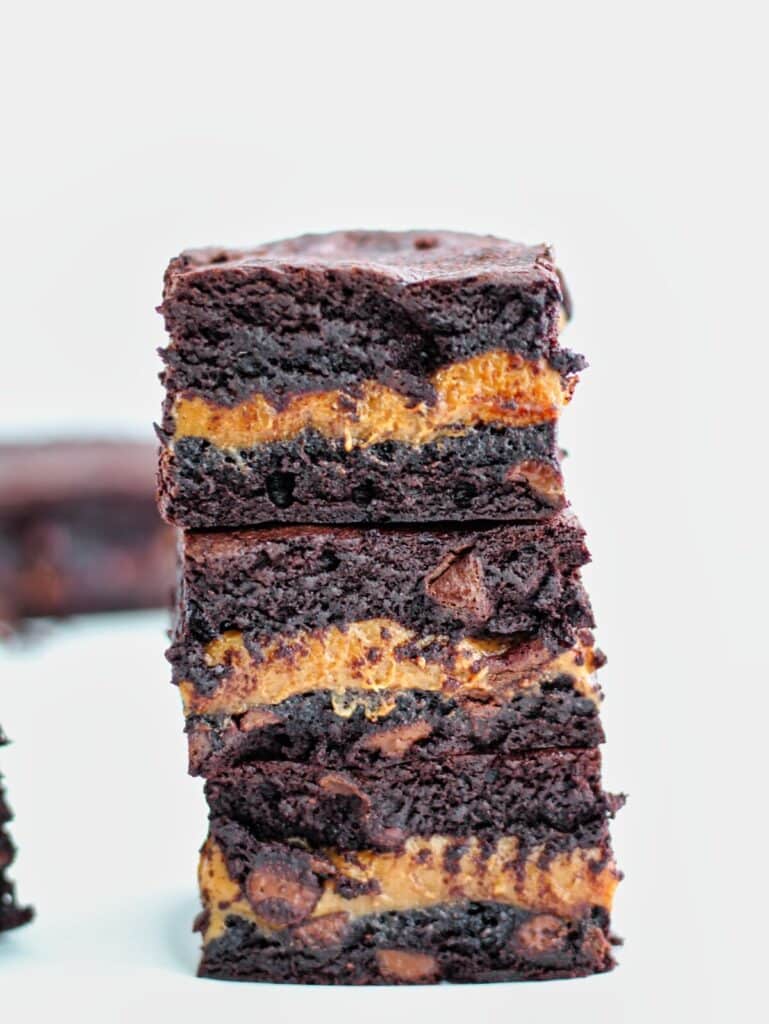
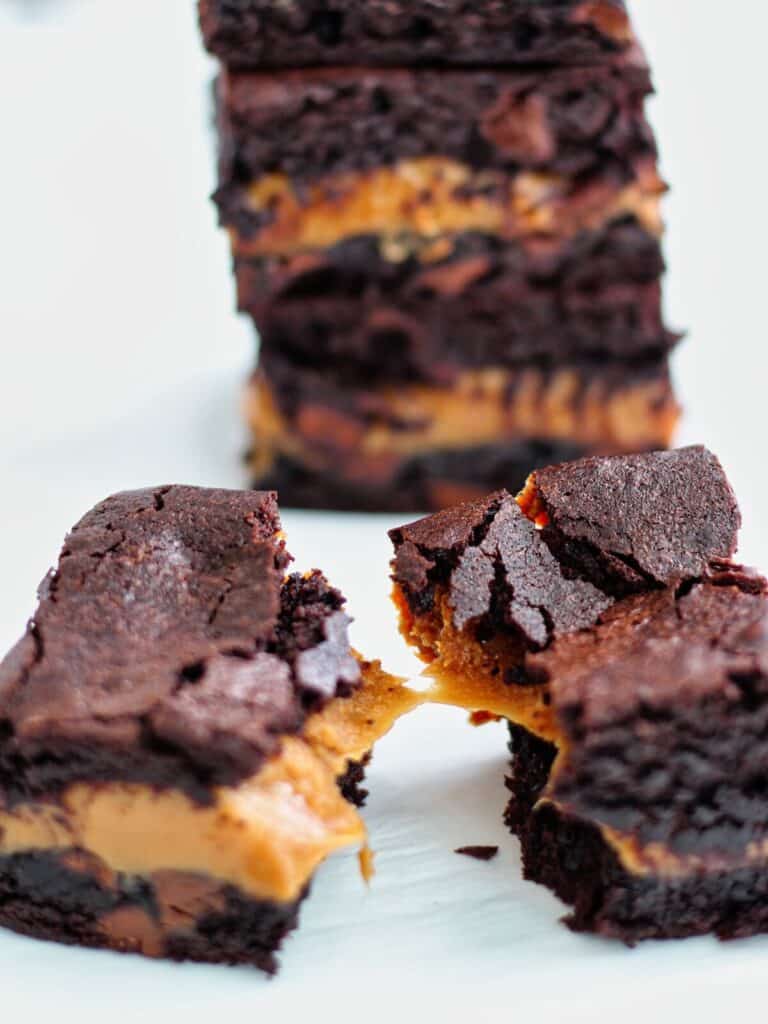
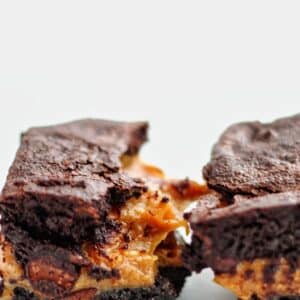
A thick layer of gooey caramel is sandwiched between two layers of fudgy brownies in these easy, but decadent Gluten Free Caramel Brownies.
Caramel is one of my favorite things. When I was a kid, I would always pick out anything with caramel first in my trick-or-treating bag and eat that first. I love the chew and the taste, so when I saw a recipe for caramel brownies, I had to make them immediately. And boy am I glad I did! These things are killer decadent and rich, and they're also extremely easy to make with a few grocery store standins.
why you'll love these brownies
- They're easy to make.
- The textures are perfect--fudgy and chewy paired with gooey caramel and a bit of crunch from the unmelted chocolate chips.
- They're semi-homemade. The brownies are completely homemade, but the caramel layer uses caramel bits from the store and sweetened condensed milk to make it easy.
- They're INCREDIBLE!!!!
what You'll need to make caramel brownies
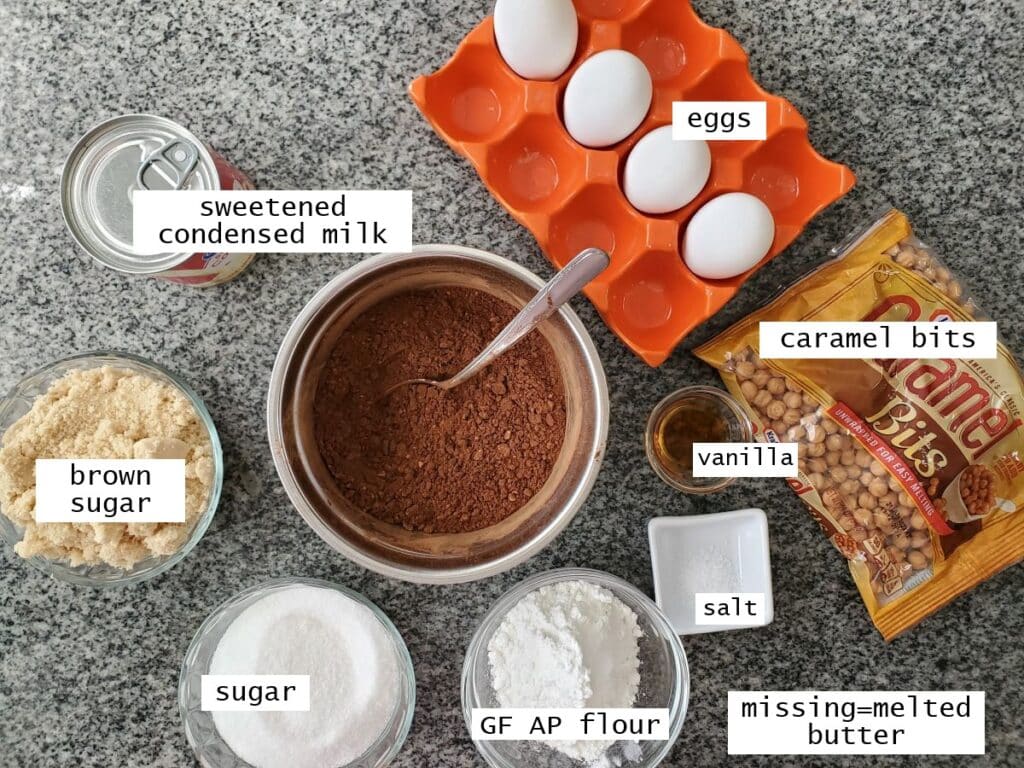
- Unsweetened cocoa powder -- there is no melted chocolate in this recipe. All of the chocolate taste comes from unsweetened cocoa powder.
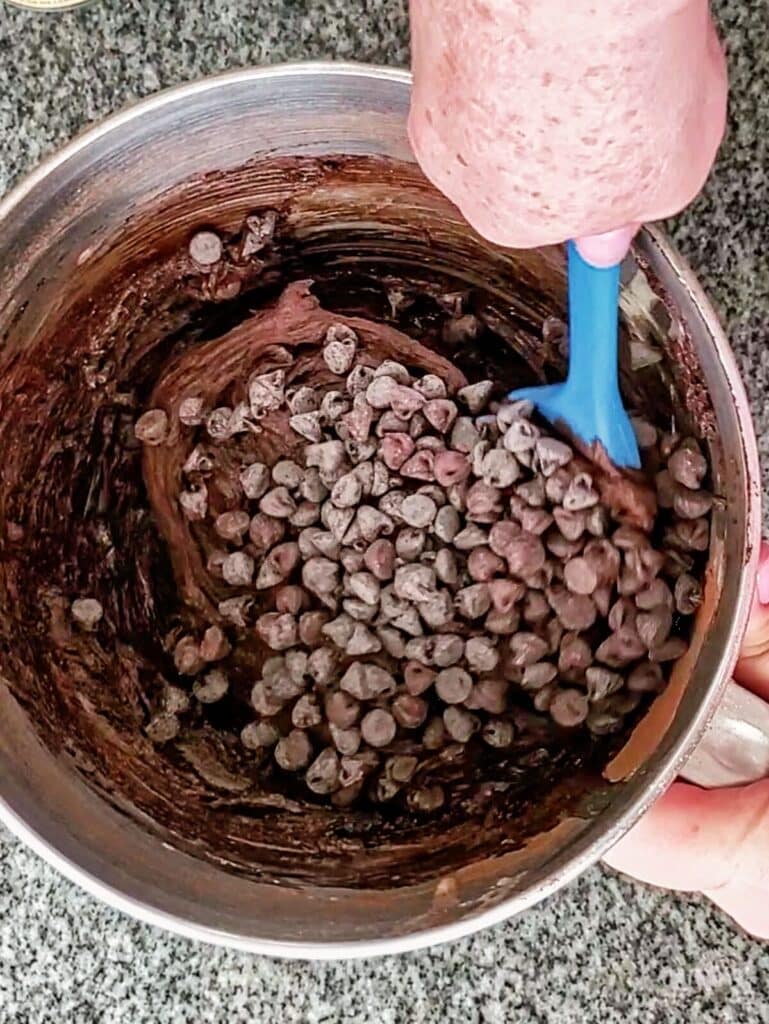
- Chocolate chips -- I've added chocolate chips to the brownie batter because I love bits of chocolate in my brownies. You can leave them out, but why would you?
- Caramel bits -- these are so easy to use because you don't have to make your own caramel from scratch and there's no unwrapping a bunch of caramels either.
how to make gf caramel brownies
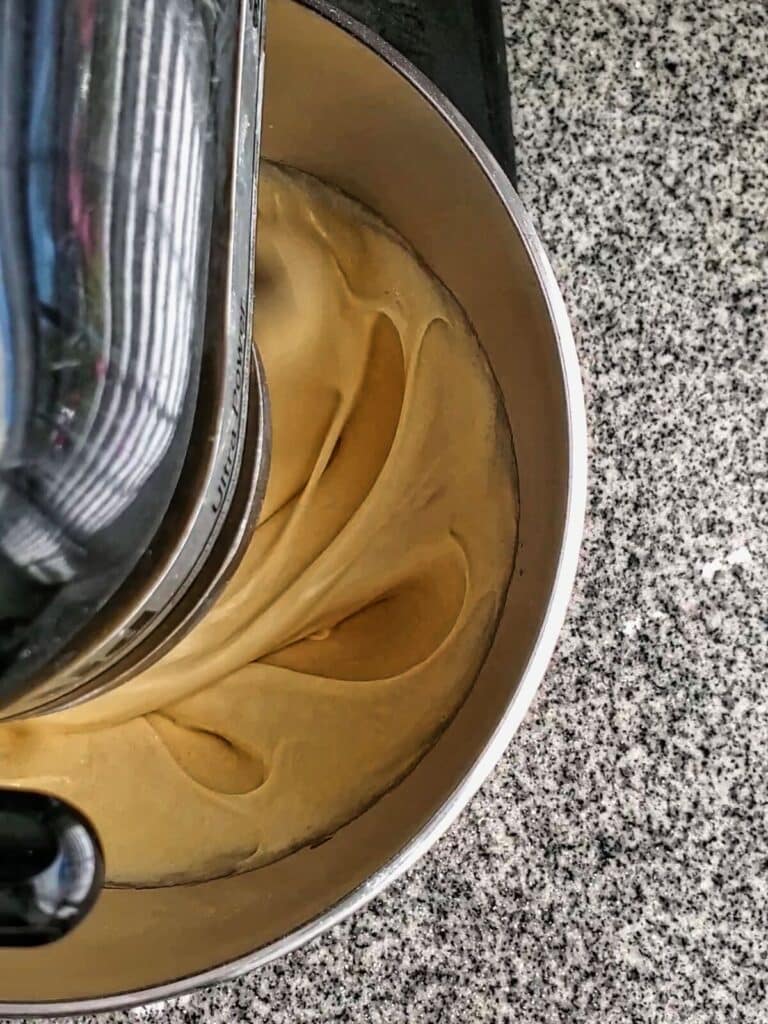
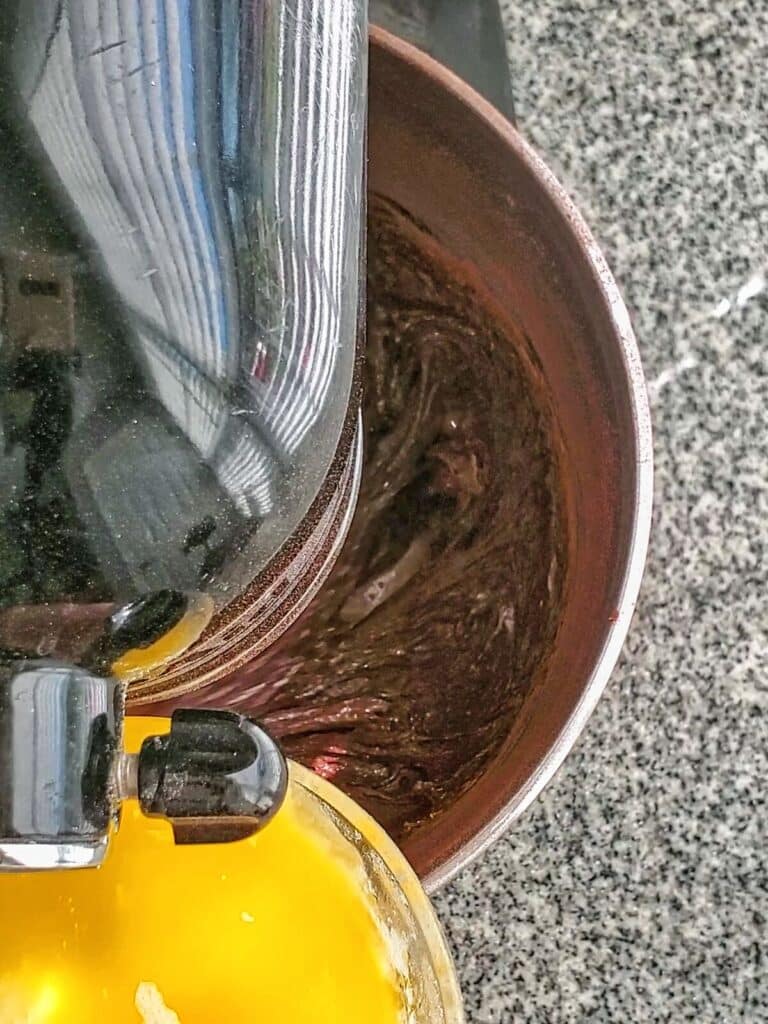
- Beat eggs, sugar, and salt until light pale yellow in color.
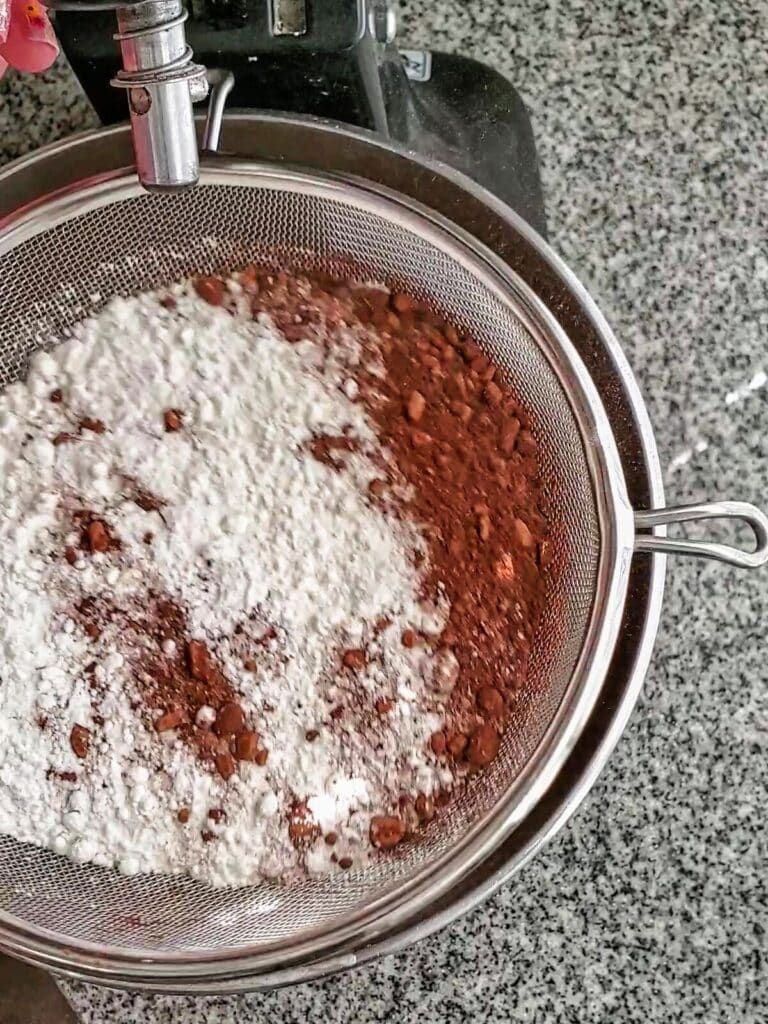
- Sift cocoa and gf flour over egg mixture in bowl and blend until combined.
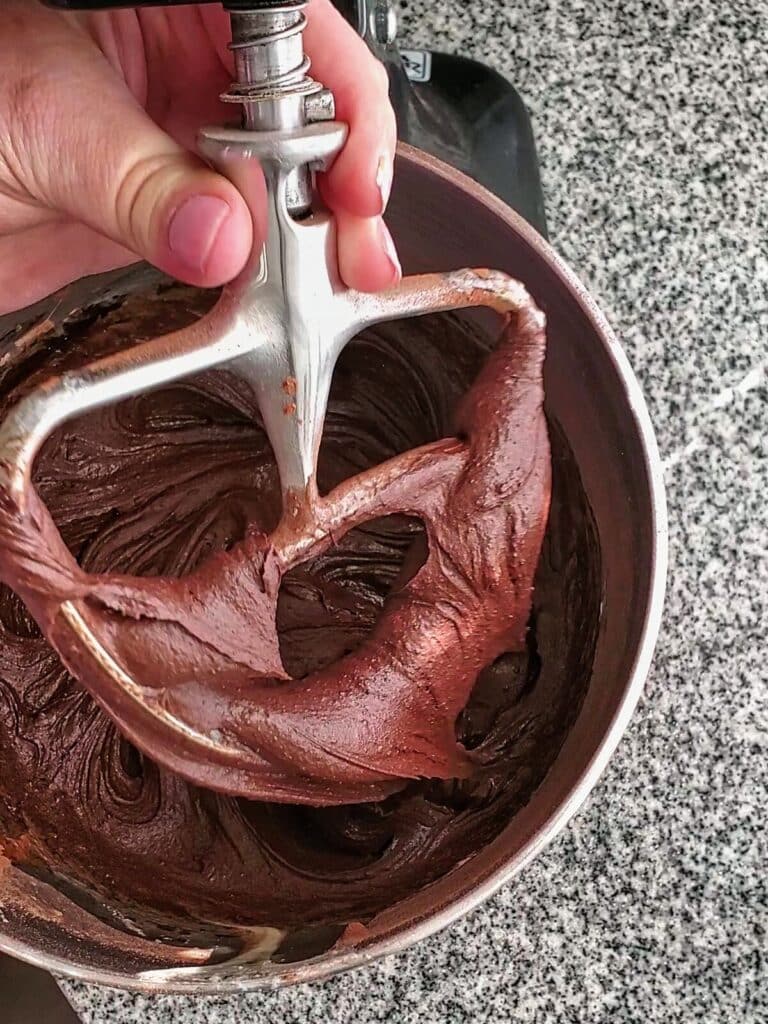
- Add vanilla and mix well.
- Slowly add melted butter, mixing until incorporated.
- Pour in chocolate chips and stir to combine.
- Spread half the batter into the bottom of a 9 by 9-inch square pan that's been lined with parchment paper.
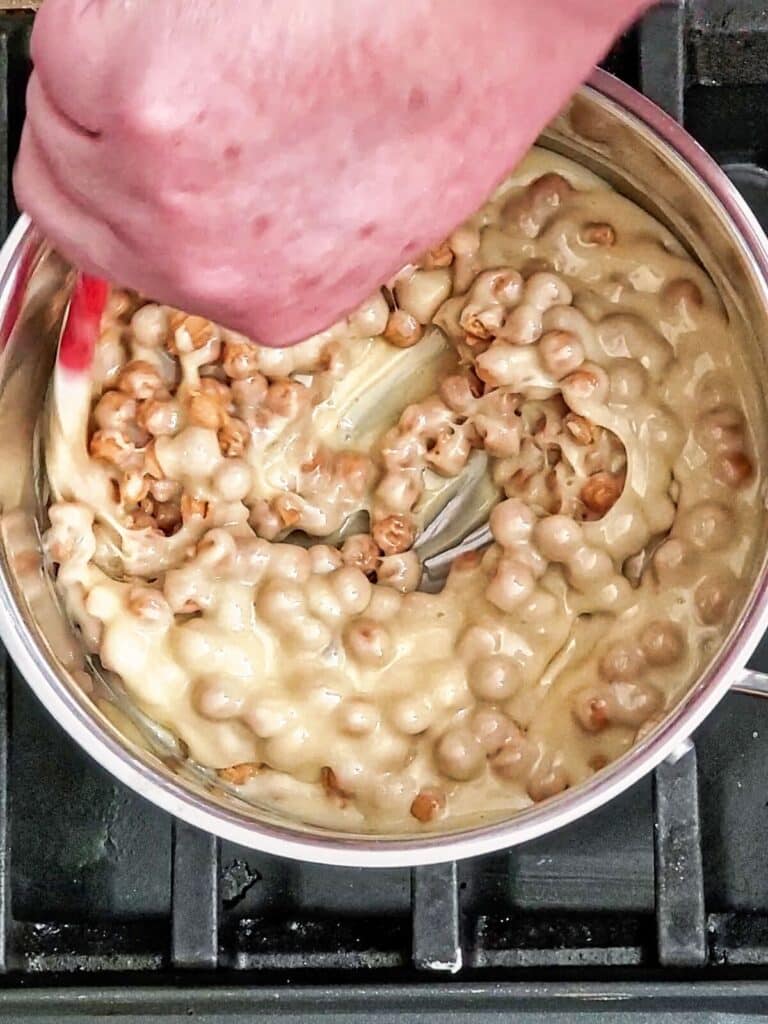
- Melt caramel bits with sweetened condensed milk in a small saucepan over medium low heat, stirring constantly.
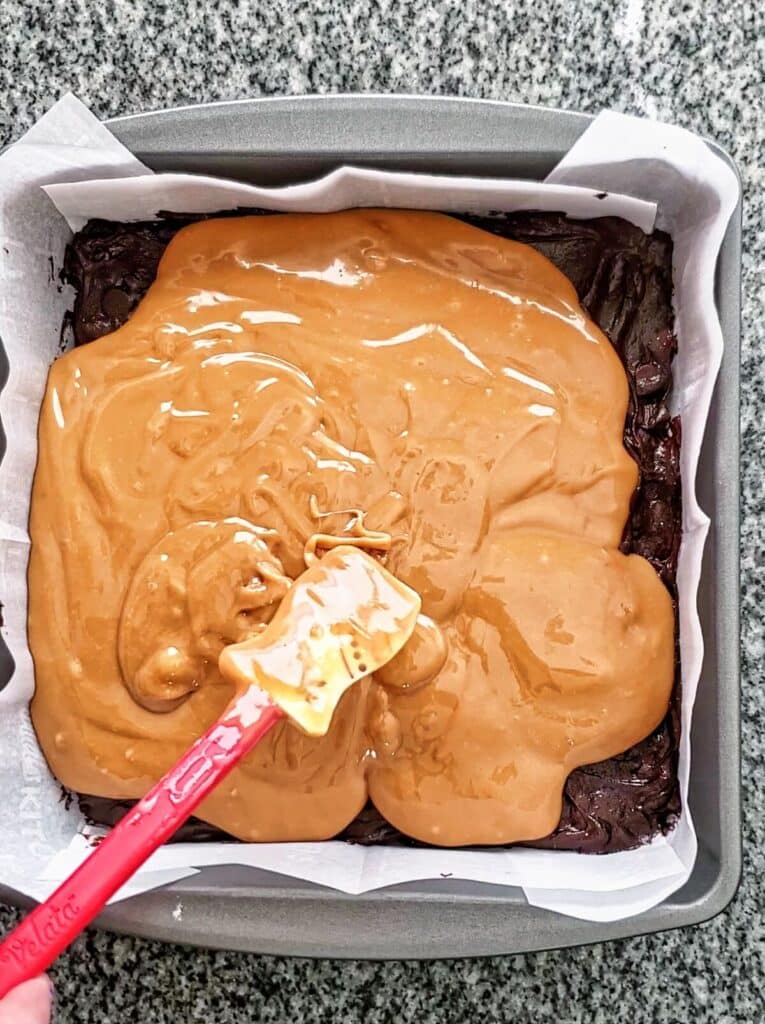
- Pour caramel mixture over brownie layer in pan.
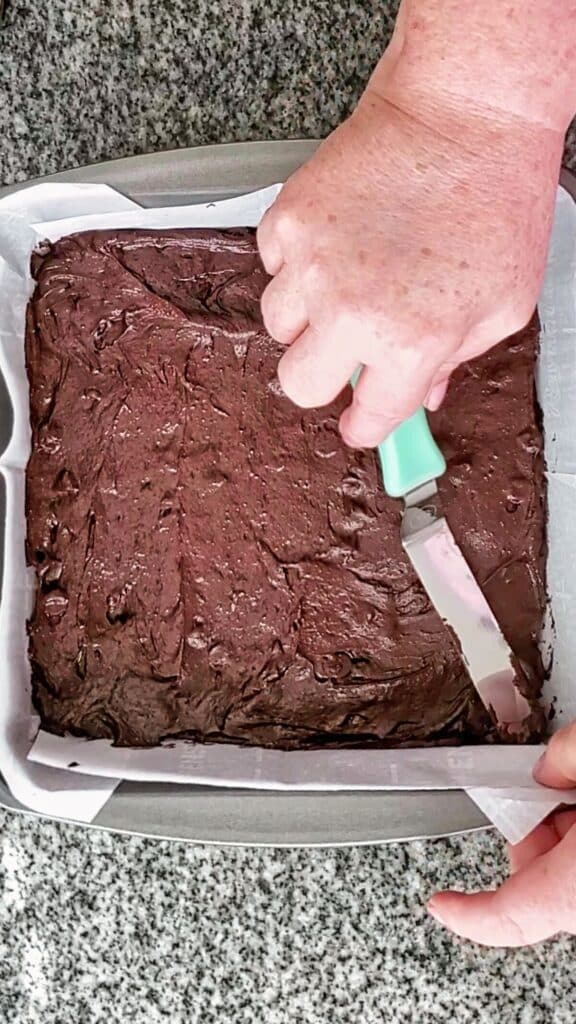
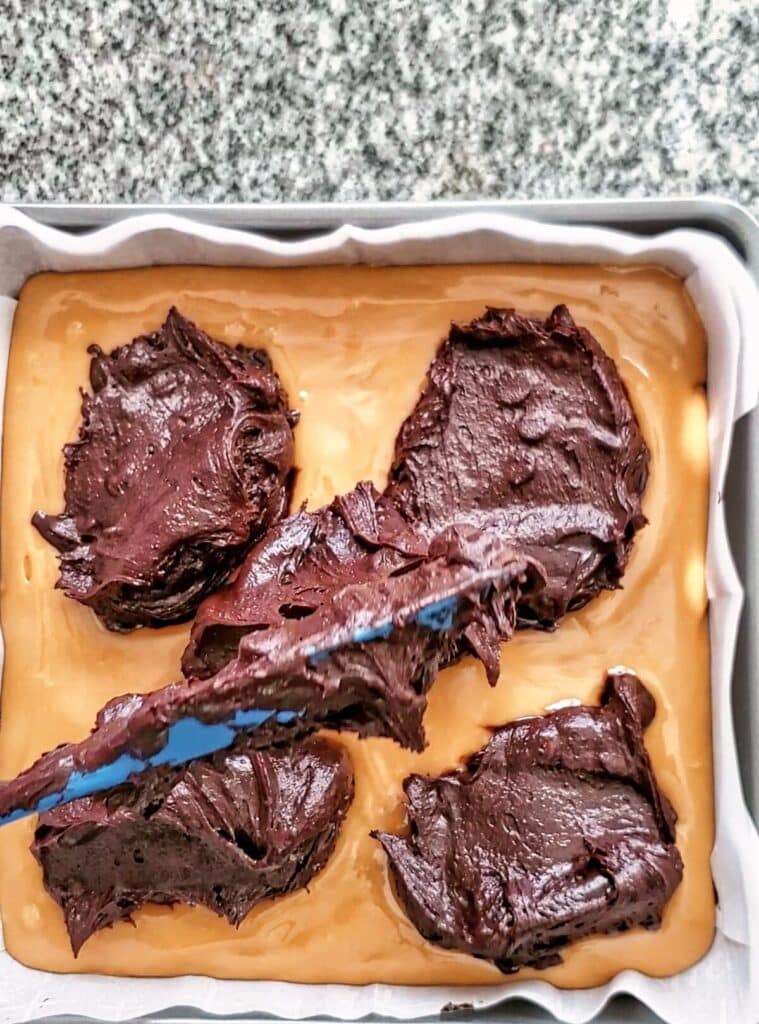
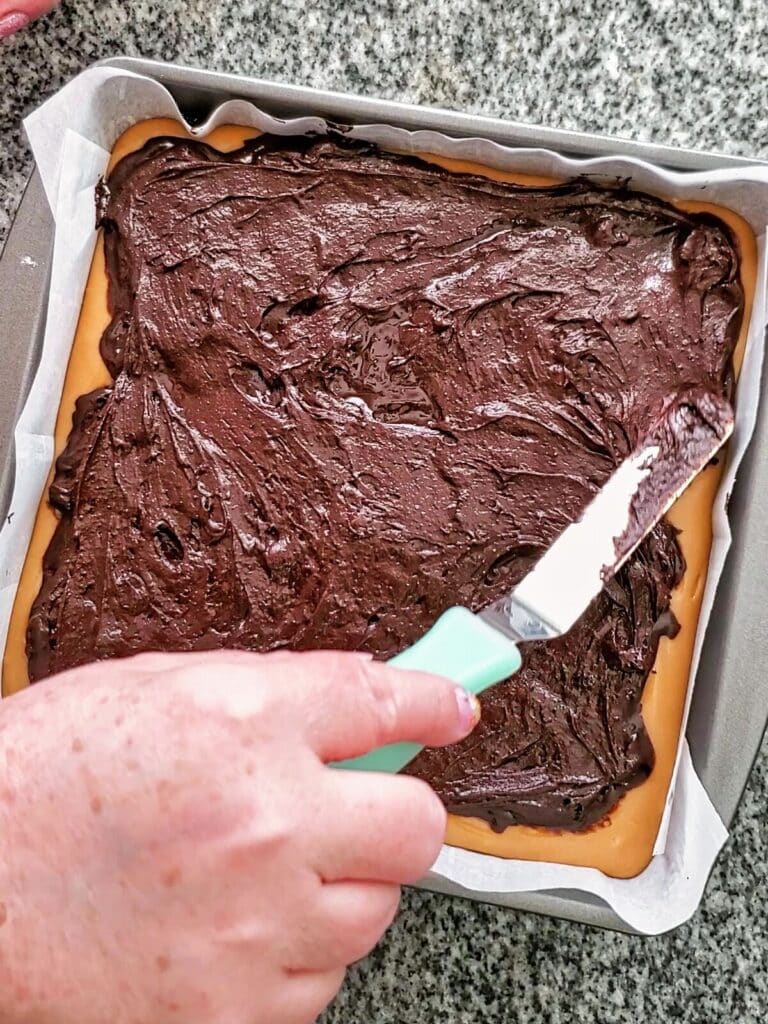
- Scoop the rest of the brownie batter over caramel and carefully spread to edges.
- Bake at 300 degrees F for 45-55 minutes, or until toothpick inserted into center comes out almost clean.

caramel brownies fAQs
They're best stored at room temperature for the full gooey effect. If stored in the fridge, the caramel will set up more and be less gooey. You can, however, freeze the brownies and thaw them on the counter before serving.
You certainly can if you want to or if you can't find caramel bits or caramels near you. Use the caramel in this recipe here or use a can of dulce de leche.
Yes, they can, but the caramel will need to be dolloped on top instead of sandwiched between two brownie layers. Start checking for doneness around 35 minutes.
more gluten free brownie recipes
more gluten free caramel recipes
- Chocolate Caramel Cake
- Easy Homemade Caramel Apples
- Caramel Cake
- Samoas (A Girl Scout Cookie Copycat Recipe)
If you're a caramel lover like I am (and even more so when it's paired with chocolate), then you MUST make these Gluten Free Caramel Brownies.
Gluten Free Caramel Brownies
Ingredients
Brownie Batter
- 4 large eggs, at room temperature
- 1 cup (200g) granulated sugar
- 1 cup (200g) brown sugar
- ½ teaspoon kosher salt
- 1 cup (226g) butter, melted
- 1¼ cups (125g) unsweetened cocoa powder
- 2 teaspoon vanilla extract
- ½ cup (70g) Kim's all purpose gluten free flour blend a store bought blend may be substituted, but hasn't been tested
- 6 oz (170g) semi-sweet chocolate chips
Caramel Layer
- 1 11 oz (311g) bag Kraft Caramel Bits or unwrapped store bought caramels
- 1 14 oz (397g) can sweetened condensed milk
Instructions
Make Brownie Batter
- Beat eggs with both sugars and salt on medium speed until light and pale in color, about 3-4 minutes.
- Sift in cocoa powder and flour. Blend on low until incorporated.
- Slowly add butter until well combined. Blend in vanilla.
- Stir in chocolate chips and spread half of batter into the prepared pan. Set aside.
Make Caramel Layer
- In a small saucepan over medium low heat, melt caramel bits with sweetened condensed milk, stirring often, until smooth.
- Pour caramel mixture over brownie batter in pan.
Finishing Layering and Baking
- Dollop the second half of the brownie batter evenly over the caramel and gently spread it as far to the edges as possible (it's okay if it doesn't cover the caramel layer completely.
- Bake for 45-55 minutes, or until a toothpick inserted into center comes out with only a few wet crumbs attached.
- Let cool completely. Remove brownies from pan and cut into 2-inch pieces. For perfect cuts, refrigerate brownies until completely cold to get nice even squares.
- Brownies can be stored covered at room temperature or refrigerated for 4 days. Leftovers may be frozen. Thaw before serving.
Notes
Inspired by Gooey Caramel Brownies on A Spicy Perspective

Leave a Reply