Make my easiest ever gluten free rough puff pastry and see just how easy it is to have buttery & flaky puff pastry in no time!
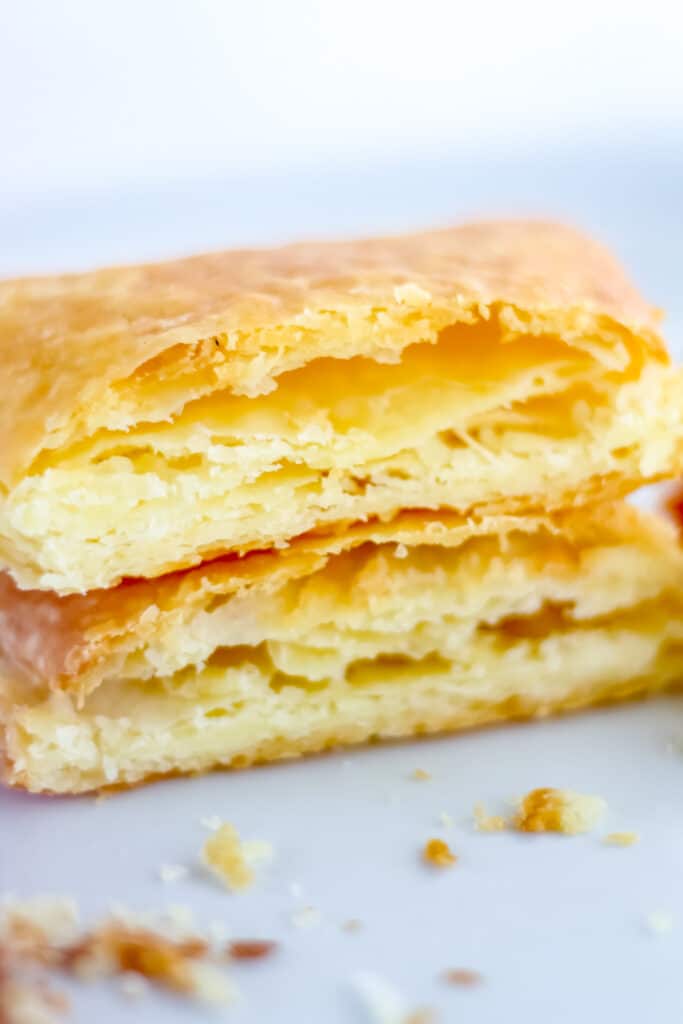
I posted my recipe for gluten free quick puff back in May of 2019 and then a revised version in January of 2022 that I thought was great (and it still is). BUT, I find myself never being able to leave well enough alone. That's a good thing for y'all, though (and myself) because it often leads to bigger and better things. And in this case, the difference is staggering.
While that second recipe of mine was great, it used a total of 7 ingredients! That's quite a lot for something that we already have to make ourselves. And most, if not all, of the time it's often used in recipes as a base, meaning even more ingredients will be needed.
So when I saw this brilliant technique from a French pastry chef on YouTube, I had never seen something like it before and wanted to give it a shot. And the rest is history, my friends. I hope this is my final version of gluten free rough puff pastry and will be yours, too. No need to search the internet for any other recipes because this one is almost too good to be true. Almost.
What is Rough Puff Pastry?
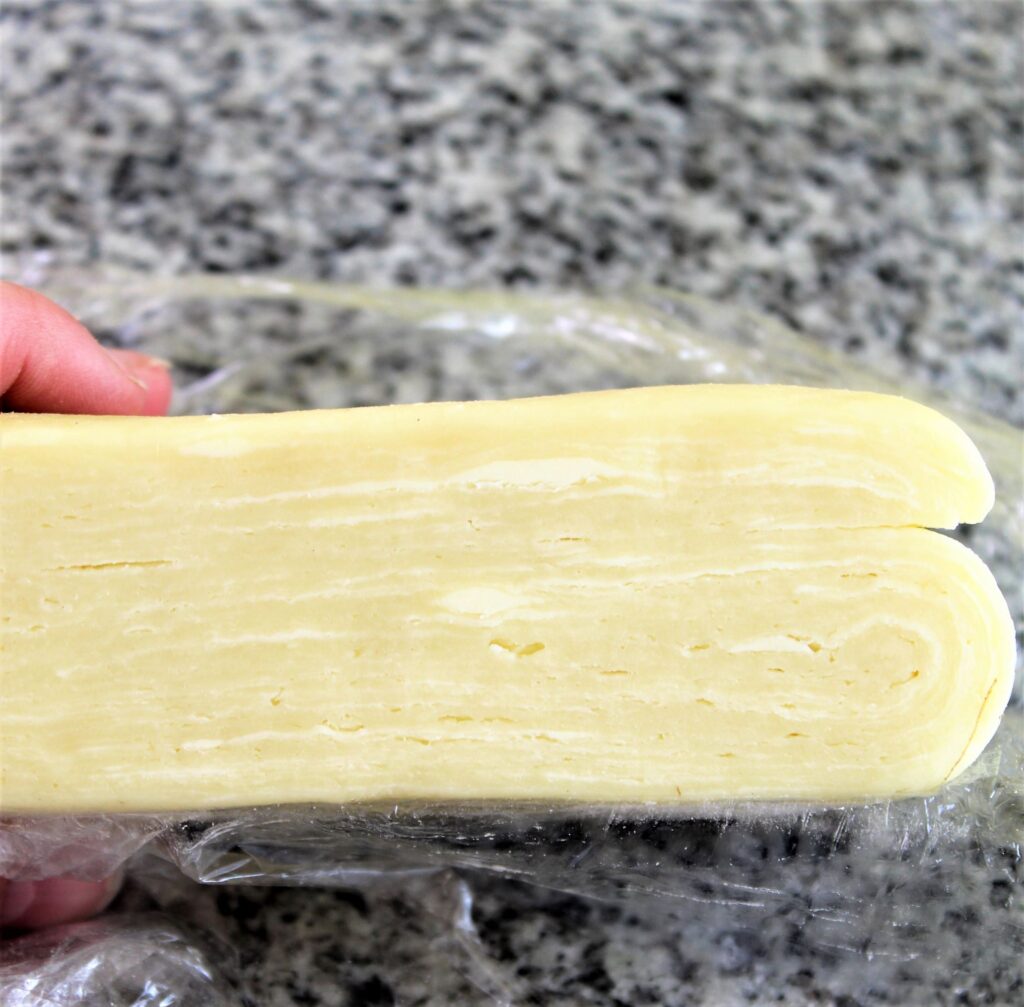
Traditional puff pastry is a laminated pastry in which a butter block is rolled and folded in the pastry several times to make very flaky layers. While I'm sure traditional puff would work beautifully in the gluten free world (see my gf croissants recipe for proof), it would take a lot more time. Often, in order to bake gluten free, we have to first make a component of it, like a flour blend. We have to literally MAKE flour!!
So I decided to make things a whole lot easier by making a "rough puff.' This is when the butter is in smaller pieces within the dough, and the dough is folded and turned several times (laminated). All this means for us gluten free peeps is that we don't have to slave in the kitchen.
This new version makes it even easier for us! The butter is actually cut into fairly large pieces, meaning there is very little incorporation within the dough. It's simply tossed about and a quick kneading is all it takes for the dough and butter to come together. The results are spectacular (jazz hands and all!).
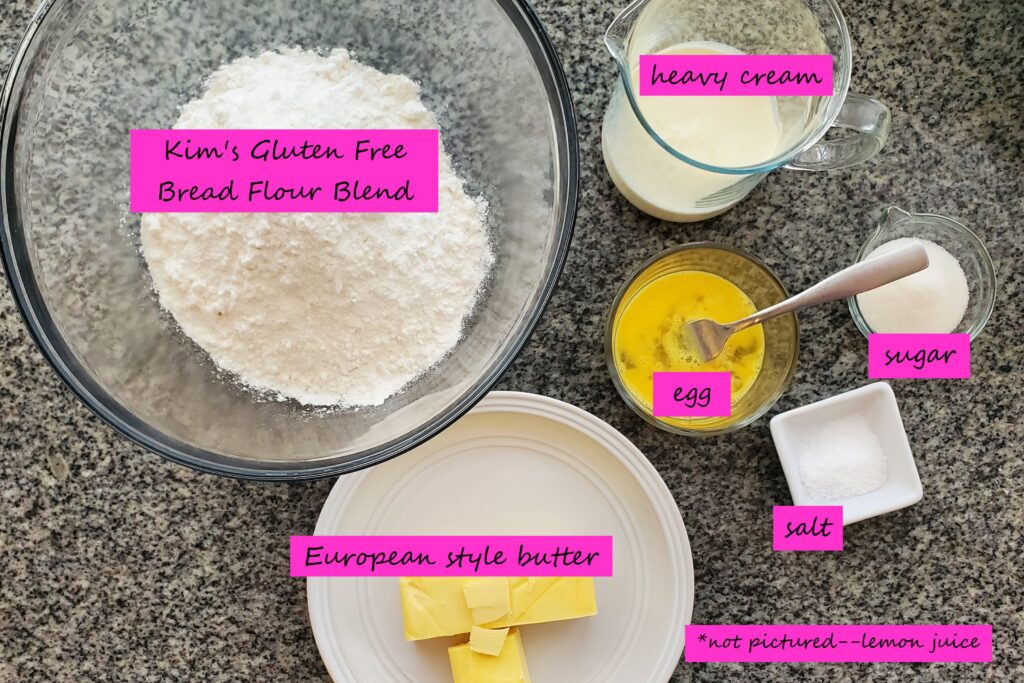
The Ingredients Needed
- Kim's gluten free all purpose flour blend - I have not tested this with a store bought blend, although I feel confident that it would work fairly well. The problem is that there are so many variations of store bought blends that have such differences in ingredients that consistency can be difficult.
- Butter - European style unsalted butter is absolutely necessary in this recipe (something with at least 82% butter fat). This means it won't chill too hard and shatter inside your dough, like American style butter will (due to the extra water content). Plus, it tastes amazing!
How to Make GF Rough Puff Pastry
Surprisingly, rough puff pastry is very easy to make. You'll have the entire thing done in under an hour.
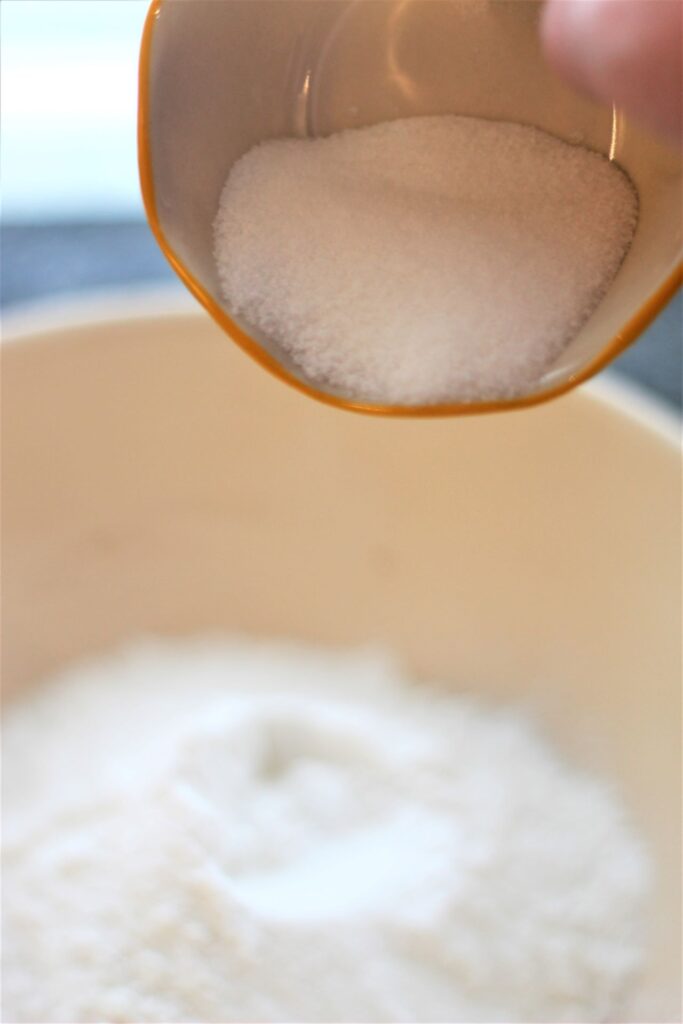
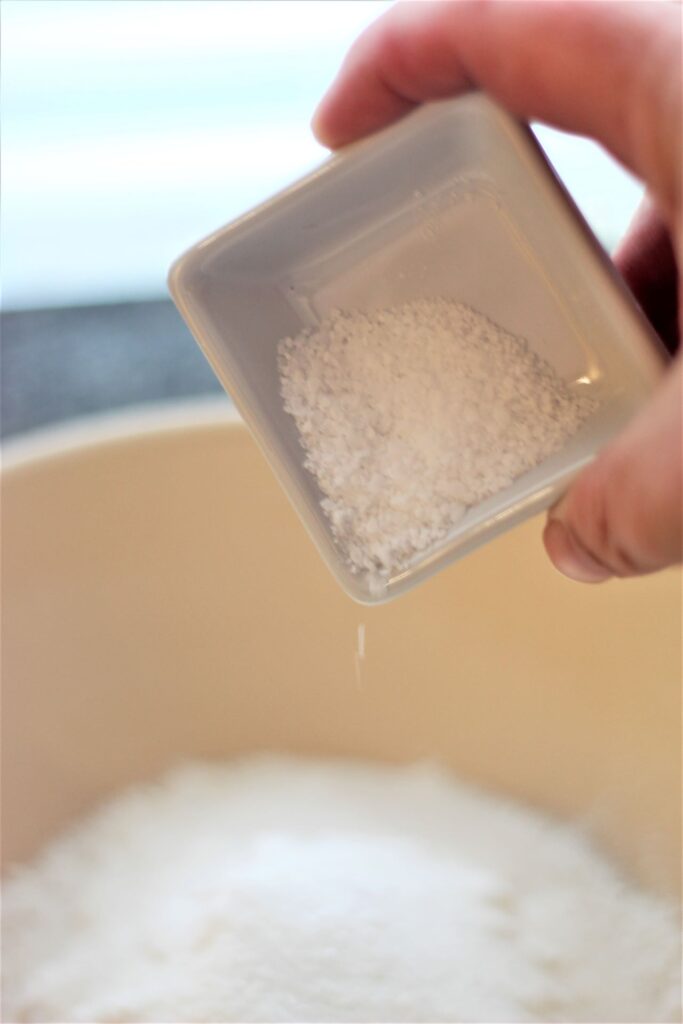
- Add salt to flour in a large mixing bowl and stir or whisk to combine.
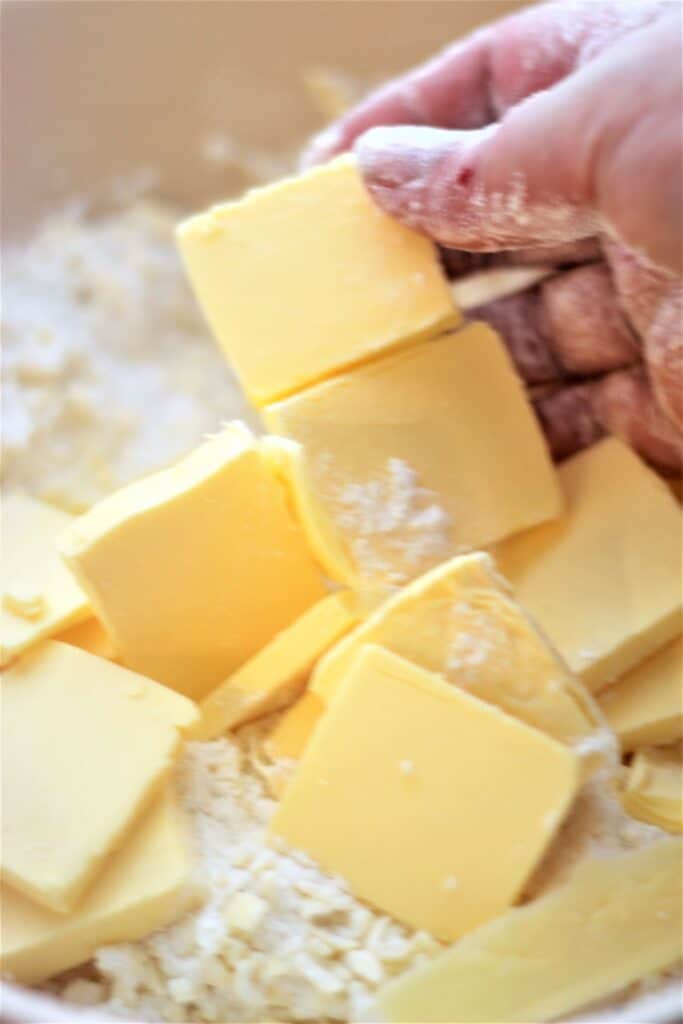
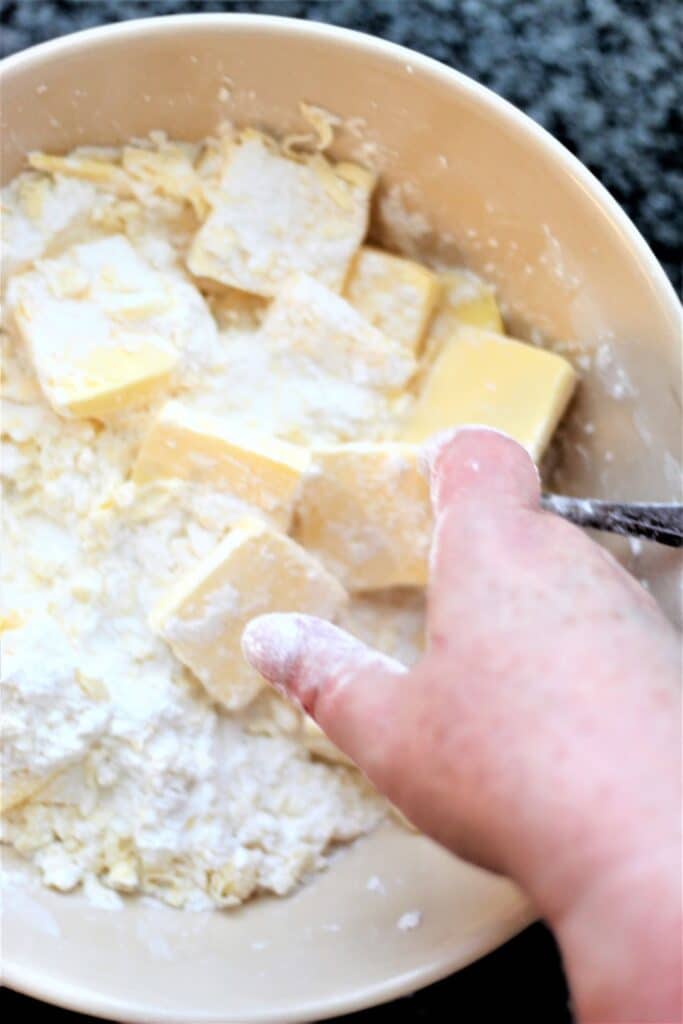
- Toss large butter cubes (about 2 inches in diameter) through the dry ingredients to coat.
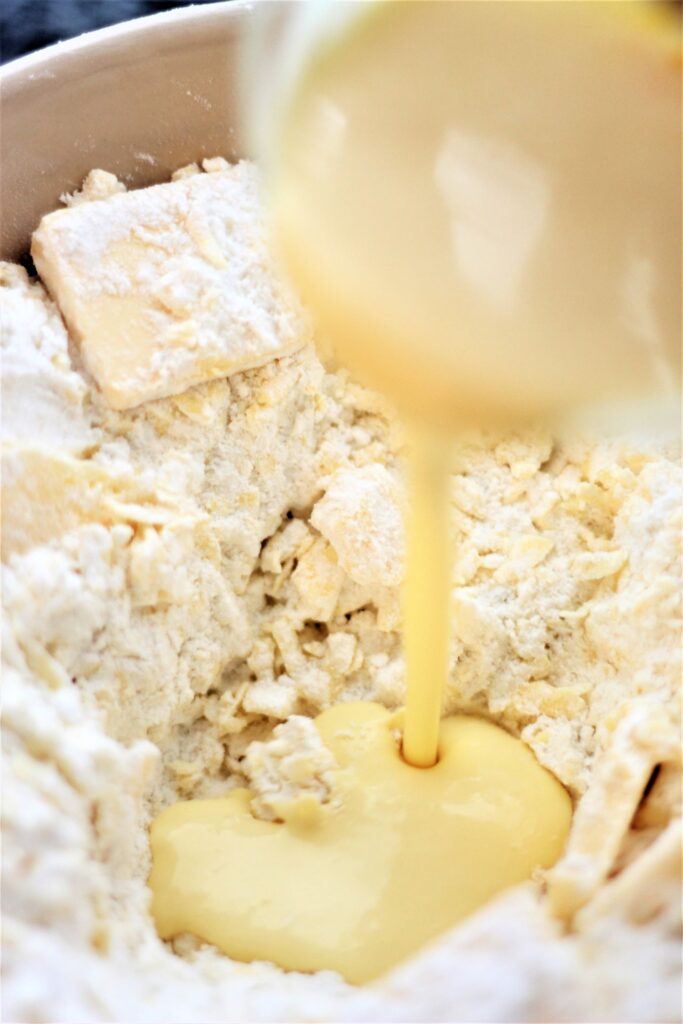
- Pour in the ice cold water and toss to coat.
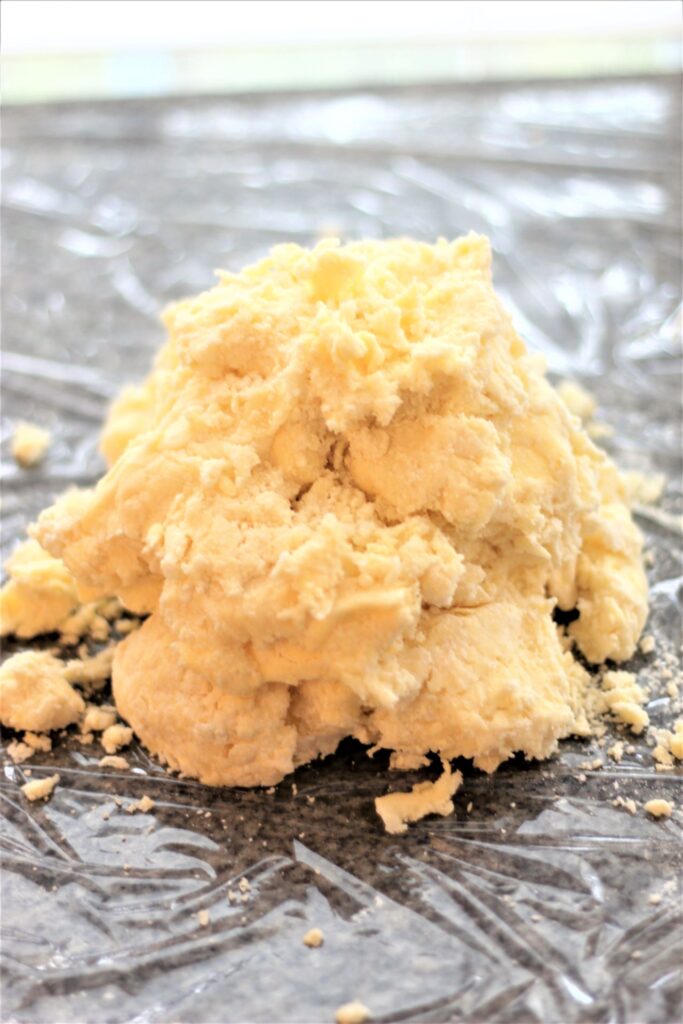
- Dump mixture out onto countertop and knead briefly just to combine everything into one cohesive dough. Wrap in plastic wrap and refrigerate the dough for 10 minutes.
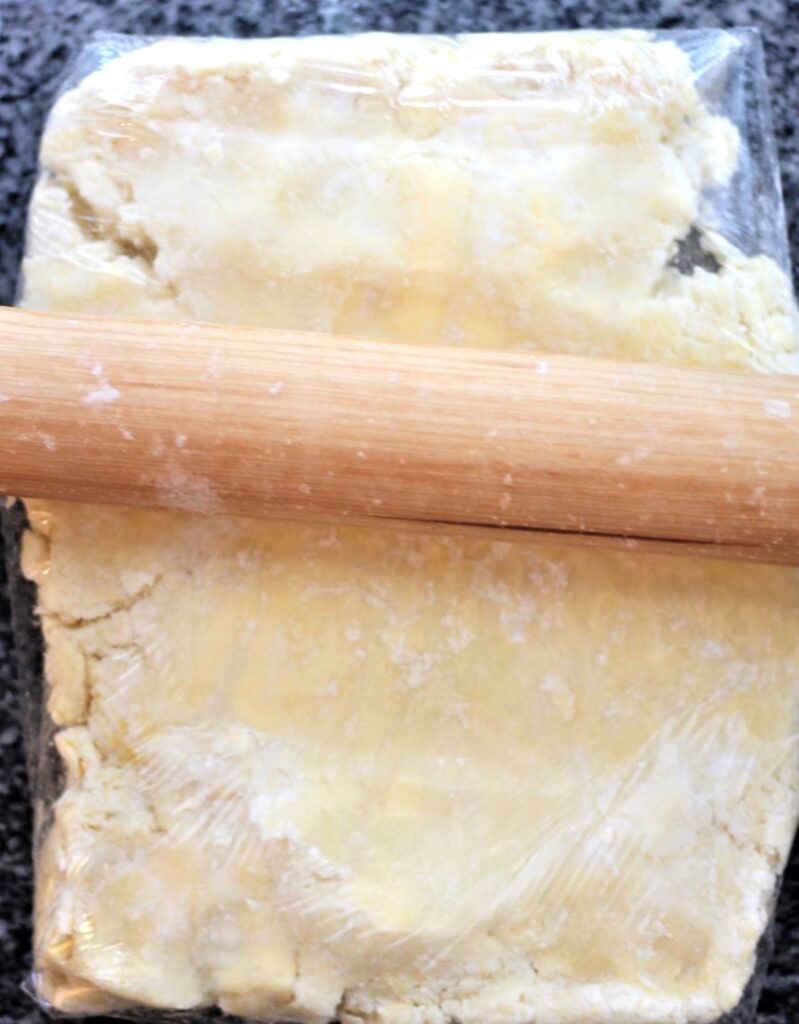
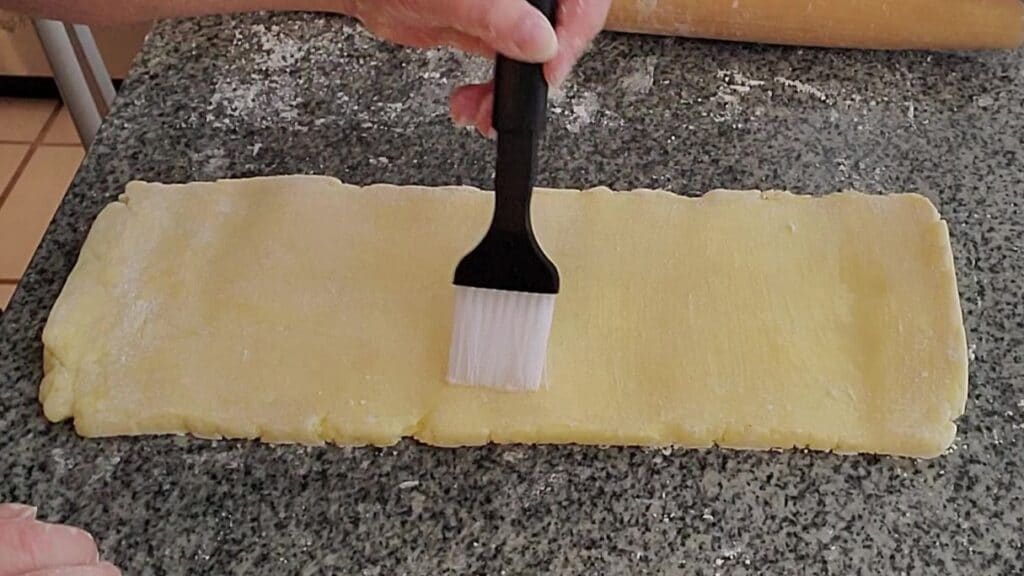
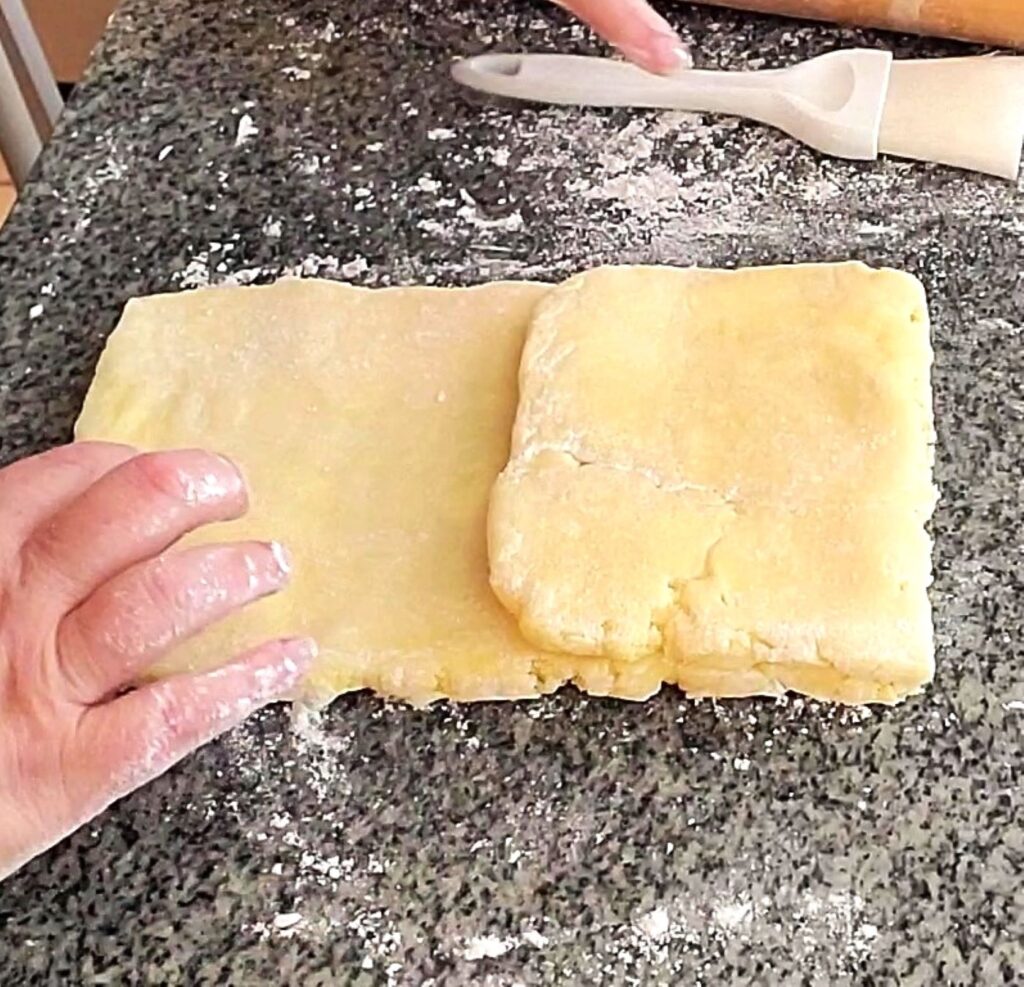
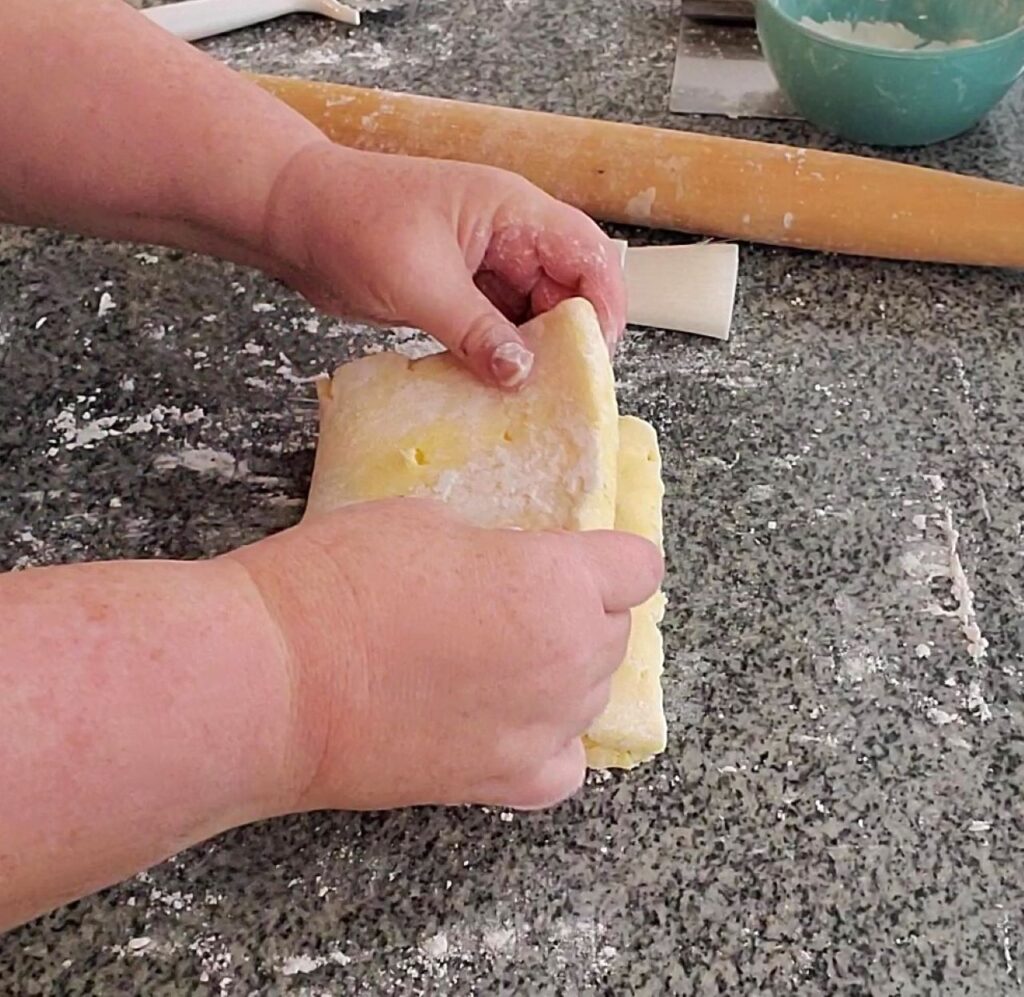
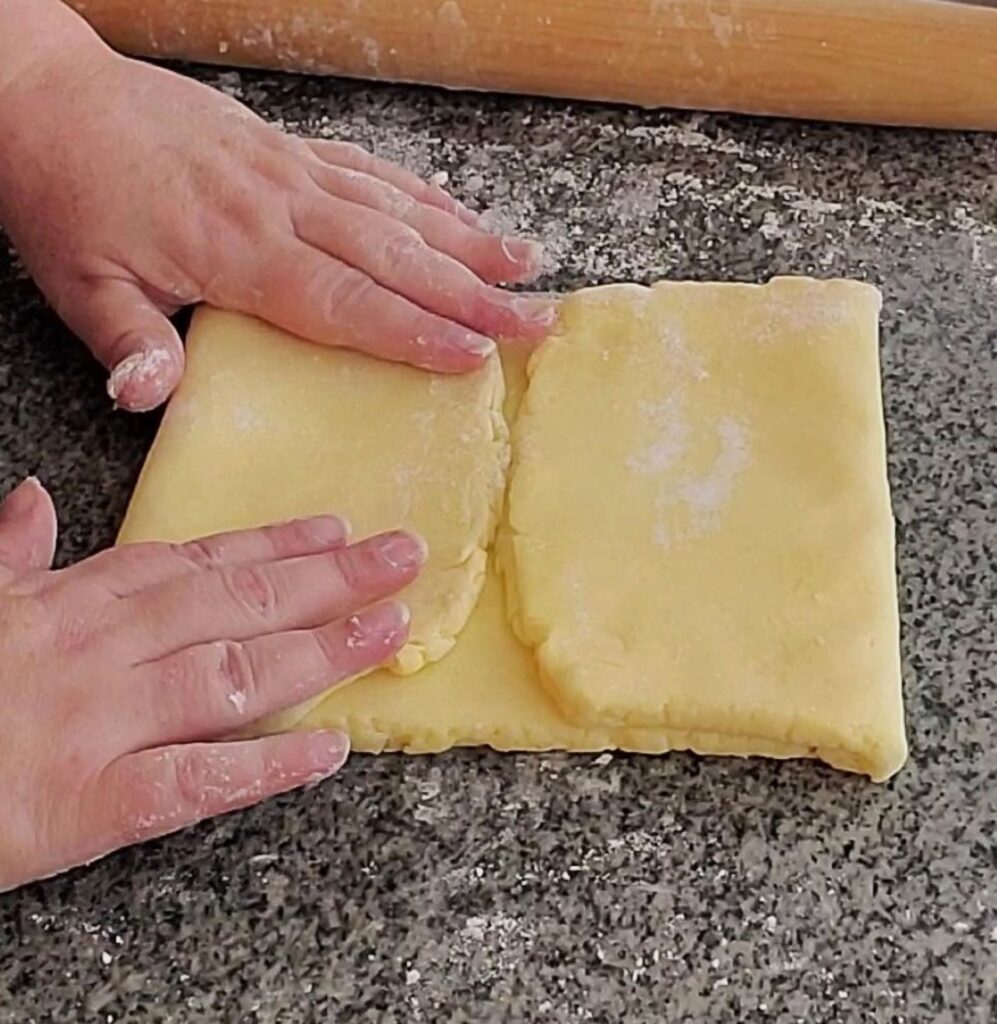
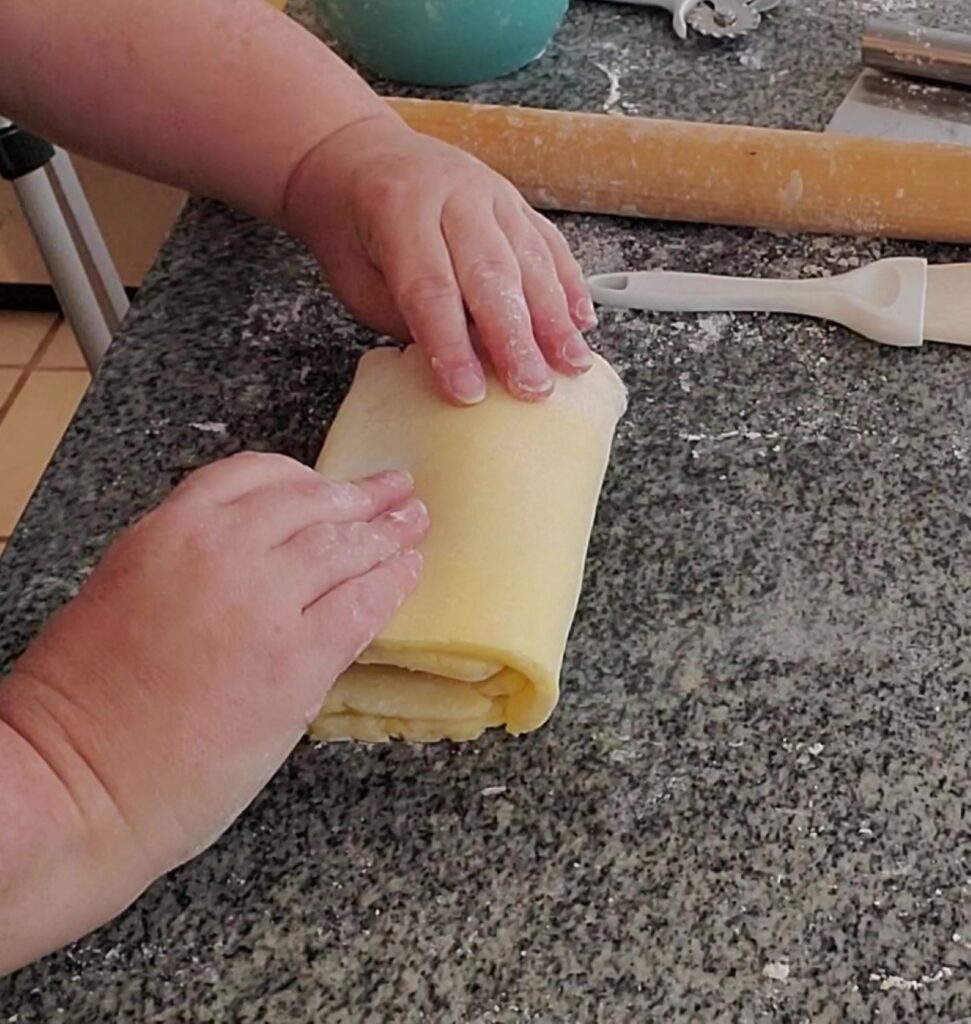
- Using a rolling pin, roll dough out on a well-floured surface into a long rectangle that's roughly 27 inches, or a little less. Fold dough into thirds, just like you would fold a letter (the top third down and the bottom third up).
- Turn, or rotate, the dough 90 degrees and press and roll it out again into a 27 inch rectangle. Fold the dough once again into a letter fold. Re-wrap the dough and refrigerate it for 20 minutes.
- Repeat steps 5 & 6 again for a total of 4 folds. Re-wrap the dough and refrigerate it for at least an hour before using it in your recipes.
Rough Puff Pastry FAQs
Unless the American butter has an 82% butterfat content, I would not recommend it. There are some, such as Vermont Creamery or Plugra. The higher water content in American butter means that the butter will become solid when very cold and not have that same plasticity that is crucial in making laminated pastry. Solid butter can tear through dough, especially gluten free dough, much more easily. European butter is more expensive, but homemade puff pastry deserves the finest ingredients and you can find deals and freeze large quantities. I find a cheaper version of Kerrygold Irish butter at my local Lidl and freeze several pounds, where they're conveniently stored until I'm ready.
A store bought blend may be substituted, but please note that this recipe has not been tested with any other blend than my own.
A little butter leaking out around the corners of your baked pastry is perfectly normal. However, a big pool of butter is not. Your butter could have been too warm when laminating. If your dough feels warm while laminating, stop and put the dough in the fridge for 30 minutes before proceeding. Or your pastry wasn't cold enough before going into the oven. Always make sure to refrigerate it for at least 30 minutes or freeze it for 15 before putting it into the hot oven.
While I haven't tried it, I have doubts that dairy free will work as well due to the texture of dairy-free butter alternatives.
What To Make With This Rough Puff
There are an endless amount of things we can make with this gluten free rough puff pastry. Any recipe calling for traditional puff pastry will work with this gf puff pastry. Here are just a few ideas:
- Cheese Straws -- addictive as all get out.
- Sausage rolls
- Heavenly napoleon
- Tarts (both sweet and savory)
- Palmier -- these ones are sweet, but you can also make savory palmier by filling with pesto, for instance.
- Pizza Hot Pockets -- irresistible is all I have to say. For once, these are NOTHING like what you remember (and that's a good thing)!
- Baked Brie (Brie en Croute) -- talk about cheesy goodness wrapped in flaky pastry. You're missing out if you've never had this wonderful appetizer, but it's okay because now you can make it easily and revel in the glorious oozing cheese!
- Apple Turnovers -- like handheld apple pies, but 10 times better!

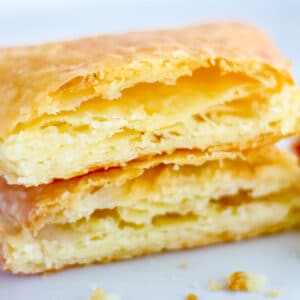
You'll be amazed at how glorious this gluten free rough puff pastry is, as well as how easy it is to make. The possibilities are endless for what you can do with it!
Glorious Gluten Free Puff Pastry
Ingredients
- 3 cups (420 g) Kim's gluten free bread flour blend
- 2 tbsp granulated sugar
- 1½ teaspoon kosher salt
- 1½ cups (3 sticks or 339 g) unsalted European butter, divided in half (Kerrygold for example)
- 1 large egg
- ½-¾ cups (120-180 ml) very cold heavy cream
- 1 teaspoon lemon juice or white vinegar
Instructions
- Divide the butter in half (1½ sticks or 169g each) and place half in the freezer for at least 2 hours or up to several days. Cut the other half into ¼-inch thick slices and refrigerate. Measure out the heavy cream and crack your egg into a small bowl. Add about ⅓ of the heavy cream to the egg and keep both the egg mixture and the rest of the cream in the fridge, well chilled, until needed.
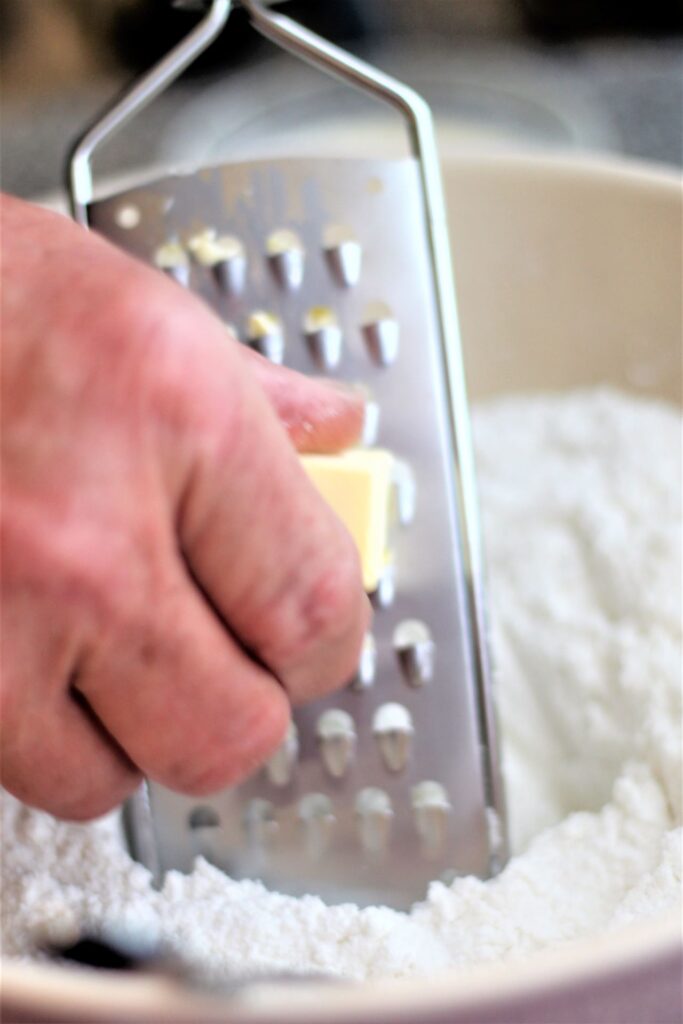
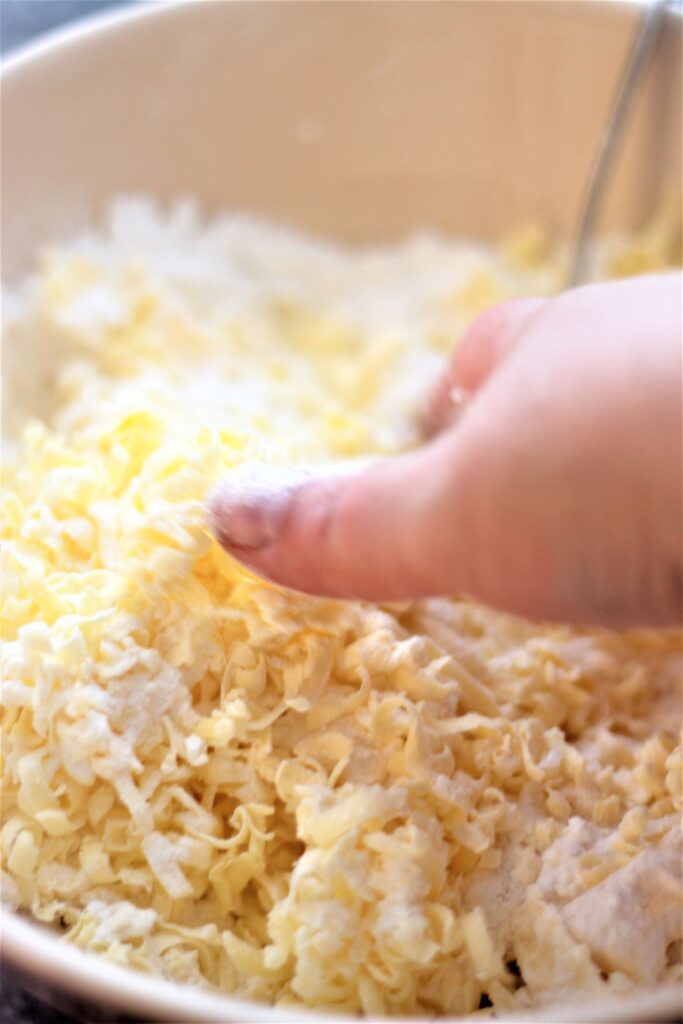
- Combine flour blend, sugar, and salt in a large bowl. Using a box grater on the large holes, grate the frozen butter directly into the flour mixture. Toss the butter to coat with the flour, breaking up any pieces that have clumped together.
- Add the sliced butter and toss just to coat the butter with the flour. Squeeze the lemon juice into the bowl and toss. Make a well in the center and add the egg/cream mixture. Toss with a fork and check the consistency. If it's still dry, add more cream. You want it to be slightly tacky, not dry, but not sticky and it should hold together well when pressed in fingers.
- Mound the dough onto a piece of plastic wrap or parchment paper and fold the plastic or paper over the dough to make a larger rectangle with the wrap (see the video). Turn it over and roll the dough as best you can into the corners of the plastic or parchment to create a larger rectangle that's roughly ½-¾ inch thick. Refrigerate the dough for at least one hour or overnight.
- Unwrap the dough and roll it out onto a well floured surface into a long rectangle that's about ¼-inch thick. The thickness is more important than the size. NOTE: If your counter isn't deep enough to roll into a long rectangle, you can divide the dough in half and work on one half at a time. Refrigerate the other half until you're done with the first half.
- Fold the top of the dough ⅔ of the way towards you, as if you were folding a letter. Brush off any excess flour. Fold the bottom third (the side closest to you) up and over the first fold. This is a single/letter style and is your first fold. Turn the dough 90 degrees.
- Roll it out again into a long rectangle. Optionally, brush the top of the dough with ice water. Fold the top and the bottom to meet in the middle and then fold over once more, as if you were closing a book. This is called a double or book fold. If the dough seems to be getting warm at any time, you can stop at this point, wrap it up, and refrigerate it for 15-20 minutes.
- Roll the dough out again into a long rectangle. Repeat the book fold two more times (brushing with ice water if desired) for a total of 3 double/book folds (which equate to 6 total folds) and 1 single/letter fold (your first fold). This makes a total of 7 folds all together.
- Wrap the dough tightly in plastic wrap and refrigerate for at least one hour or up to 3 days. The dough can now be used in any recipe requiring puff pastry OR crescent roll dough. Bring it to a cool room temperature before rolling out.
- Puff pastry can be frozen for up to 3 months, tightly wrapped. Thaw in fridge overnight before using as indicated.


Kate
Hi Kim, I made a batch of rough pastry and I am not sure where I went wrong, but my baked dough is very fragile, crumbly and sandy tasting. I bought the bougie butter, 84% fat, and don't want to scrap the remaining dough I have. Do you have any suggestions of what I can turn my dough into? It is sitting in my refrigerator. Maybe I should test it and see if maybe it has absorbed more moisture and will bake up better. Or can I throw it into my mixer and create a brioche dough? I will try again, as I usually end up with most excellent results from your recipes. Thank you
Wendy Kelley
I'm confused. The instructions in your blog say you knead the dough but the instructions in the recipe card omit that step. I'm assuming you knead it a little bit after you put the mound onto the plastic wrap
Kim
I'm so sorry, Wendy. You seem to be the only person who actually reads through my blog posts! I was counting on no one reading it (as is usual) because I'm in the middle of updating the entire post and recipe, but haven't got it done yet so that's why there is a discrepancy.
I appreciate you actually reading through my post! If you can hold on for another week, I will have the newly revised recipe and post completed and everything will match. Thank you for understanding 🥰